However, simply purchasing an ultrawide monitor is not enough to fully unlock its potential.
To truly optimize your visual experience, it is crucial to calibrate your ultrawide monitor.
So lets dive in and discover how to calibrate an ultrawide monitor!
This extra width expands the horizontal space, providing a more immersive and engaging viewing experience.
One of the major benefits of ultrawide monitors is their ability to enhance productivity.
Ultrawide monitors are also popular among gamers.
For media enthusiasts, ultrawide monitors bring movies, TV shows, and videos to life.
When considering an ultrawide monitor, its important to understand the different terms associated with them.
For example, the curvature of the monitor refers to the degree of bending on the screens surface.
Another important aspect to consider is the resolution of the ultrawide monitor.
Keep in mind that higher resolutions may require more powerful hardware to ensure smooth performance.
One of the primary benefits of calibrating an ultrawide monitor is achieving accurate and consistent colors.
Calibration also helps to ensure that your ultrawide monitor provides consistent brightness levels across the entire display.
This is important for maintaining visual comfort during long periods of use.
Ultimately, calibrating your ultrawide monitor ensures that you get the most out of your display investment.
These controls have a significant impact on the overall image quality and visual comfort of your monitor.
Start by accessing the monitors on-screen display (OSD) menu.
Next, locate the brightness and contrast parameters within the OSD menu.
After setting the brightness, move on to adjusting the contrast.
The contrast setting controls the difference between the darkest and brightest parts of the image.
A contrast ratio of around 800:1 to 1000:1 is usually considered optimal for most monitors.
When making these adjustments, it is important to consider the specific requirements of your work or activities.
Familiarize yourself with these options and experiment to find the tweaks that best suit your needs.
dive into the monitors OSD menu and navigate to the color options or color temperature options.
Most monitors provide several preset options such as cool, warm, and sRGB.
However, you should choose a custom color temperature setting for the most accurate and consistent results.
The standard color temperature for most monitors is 6500K, which is considered the closest to natural daylight.
This setting generally provides a neutral and balanced white point, allowing for accurate color reproduction.
While adjusting the color temperature, its a good idea to have reference materials available to ensure accuracy.
This could be a physical color swatch or a color reference chart that displays a variety of colors.
Gamma plays a vital role in optimizing the brightness and contrast characteristics of the display.
Gamma refers to the relationship between the input signal and the resulting brightness levels displayed on the screen.
jump into the OSD menu of your monitor and navigate to the gamma prefs.
If the gamma is set too low, the image may appear washed out with loss of shadow detail.
To adjust the gamma, use the OSD menu to pick the desired gamma setting.
Keep in mind that gamma tweaks can also be influenced by the ambient lighting conditions of your workspace.
This will help you achieve optimal brightness and contrast characteristics for a wide range of applications and content.
get into the OSD menu of your monitor and locate the RGB configs or color adjustments.
These tweaks allow you to individually adjust the intensity of the red, green, and blue color channels.
Start by selecting the neutral color reference point in your OSD menu.
This option usually displays a neutral gray or white screen.
Adjust the RGB levels incrementally until you achieve a neutral and balanced gray or white color.
When making adjustments, its important to remember that small changes can have a significant impact on color accuracy.
Additionally, its helpful to have reference images or content that showcase a range of colors.
Use these references to assess the accuracy of the color representation after making adjustments to the RGB levels.
Experiment with these controls while referring to the reference images or content to achieve the desired color representation.
After fine-tuning the RGB levels, assess the overall color consistency and accuracy across different applications and content.
dive into the OSD menu of your monitor and locate the sharpness prefs or adjustments.
Start by setting the sharpness to a neutral or default value to establish a baseline.
From there, make gradual adjustments, carefully observing the impact on the displayed content.
Avoid excessive sharpness configs, as they can introduce artifacts and visual distortions.
When adjusting the sharpness, its important to consider the specific tasks you perform on your monitor.
Analyze how the changes in sharpness impact the clarity and detail reproduction in these specific areas.
Look for any artifacts, overshooting, or undershooting effects that may occur with exaggerated sharpness adjustments.
This ensures that the sharpness level strikes a balance between enhancing details and preserving the overall visual quality.
Remember that personal preferences and the specific requirements of your tasks influence the ideal sharpness setting.
Make adjustments according to your own preferences and the nature of your work or activities.
After tweaking the sharpness, evaluate the overall image clarity and detail for different applications and content.
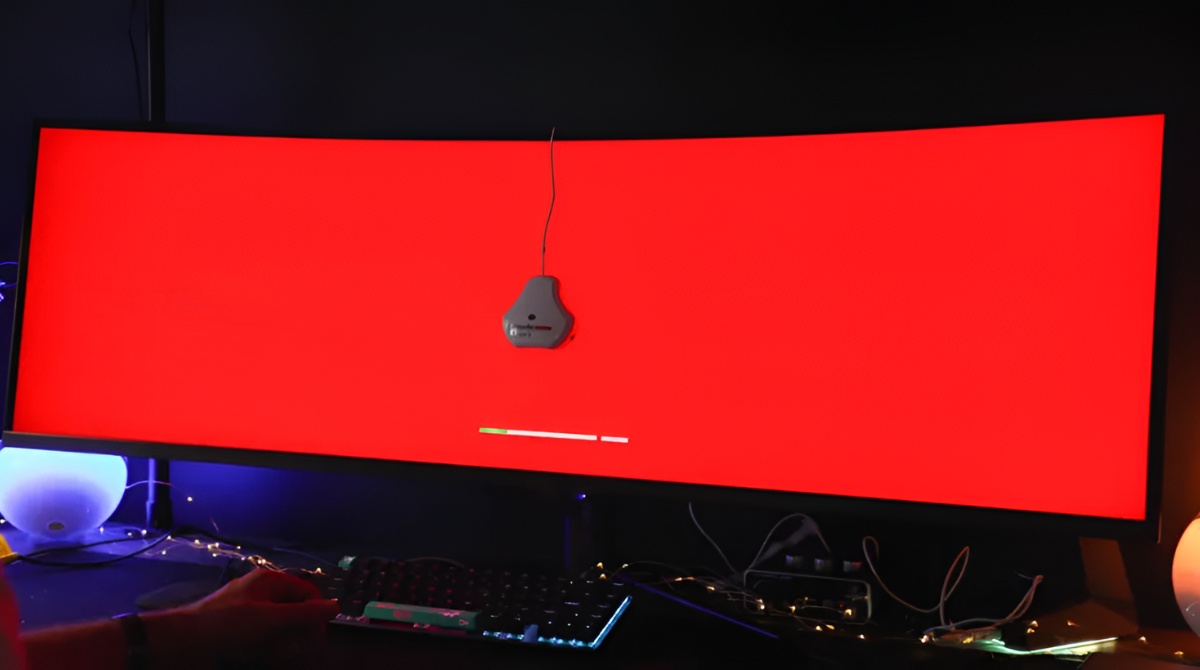
To begin, display a solid color image or use a color test pattern that covers the entire screen.
you could find various color test patterns available online or use built-in software provided by your monitor manufacturer.
Take a close look at the displayed image and carefully inspect the color consistency across the screen.
Look for any noticeable variations in brightness, hue, or saturation.
Pay attention to any areas that appear significantly different from the rest of the screen.
However, excessively noticeable differences or large patches of inconsistent color can indicate a potential issue.
Identifying and addressing dead pixels early on is crucial to ensure a smooth visual experience.
Begin by displaying a solid color image on your screen.
When visually inspecting your monitor, its recommended to view it under normal operating conditions.
Consider using different viewing angles and lighting conditions to thoroughly examine the entire screen surface.
when you land completed the calibration process, the software will generate a color profile for your monitor.
Regularly recalibrating your monitor is important to maintain color accuracy over time.
Factors such as aging of the monitor and lighting conditions in your workspace can gradually impact the color performance.
good idea to recalibrate every few weeks or whenever you notice any significant changes in color representation.
To apply a monitor calibration profile, you better load it into your computers color management system.
Regularly revisiting and reapplying the monitor calibration profiles is also important to maintain consistent color accuracy.
You also verified the uniformity of colors and checked for dead pixels, ensuring a flawless display.
Additionally, you calibrated for color accuracy and applied monitor calibration profiles to maintain consistent results.
Remember, maintaining your monitor calibration is essential for long-term performance.
Regularly recalibrating, avoiding extreme lighting conditions, and keeping the monitor clean are crucial aspects of upkeep.
