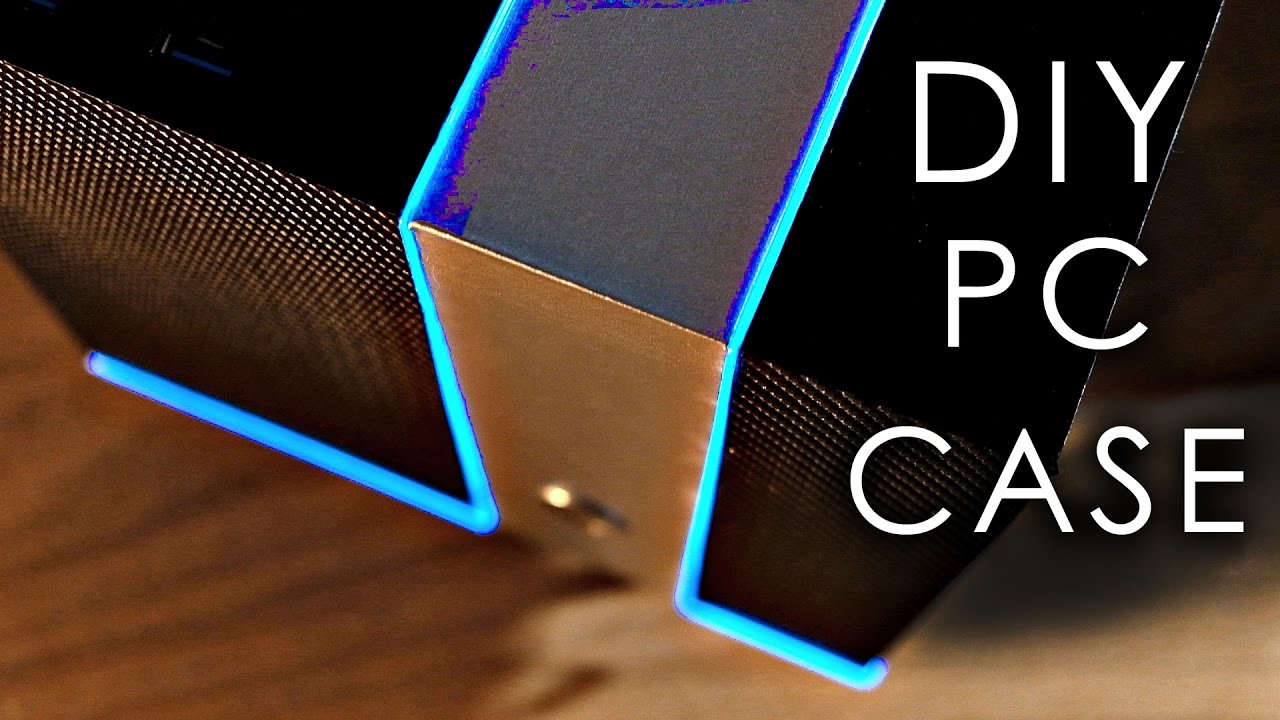
Building a custom PC case is a thrilling venture that allows you to showcase your creativity and technical skills.
When it comes to building acustom PC case, there are a few key factors to consider.
Secondly, planning the case design and ensuring proper measurements will help you achieve a seamless and professional look.
Before making any decisions, its essential to consider your specific needs and requirements.
Understanding your usage and performance needs will help you make informed choices.
Consider factors such as the socket jot down, form factor, and available expansion slots.
Match it with a powerful and compatible CPU that suits your usage requirements.
The next crucial component is the RAM.
Choose a sufficient amount of RAM to ensure smooth multitasking and efficient performance.
Additionally, select storage devices, such as SSDs or HDDs, based on your storage needs.
Lastly, dont overlook the cooling system.
Consider factors such as noise level, thermal performance, and compatibility with your case and components.
Remember, each component you choose should be compatible with one another and fit within your desired case design.
Research extensively, read user reviews, and seek advice from experts to ensure you make informed choices.
With the right components in hand, youre one step closer to building your dream custom PC case.
Start by considering the size and dimensions of your components and determine the overall size of the case.
Will it be a compact and portable case or a larger, more spacious one?
Keep in mind the available space on your desk or workstation.
Think about the placement of components within the case.
Where will the motherboard, CPU, and RAM be positioned?
How will the storage devices and graphics card be integrated into the design?
Consider cable management and airflow to ensure optimal cooling and efficient operation.
Sketch out the layout of the case, including cutouts for ports, buttons, and connectors.
Visualize the placement of fans or radiators for the cooling system.
Keep in mind that functionality should take precedence over aesthetics.
Consider the materials you want to use for building your case.
Popular choices include aluminum, steel, or acrylic.
Each material has its own advantages and considerations, such as strength, weight, and ease of customization.
The design should reflect your personal style and preferences, making the case truly yours.
This will save you time and help ensure a smoother building process.
Having the right tools and materials at hand will make the construction process smoother and more efficient.
Check reviews and compare prices to ensure you get quality products at a reasonable cost.
This is a critical step that requires precision and accuracy to ensure your case comes together perfectly.
Start by referring to your design plan and measurements to determine the dimensions of each panel.
When measuring, double-check your measurements to ensure accuracy.
Its always better to measure twice and cut once to avoid any costly mistakes or wasted materials.
once you nail your measurements, its time to mark the panels.
Use a pencil or a marker to clearly mark the dimensions on the material youre working with.
Take your time and use a steady hand to ensure clean and precise cuts.
Consider using tools specifically designed for cutting or scoring those materials.
Throughout the measuring and cutting process, its crucial to maintain precision and attention to detail.
This step is crucial for proper installation and placement of various hardware components.
Start by referring to your design plan and identifying the locations where holes are needed.
When drilling, use slow and steady pressure to avoid damaging the material.
After drilling the holes, carefully clean up any metal shavings or plastic particles that may have accumulated.
This will help ensure a clean and professional-looking installation.
Once all the necessary holes are drilled, test-fit each component to ensure a proper fit.
Check the alignment and positioning, and make any necessary adjustments if needed.
If there are any issues, you may need to re-drill or enlarge the holes as required.
Start by assessing the dimensions of your motherboard and comparing them to the size of the motherboard tray.
If needed, make any adjustments to the size or shape of the tray to ensure a perfect fit.
This may involve trimming or resizing the tray using appropriate tools like a jigsaw or file.
Next, consider the cutouts and mounting points needed for the motherboard.
Transfer these measurements onto the motherboard tray using a pencil or marker, ensuring accuracy and precision.
Take your time and follow the lines as closely as possible to ensure clean and accurate cutouts.
Use a round file or sandpaper to smooth out any rough edges after cutting.
Ensure that they are securely fastened, as they will provide the necessary support and stability for the motherboard.
Finally, set up the I/O shield into the corresponding cutout on the rear of the tray.
The I/O shield provides a neat and flush interface between the motherboards ports and the back of the case.
The tray provides the foundation for the rest of your components and allows for effortless installation and future upgrades.
Take your time during this step to achieve a clean and professional result.
Refer to your design plan and arrange the panels in the desired order, ensuring that they align correctly.
Using the appropriate screwdrivers or power tools, begin attaching the panels to form the frame.
Securely fasten each panel together, making sure that they are flush and even.
If required, use clamps or other tools to hold the panels in place while you attach them.
This will help maintain alignment and ensure a precise fit.
During the assembly process, periodically check for any gaps or misalignments and make adjustments as necessary.
This will help ensure a seamless and professional-looking case frame.
Once the frame is assembled, check for any wobbling or instability.
Remember to take your time during the assembly process and pay attention to detail.
Make any necessary adjustments or modifications to the frame design if needed, while keeping the overall structure intact.
This is where your design plan and careful measurements come into play to ensure a seamless and functional interior.
Start by referencing your design plan to determine the order in which the panels should be attached.
Attach each panel to the frame using the appropriate screws or fasteners.
Ensure that each panel is aligned properly and fits snugly against the frame.
During the panel attachment process, periodically check for any gaps or misalignments.
Make adjustments as necessary to ensure a uniform and flush fit between the panels and frame.
This will provide a clean and professional look to your custom case.
Once the panels are securely attached, its time to plant the components.
Begin with the motherboard, carefully placing it onto the pre-installed standoffs or spacers on the motherboard tray.
Secure the motherboard in place using the provided screws, being mindful not to overtighten.
Refer to the manuals or instructions provided with each component for proper installation steps and precautions.
Pay attention to cable management during the installation process.
Route cables neatly and ensure that they do not obstruct airflow or interfere with other components.
Use cable ties or clips to secure and organize the cables, creating a clean and organized interior.
Check that all components are securely attached and properly connected.
Finally, power on your custom PC to verify that all components are functioning correctly.
Test the system, check for any errors or issues, and make any necessary adjustments if required.
By carefully attaching panels and components, you will create a functional and visually appealing custom PC case.
Wiring and Cable Management
Wiring and cable management are crucial steps in building a custom PC case.
Start by planning the cable routes before you dive in wiring.
Visualize the path that each cable will take from the power supply to the corresponding component.
Consider the length of the cables and the proximity of each component to the power supply.
Tuck away any excess cable length to keep the interior clean and uncluttered.
Route the cables neatly and away from any fans or heat-generating components.
Use cable ties, Velcro straps, or cable clips to secure the cables and keep them organized.
Group cables of similar types together to further simplify cable management.
Consider using cable combs or cable sleeves to create a more uniform and streamlined appearance.
Avoid tightly bending or twisting cables, as this can lead to signal interference or damage.
Adjust the cables as necessary to maintain an organized and tidy interior.
These features can help conceal cables and create a cleaner overall look.
Finally, double-check all cable connections to ensure that they are secure and properly seated.
Loose or improperly connected cables can cause system instability or malfunctions.
A well-organized interior allows for better airflow, easier maintenance, and a more enjoyable computing experience.
Proper installation of the cooling system is crucial to maintain a stable and cool operating environment for your PC.
Each punch in has its own installation process and requirements.
If you are using an air cooling system, start by installing the CPU cooler.
Apply an appropriate amount of thermal paste on the CPU before attaching the cooler.
Next, install case fans for additional airflow.
Identify the optimal placement for the fans based on your case design and airflow requirements.
Typically, fans are installed on the front, back, and top panels of the case.
Use screws to secure the fans, ensuring that they are aligned properly.
Connect the fan power cables to the motherboard or fan controller.
If you have chosen a liquid cooling system, the installation process may be more intricate.
Begin by ensuring that your case has sufficient space and mounting points for the radiator and fans.
Mount the radiator in the designated area, using screws or brackets to secure it in place.
implement the water block or pump onto the CPU, following the manufacturers instructions.
Use thermal paste to ensure proper heat transfer between the CPU and the water block.
Use zip ties, clamps, or cable clips to secure and route the cables and tubes neatly.
This will help maintain a clean and organized interior.
Once the cooling system is installed, double-check all connections and confirm they are secure.
Power on your PC and monitor the temperatures using appropriate software or hardware monitoring tools.
Make any necessary adjustments, such as fan speed control or radiator placement, to ensure optimal cooling performance.
Regularly clean and maintain your cooling system to keep it operating efficiently.
Remove dust and debris from fans and radiators, and periodically check for any signs of leaks or blockages.
Optimal temperatures ensure better performance, longer lifespan, and a more enjoyable computing experience.
This step is crucial to verify the stability and performance of your PC build.
Ensure that everything is securely connected and properly seated.
Once you are confident that all connections are in order, its time to power on your PC.
Press the power button and allow the system to boot up.
Listen for any unusual noises, such as grinding or rattling, which could indicate a hardware issue.
During the boot-up process, monitor the screen for any error messages or abnormal behavior.
Enter the BIOS or UEFI prefs to verify that all the hardware prefs are correct.
After confirming that the basic system functions are working correctly, proceed to test the individual components.
Monitor temperatures during these tests to ensure that the cooling system is effectively maintaining optimal temperatures.
Test the functionality of all peripheral devices, such as the keyboard, mouse, and audio system.
Ensure that they are properly recognized by the system and perform as expected.
Test the storage devices by copying, accessing, or transferring files to ensure their proper functioning and performance.
Check that all data connections are secure, and the drive is being detected by the system.
Monitor the system performance, and check for any errors or issues that may arise.
These could indicate potential hardware or software issues that need to be addressed.
Ensure that the system is stable and reliable in your desired usage scenarios.
By thoroughly testing your custom PC, you will gain confidence in its performance, stability, and compatibility.
Any issues or inconsistencies can be identified and addressed early on, ensuring a smooth and enjoyable computing experience.
Conclusion
Congratulations on successfully building your custom PC case!
It has been an exciting journey filled with creativity, technical skills, and attention to detail.
Throughout the process, you learned the importance of choosing the right components that fit your design and requirements.
You mastered the art of planning and measuring to ensure precise cuts and accurate panel placement.
Finally, you installed a reliable cooling system and thoroughly tested your PC to ensure stable performance.
Remember to regularly clean and maintain your PC case.
This will ensure that your custom PC case continues to function optimally and look great for years to come.
Enjoy your new custom PC case and the enhanced computing experience it brings!
