Introduction
Welcome to the world of DIY 3D printing!
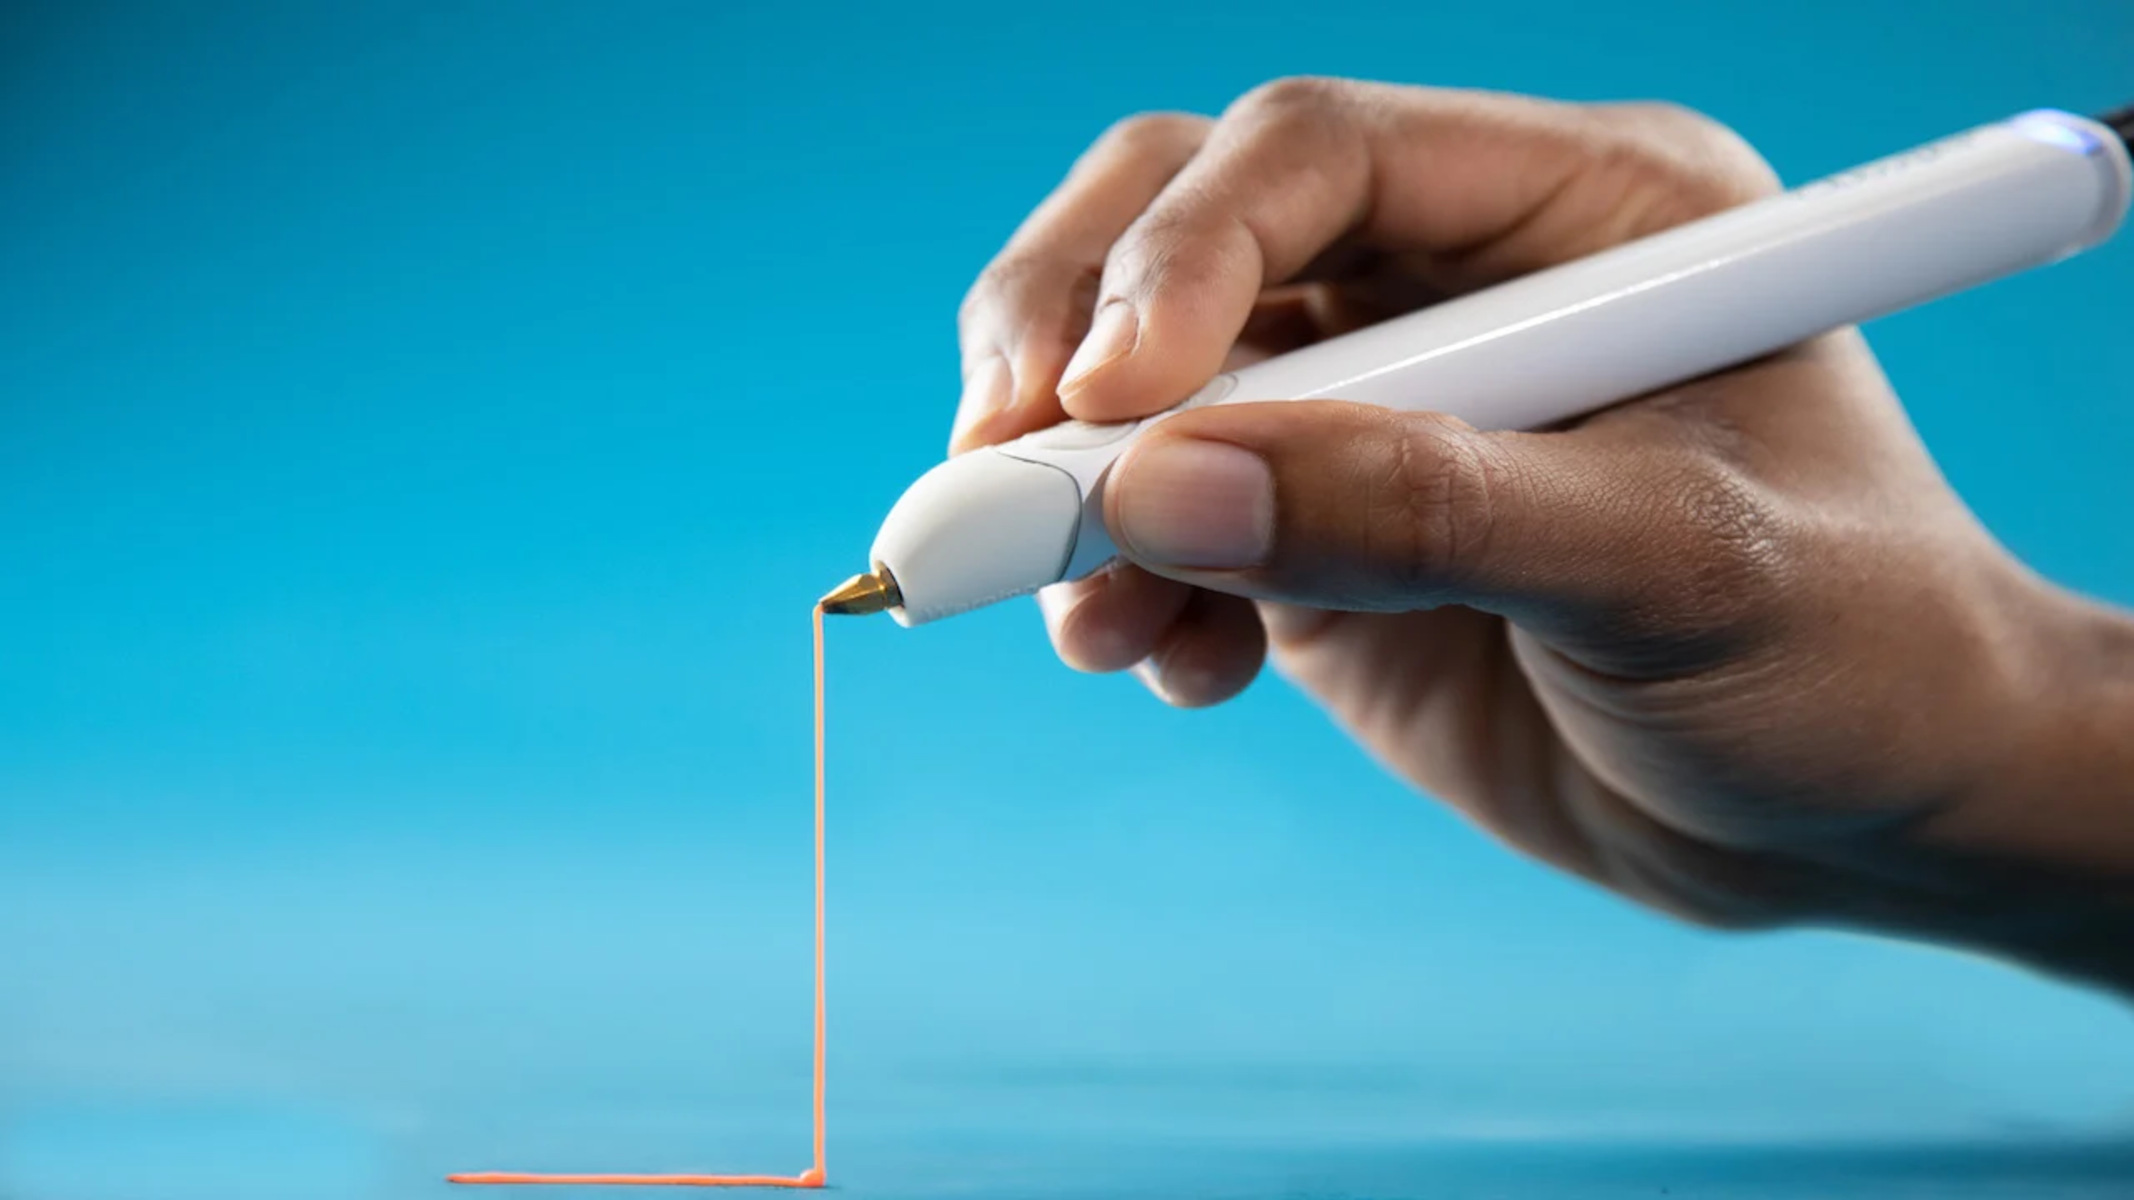
Understanding the basics of a 3D pen is crucial when embarking on this project.
It works in a similar way to a handheld 3D printer, albeit on a smaller scale.
These include the frame, motors, belts, pulleys, extruder, and control board.
Gathering the necessary equipment before starting will save you time and ensure a smooth construction process.
Well cover all the essential tools and materials in the next section to get you fully prepared.
The heating element heats the plastic filament, usually made of ABS or PLA, to a molten state.
Using a 3D pen is similar to drawing with a regular pen or pencil.
The plastic quickly solidifies, making it possible to build complex structures and intricate designs.
Its important to practice and experiment with different techniques to achieve the desired results.
As with any creative endeavor, patience and practice are key when using a 3D pen.
Frame: The frame of a 3D printer provides the structure and support for the entire machine.
The frame also houses other components such as the motors, belts, and control board.
Motors: Motors are at the core of a 3D printers movement system.
Stepper motors are commonly used as they allow for precise control and positioning.
Timing belts, commonly used in 3D printers, provide precise and synchronized movement.
Pulleys mounted on the motor shafts and connected to the belts ensure smooth and accurate motion.
Extruder: The extruder is responsible for melting the filament and depositing it onto the print bed.
The extruder also includes a cooling system to solidify the plastic quickly after deposition.
Understanding the role of each component will give you a comprehensive overview of how a 3D printer functions.
Having everything prepared will save you time and ensure a smooth construction process.
Heres a list of essential items youll need:
1.
3D Pen: The core component of this project is, of course, a 3D pen.
Choose a high-quality pen that provides precise control over temperature and filament flow.
These kits usually include the necessary mechanical components like the frame, motors, belts, and pulleys.
double-check to choose a kit that is compatible with your 3D pen and provides clear assembly instructions.
Filament: Dont forget to stock up on filament for your 3D printer.
PLA filament is a popular choice due to its ease of use and environmentally friendly properties.
ABS filament is known for its durability and flexibility.
Experimenting with different filament types will allow you to achieve different results in your prints.
Tools: Youll need a set of basic tools to assemble your 3D printer.
Its important to have the right tools on hand to ensure a smooth and accurate assembly process.
Safety Equipment: As with any DIY project, its important to prioritize safety.
Have safety goggles, gloves, and a clean and well-ventilated workspace to protect yourself during the assembly process.
Additionally, follow all the safety guidelines provided by the manufacturer of your 3D printer kit.
This will give you a clear understanding of the process and help you avoid any potential mistakes.
Keep all the necessary tools and materials within reach to ensure a smooth and efficient assembly process.
Step 3: Assemble the Frame:Start by assembling the frame according to the instructions.
Connect the frame pieces together using screws or bolts, ensuring a sturdy and stable structure.
Take your time to align the parts correctly for a precise assembly.
Connect the belts to the pulleys and motors, ensuring they are properly tensioned.
Check that the belts move smoothly without any obstructions.
Step 5: roll out the Extruder:Attach the extruder to the designated mount on the frame.
Connect the extruders cables to the control board according to the instructions.
Ensure the extruder is aligned with the print bed and moves freely along the X and Y axes.
Adjust the print beds position and height so that it is parallel to the X and Y axes.
A level print bed is essential for successful prints.
Be prepared to experiment, learn from your mistakes, and iterate on your designs.
By following these step-by-step instructions, youll be well on your way to building your very own 3D printer.
Enjoy the process, be patient, and dont hesitate to reach out for assistance if needed.
Testing the Movement:Before running any prints, verify that the printers movement is smooth and accurate.
Use the manual controls on the printers control interface to move the print head along each axis.
Ensure that it moves without any jerks or resistance and that it reaches all the desired positions accurately.
Calibrating the Print Bed:Proper calibration of the print bed is crucial for successful prints.
Test the bed leveling by printing a small test object and checking for consistent adhesion across the entire surface.
Filament Loading and Extrusion:Load filament into the extruder and verify that it feeds smoothly without any obstructions.
Pay attention to the flow rate and adjust it as needed.
Ensure that the filament is properly heated to the recommended temperature for the filament bang out being used.
Test Prints:Begin with simple test prints to verify the printers capabilities and fine-tune controls.
Start with basic shapes like cubes or calibration models to check for accurate dimensions and layer adhesion.
Gradually progress to more complex prints as you gain confidence in your printers performance.
Remember, 3D printing is a continuous learning process.
Dont get discouraged if you face challenges along the way.
Stay enthusiastic, seek assistance from online communities and resources, and keep experimenting with different tweaks and techniques.
With time and practice, youll become proficient in operating your homemade 3D printer.
Conclusion
Congratulations on successfully building your very own 3D printer using a 3D pen!
Keep in mind that 3D printing is a continuous learning process.
As you gain more experience, dont hesitate to experiment with different filaments, print prefs, and designs.
Remember to prioritize safety throughout your 3D printing journey.
Always follow proper safety guidelines, such as wearing protective gear and working in a well-ventilated area.
Additionally, be patient and persistent when troubleshooting any issues that may arise.
Enjoy your newfound skill as a 3D printer builder and enthusiast.
Embrace the creativity, problem-solving, and joy that come with this exciting hobby.
