In this guide, we will walk you through the steps of attaching a webcam to your monitor.
Before we delve into the step-by-step process, check that you have the necessary materials at hand.
Additionally, refer to the instructions provided by the webcam manufacturer for any specific recommendations or attachment methods.
Now, lets get started and discover how you could easily attach your webcam to your monitor!
If your webcam includes these accessories, check that you have them readily available during the attachment process.
Its also a good idea to refer to the webcam manufacturers instructions or website for any specific attachment recommendations.
They may provide insights on the best attachment method for your webcam and monitor combination.
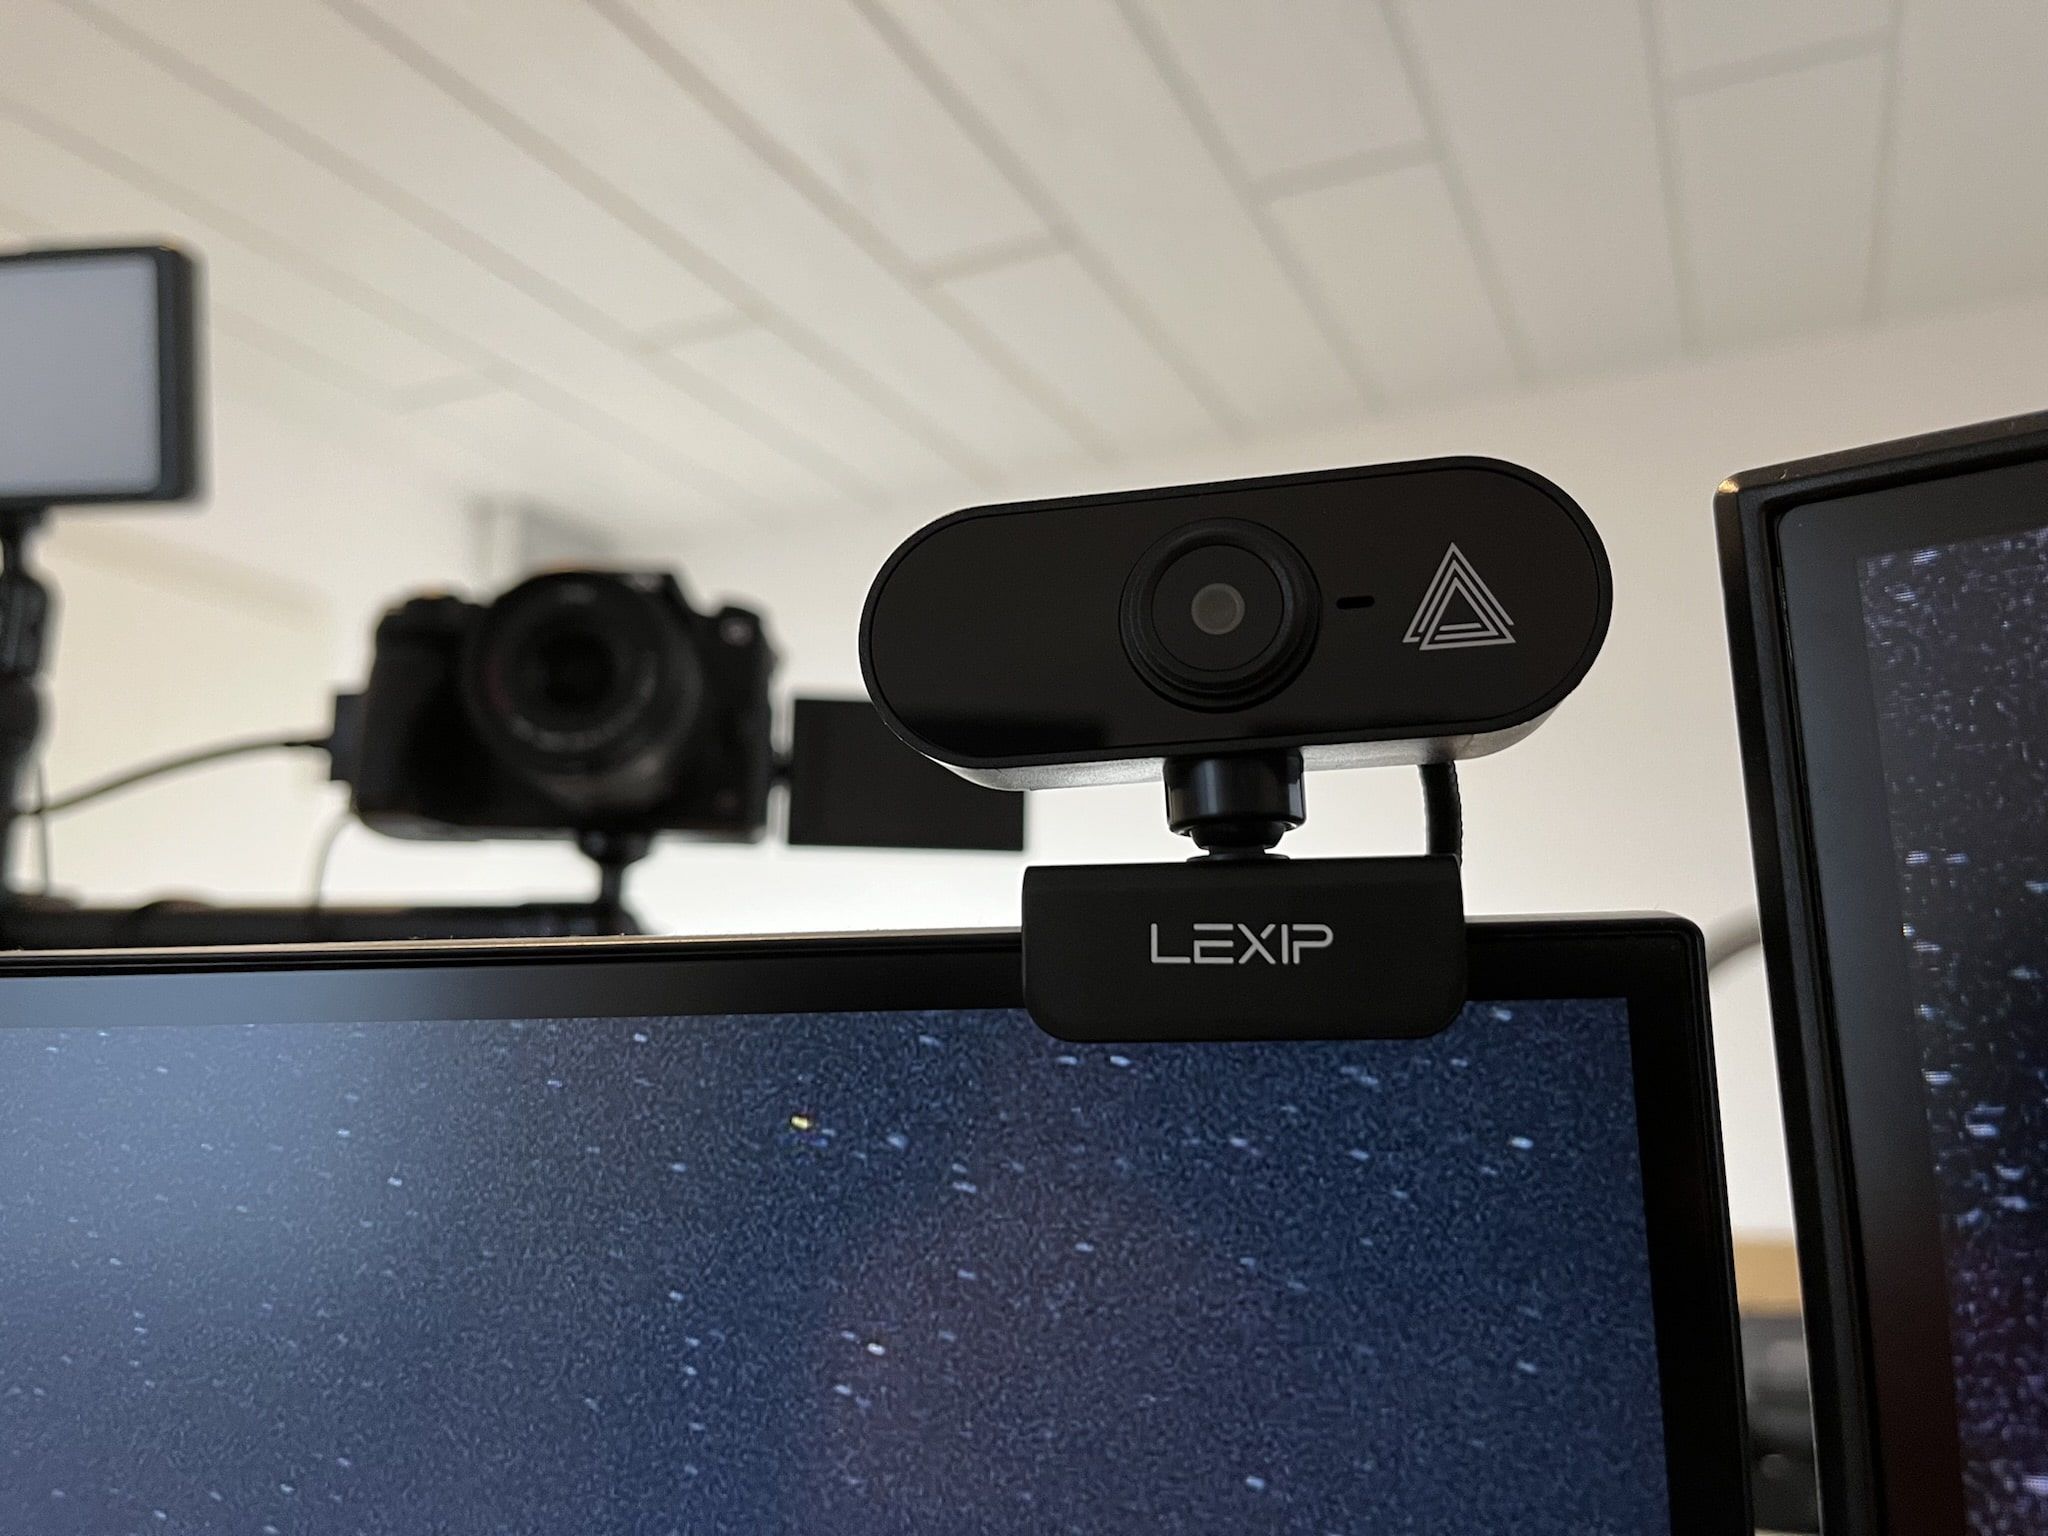
Ensure that the clip is wide enough to fit securely over the top edge of the monitor.
Gently position thewebcams clip over the top edge of the monitor, ensuring a firm grip.
Apply gentle pressure to shut the clip and secure the webcam in place.
Make any necessary adjustments to achieve the desired angle and position.
If your webcam has a dedicated mount attachment, locate the mounting point on the back of your monitor.
Some mounts may require you to remove a plastic cover or panel to reveal the mounting area.
Align the mount with the mounting point and carefully attach the webcam to the monitor.
Ensure that the mount is securely fastened and tightened if there are any components that allow adjustment.
If your webcam uses adhesive pads or stickers, carefully remove the protective covering to expose the adhesive side.
Align the webcam and attach it to the desired spot on your monitors surface.
Apply even pressure for a few seconds to ensure a secure bond.
Whichever attachment method you choose, ensure that the webcam is firmly attached to the monitor.
Wiggle it slightly to test its stability and make any necessary adjustments to the positioning and angle.
Keep in mind that not all monitors and webcams are designed to accommodate all attachment methods.
Refer to the webcam manufacturers instructions or website for specific guidance on attaching the webcam to your monitor.
This helps avoid unflattering angles or awkward framing.
It may take some trial and error to achieve the desired setup.
Most webcams allow you to tilt and swivel them to adjust the view.
Take advantage of this feature to fine-tune the angle and framing.
Make adjustments based on your preference and the specific activity you are using the webcam for.
Consider the lighting conditions in your environment.
Avoid bright backlighting or direct sunlight that may wash out the image.
Position yourself and the webcam in a way that provides even and flattering lighting on your face.
Pay attention to the background visible through your webcam.
Remove any clutter or distracting elements that may divert attention away from you during video calls or recordings.
Once the webcam software is open, find out if the video feed from your webcam is displayed correctly.
You should see yourself or the surroundings, depending on the view and setup.
verify if the audio levels are registered and if the sound is clear.
Depending on the software or website you are using, there may be options to adjust video quality configs.
Experiment with these parameters to find the best balance between video resolution, frame rate, and bandwidth usage.
test whether the colors are accurate and if the image is sharp and well-focused.
Familiarize yourself with the controls and explore any additional options or options provided by the software or webcam.
During the testing process, be attentive to any error messages, glitches, or unusual behavior.
This ensures your safety and prevents any accidental damage during the removal process.
Carefully lift the webcam away from the monitor, ensuring no cables or attachments are caught.
Be cautious not to force or damage any parts during the removal process.
Slowly peel it off, applying even pressure to avoid leaving any residue or damaging the monitor.
Be careful not to use any abrasive materials that could scratch or damage the monitors surface.
Place it in a protective case or packaging provided by the manufacturer to prevent any potential damage.
You have successfully learned how to attach, adjust, and remove a webcam from your monitor.
Enjoy using your webcam and make the most out of your online interactions and engagements.
Adjust the position and angle of the webcam to achieve optimal framing and lighting.
If needed, safely remove the webcam from your monitor by following the recommended steps.
Have a great time using your webcam and make the most out of your online interactions!
