This step-by-step guide will walk you through the process of assembling anAntec PSUwith detailed instructions and helpful tips.
However, the general steps provided in this guide should apply to most setups.
Now, lets dive into the exciting world of assembling an Antec Power Supply Unit!
This will ensure a smooth and efficient installation process.
Having everything ready will save you time and make the installation process much more efficient.
Taking the time to prepare your workspace will contribute to a smooth and stress-free installation process.
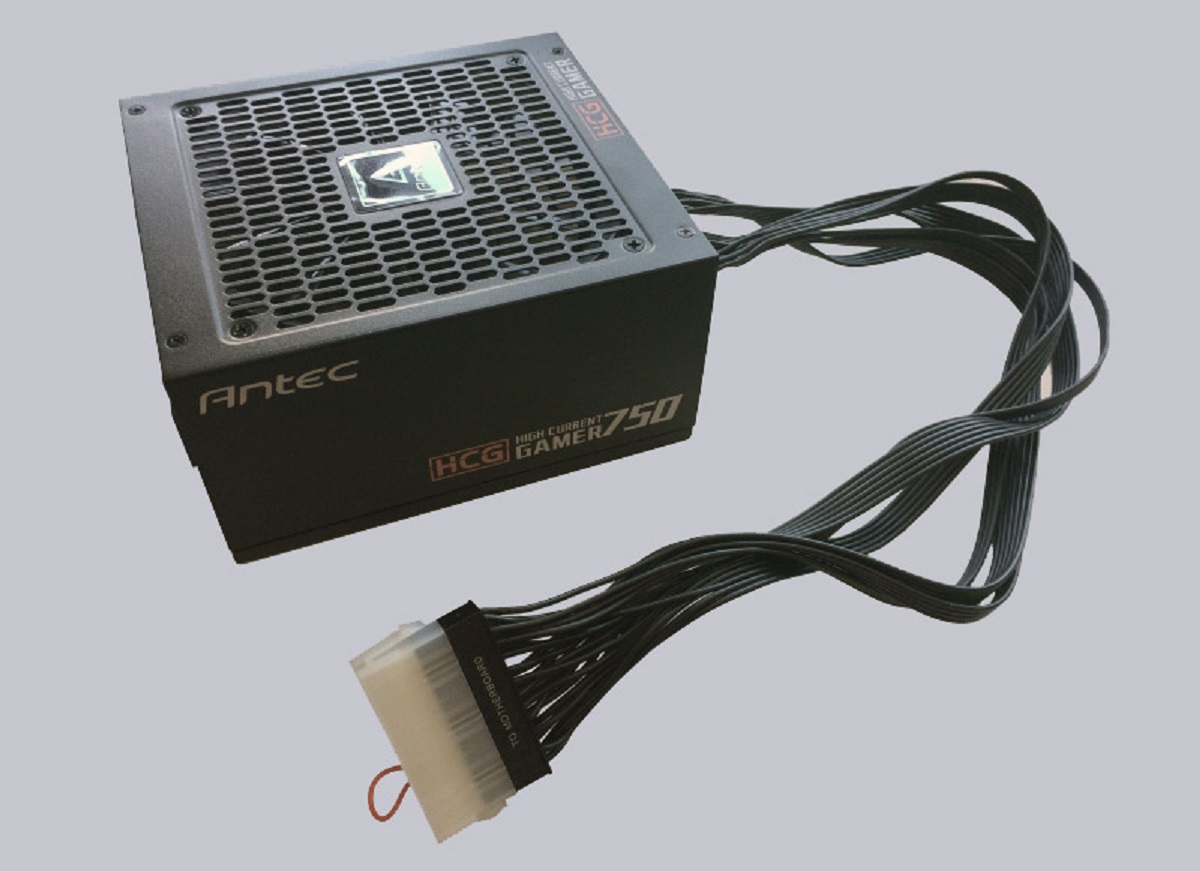
Understanding the different connectors and their functions will help you properly connect the PSU to your system components.
Understanding the purpose of each connector and cable will help ensure a successful and properly powered computer system.
Ensuring a secure and properly aligned PSU will promote efficient cooling and prevent any potential damage or disruptions.
Take your time to carefully mount the PSU and organize the cables for a clean and organized setup.
Take care to avoid bending or damaging the connectors or cables.
Properly routed and secured cables will help keep your system organized and improve airflow within the case.
Double-check all your connections to ensure that each cable is plugged in correctly.
Loose or improperly connected cables can lead to power issues or system instability.
Take your time to organize the cables neatly and avoid any excessive tension that could potentially damage the connectors.
You have successfully installed and tested your Antec PSU.
Enjoy your newly powered system!
Remember, proper installation and testing of your PSU are crucial for the stability and longevity of your system.
Conclusion
Congratulations on successfully assembling your Antec Power Supply Unit (PSU)!
Your efforts will result in a properly powered and efficiently functioning computer system.
Enjoy the enhanced performance and stability that a reliable PSU brings to your system.
Thank you for choosing Antec and utilizing this comprehensive guide.
