Introduction
Are you an avid gamer looking for an immersive gaming experience?
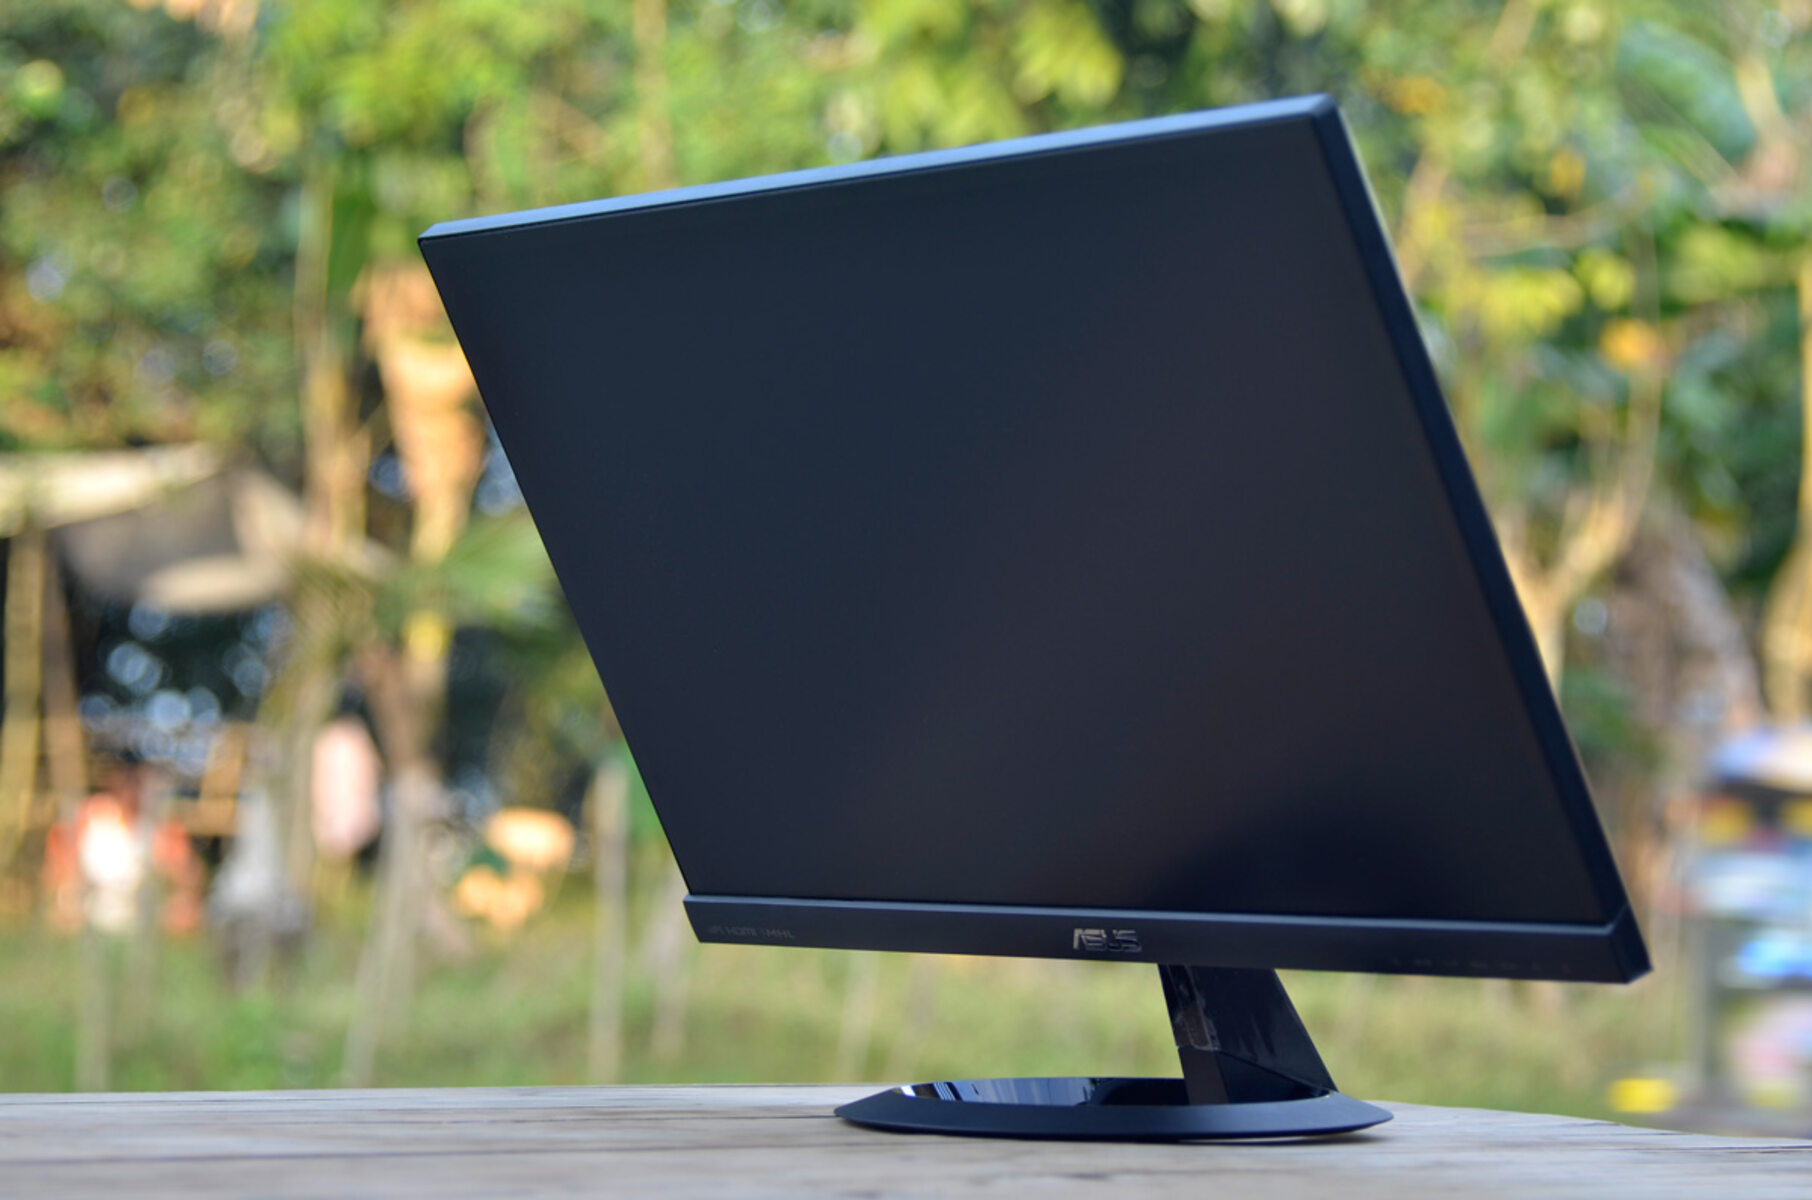
Then the Asus 23-Inch Full HD Widescreen Gaming Monitor [VX238H] might be the perfect choice for you.
With its high-definition display and advanced features, this monitor delivers stunning visuals and smooth gameplay.
We will cover everything from unboxing the monitor to troubleshooting common issues that might arise.
This ensures sharp and detailed visuals, bringing your games to life.
It also supports 16.7 million colors, providing a vibrant and accurate representation of the games visuals.
Furthermore, the monitor has built-in speakers that deliver decent audio quality, eliminating the need for external speakers.
This allows you to connect multiple devices, such as gaming consoles and PCs, ensuring versatility and flexibility.
Here are the steps to unbox your monitor:
1.
Find a spacious and clean area to unbox the monitor.
check that you have enough room to lay out all the components.
Carefully cut through the packing tape and initiate the box.
Remove the top packaging material to reveal the monitor.
Gently lift the monitor out of the box and place it on a flat and stable surface.
Avoid applying excessive pressure on the screen to prevent any damage.
Remove any protective covering or plastic film from the monitors screen and bezel.
Locate the accessory box, which contains the necessary cables and other components.
Ensure that all the items mentioned in the user manual are present and accounted for.
Carefully unpack the cables, power adapter, and other accessories from the box.
Keep them organized and within reach for the subsequent steps in the setup process.
Take a moment to read the user manual provided with the monitor.
Be sure to handle the monitor with care to avoid any damage during the unboxing process.
Step 2: Setting up the Monitor Stand
1.
Locate the monitor stand and base.
Ensure that all required components, including screws and stand poles, are present.
Attach the stand pole to the base.
Align the holes in the stand pole with those in the base and insert the screws provided.
Use a screwdriver to tighten the screws until the stand pole is firmly attached to the base.
Next, take the monitor and gently place it face down on a soft and clean surface.
This will prevent any scratches or damage to the screen.
Line up the grooves on the back of the monitor with the tabs on the stand pole.
Carefully slide the monitor onto the stand until it locks into place.
Once the monitor is securely attached to the stand, adjust the tilt angle if necessary.
MostAsus monitorshave a tilt adjustment feature that allows you to find the optimal viewing angle.
Simply hold the edges of the monitor and tilt it up or down as desired.
Double-check the stability of the monitor stand by gently shaking it.
If there is any wobbling, readjust the stand and ensure all screws are tightened properly.
Position the monitor on your desk or gaming setup in a comfortable and ergonomic position.
Consider factors such as eye level and distance to ensure a strain-free viewing experience.
Step 3: Connecting the Power and Cables
1.
Start by locating the power adapter that came with the monitor.
Plug the power adapter into a nearby power outlet or surge protector.
Identify the power input port on the back of the monitor.
It is usually located near the other ports, such as HDMI and VGA.
ensure the connector is inserted firmly but gently to avoid any damage.
Once the power connection is established, you might now proceed to connect the necessary cables for video input.
Identify the video input ports on the back of the monitor.
Ensure a secure connection by gently tightening any screws or connectors.
Connect the audio cable from your devices audio output to the monitors audio input port, if necessary.
Double-check all the connections to ensure they are secure and properly aligned.
Avoid applying unnecessary force or bending the cables excessively.
In the next step, we will explore how to adjust the display tweaks to optimize your gaming experience.
Step 4: Adjusting the Display options
1.
Power on the monitor by pressing the power button located on the front or side of the monitor.
Wait for it to boot up and display an image.
The OSD menu allows you to navigate and adjust various prefs.
Use the navigation buttons on the monitor to navigate through the OSD menu.
you could move up, down, left, and right to select different prefs.
Adjust the brightness and contrast parameters to your preference.
These controls can significantly impact the overall image quality and visibility.
Experiment with different levels until you find the optimal balance for your gaming needs.
Fine-tune the color controls, such as hue, saturation, and color temperature.
These adjustments allow you to customize the display based on your personal preferences or the requirements of specific games.
Each mode is optimized for different usage scenarios, so choose the mode that enhances your gaming experience.
Look for any additional display enhancement features, such as sharpness, gamma, or adaptive contrast.
These configs can further improve the clarity and visual quality of your gaming experience.
Take advantage of any specific gaming features offered by your monitor, such as GameVisual or GamePlus.
As you make adjustments, pay attention to any changes in image quality and performance.
Fine-tune the controls until you achieve the desired balance between visual quality and smooth gameplay.
Once you are satisfied with your display configs, save the changes and exit the OSD menu.
In the next step, we will explore how to calibrate the colors for accurate and vibrant image representation.
Navigate to the color options section in the OSD menu.
Look for preset color modes, such as sRGB or Rec.
709, which are designed to provide accurate color reproduction.
snag the appropriate color mode based on your preferences or the requirements of your games.
Use test images or calibration tools to ensure accurate color representation.
Consider using a color calibration tool or software.
Adjust the gamma configs if necessary.
Gamma affects the brightness and contrast of the mid-tones in an image.
Experiment with different gamma prefs to achieve a balanced and visually pleasing result.
Use color calibration test patterns or images to assess the accuracy of the colors on your monitor.
Look for natural skin tones, balanced grays, and vibrant but not oversaturated colors.
Make small, gradual adjustments while observing the changes in color accuracy.
Its important to avoid overcorrecting, as it may result in an unnatural or unpleasing color display.
Save the calibrated color prefs in the monitors OSD menu.
This allows you to maintain the calibrated colors even after power cycling the monitor.
Periodically reassess and recalibrate the colors as needed, as the color accuracy may change over time.
Navigate to the OSD prefs section in the menu.
Explore the various options in the OSD options menu.
These options allow you to customize the behavior, appearance, and functionality of the on-screen display.
Adjust the OSD display duration to control how long the OSD menu remains on the screen.
This can be useful if you want to minimize distractions during your gaming sessions.
Configure the OSD language to ensure that it is displayed in a language youre comfortable with.
This makes navigating through the menu much easier.
If your monitor supports customizable hotkeys, assign specific functions or shortcuts to them.
This allows you to quickly access frequently used parameters or features without navigating the OSD menu.
Customize the OSD color scheme to suit your visual preferences.
This can help prevent the OSD menu from obstructing important elements of your game or desktop.
- when you obtain configured the desired OSD tweaks, save the changes and exit the OSD menu.
Your monitor will now display the customized OSD configs as per your preferences.
Experiment with different tweaks and options to enhance your overall user experience.
Step 7: Adjusting the Viewing Angle and Height
1.
Start by loosening any locking mechanisms or knobs on the monitor stand.
These may vary depending on the model of your monitor, so refer to the user manual if necessary.
Adjust the tilt angle of the monitor by tilting it forward or backward.
Find a position that allows for a comfortable viewing angle without straining your neck or eyes.
Ensure that the screen is parallel to your line of sight.
If your monitor has a swivel function, rotate the monitor horizontally to find the best viewing angle.
If your monitor has a height adjustment feature, adjust it to your preferred height.
Tighten any locking mechanisms or knobs to secure the adjusted viewing angle and height of the monitor.
This ensures stability and prevents accidental movement during your gaming sessions.
Test the adjusted viewing angle and height by sitting in your normal gaming position.
Make any additional adjustments if necessary to achieve the most comfortable position.
These accessories offer additional adjustment options and can help optimize your gaming setup.
Navigate to the GamePlus controls section in the OSD menu.
Explore the various GamePlus features offered by your monitor.
These may include options like crosshair overlays, timers, FPS counters, and more.
- snag the desired GamePlus feature that you want to activate.
Use the navigation buttons on the monitor to make your selection.
These parameters allow you to customize the appearance and behavior of the feature.
Save the changes and exit the OSD menu.
The activated GamePlus feature will now be displayed on your monitor during gameplay.
During your gaming sessions, take advantage of the GamePlus features benefits.
Experiment with different GamePlus features and modes to find the ones that enhance your gaming experience the most.
Each feature offers unique benefits, so explore and see which ones suit your gaming style and preferences.
Remember to deactivate or adjust the GamePlus features as needed, depending on the game or program youre using.
Certain features may be more useful for specific genres or gaming scenarios.
Stay updated with the latest firmware and driver releases from Asus.
Occasionally, they may introduce new GamePlus features or improve existing ones, enhancing your overall gaming experience.
Experiment with the various options available and discover the ones that make a difference in your gaming sessions.
Step 9: Using the Built-in Speakers
1.
Ensure that the monitor is properly connected to your equipment via the audio cable.
Power on both your equipment and the monitor.
Adjust the volume level on your unit to an appropriate setting.
Locate the volume control on the monitor.
Use the volume control buttons to increase or decrease the volume of the built-in speakers.
Play an audio or video file on your rig to test the audio output.
Adjust the volume using the monitors volume control buttons until you reach the desired audio level.
If the audio output is not satisfactory, check the audio tweaks on your gadget.
Ensure that the audio output is properly configured to the monitors built-in speakers.
Remember to adjust the audio parameters in your games or applications as well.
Some games have their own audio options, allowing you to fine-tune the audio output based on your preferences.
You may also need to refresh your devices audio drivers for optimal performance.
In the next step, we will explore some common issues you may encounter and provide troubleshooting solutions.
Step 10: Troubleshooting Common Issues
1.
Check for any loose connections or damaged cables.
Try connecting the monitor to a different rig to rule out any potential issues with your current rig.
Additionally, see if there are any software updates available for your graphics card drivers.
Try connecting the monitor to a different power outlet to rule out any potential electrical issues.
If the problem persists, contact Asus customer support for further assistance.
This can usually be done in the display configs of your operating system or graphics card control panel.
Use color calibration tools or software to ensure accurate color representation.
If the problem persists, consider seeking professional calibration or contacting Asus customer support for further assistance.
check that the monitor is placed in a well-ventilated area to allow for proper airflow.
Conclusion
Congratulations!
Remember to periodically reassess and reoptimize your monitors prefs to ensure the best possible visual quality and performance.
Stay up to date with firmware updates from Asus to take advantage of new features and improvements.
They can provide you with specific guidance and troubleshooting tailored to your monitor model.
Enjoy your gaming experience to the fullest with your Asus 23-Inch Full HD Widescreen Gaming Monitor [VX238H]!
