Introduction
Welcome to our guide on how to add a webcam to Twitch Studio!
Twitch Studio is a powerful streaming software designed specifically for content creators on the popular streaming platform, Twitch.
In this guide, we will walk you through the step-by-step process of adding a webcam to Twitch Studio.
If youre using a different streaming software, the steps may vary.
Additionally, double-check that you have a compatible webcam and the necessary drivers installed.
Lets dive in and get your webcam up and running on Twitch Studio!
Compatibility is essential to ensure a smooth and seamless streaming experience.
Heres how you might find out if your webcam is compatible:
1.
Look for any specific webcam compatibility requirements mentioned, such as resolution, frame rate, or connectivity options.
Pay attention to the resolution, frame rate, and connection options (such as USB or HDMI).
Compare Specifications: Compare the specifications of your webcam with the requirements listed by Twitch Studio.
Ensure that your webcam meets or exceeds the minimum requirements specified.
Research online or reach out to the webcam manufacturer to confirm if their software works seamlessly with Twitch Studio.
Look for webcams that are specifically marketed as compatible with Twitch Studio to ensure the best experience.
Step 2: Connect the Webcam to your setup
1.
Most webcams use a USB connection, while some higher-end models may have an HDMI or Thunderbolt port.
Then, insert the other end into the corresponding port on your system.
Ensure that the connection is secure.
3.Power On the Webcam: If your webcam has a power button or switch, turn it on.
Some webcams draw power directly from the USB connection and wont have a separate power switch.
If prompted, follow the on-screen instructions to complete the driver installation process.
If you see your webcam listed without any warning icons, it means the connection was successful.
Connecting your webcam to your machine is a vital step in the setup process.
Step 3: Install Webcam Drivers (If Required)
1.
Check Manufacturers Website: Visit the manufacturers website of your webcam to find the latest drivers available for download.
Look for a support or downloads section on their website and search for your webcams model number.
Download the Drivers: Locate the appropriate drivers for your webcam on the manufacturers website.
- kickstart your machine: After the driver installation is complete, you should kickstart your machine.
This ensures that the drivers are properly integrated into your system and ready for use.
Test the Webcam: Once your system has restarted, open Twitch Studio and enter the webcam controls.
Test the webcam to ensure that it is functioning correctly.
If the webcam displays a clear video feed without any issues, then the driver installation was successful.
Step 4: Open Twitch Studio
1.
Launch Twitch Studio: Locate the Twitch Studio utility on your box.
input your username and password and tap on the Sign In button to proceed.
Ensure that you grant the necessary permissions when prompted.
This allows Twitch Studio to access your webcams video feed.
Configure Stream tweaks (Optional): Twitch Studio provides various options for configuring your stream tweaks.
Take some time to adjust these controls according to your preferences.
Access Webcam configs: when you’ve got configured your stream configs, navigate to the webcam configs.
Look for a Webcam or Camera option in the Twitch Studio interface.
This is where you will configure your webcam configs and make adjustments to your video feed.
With Twitch Studio open, you are now ready to integrate your webcam into your streaming setup.
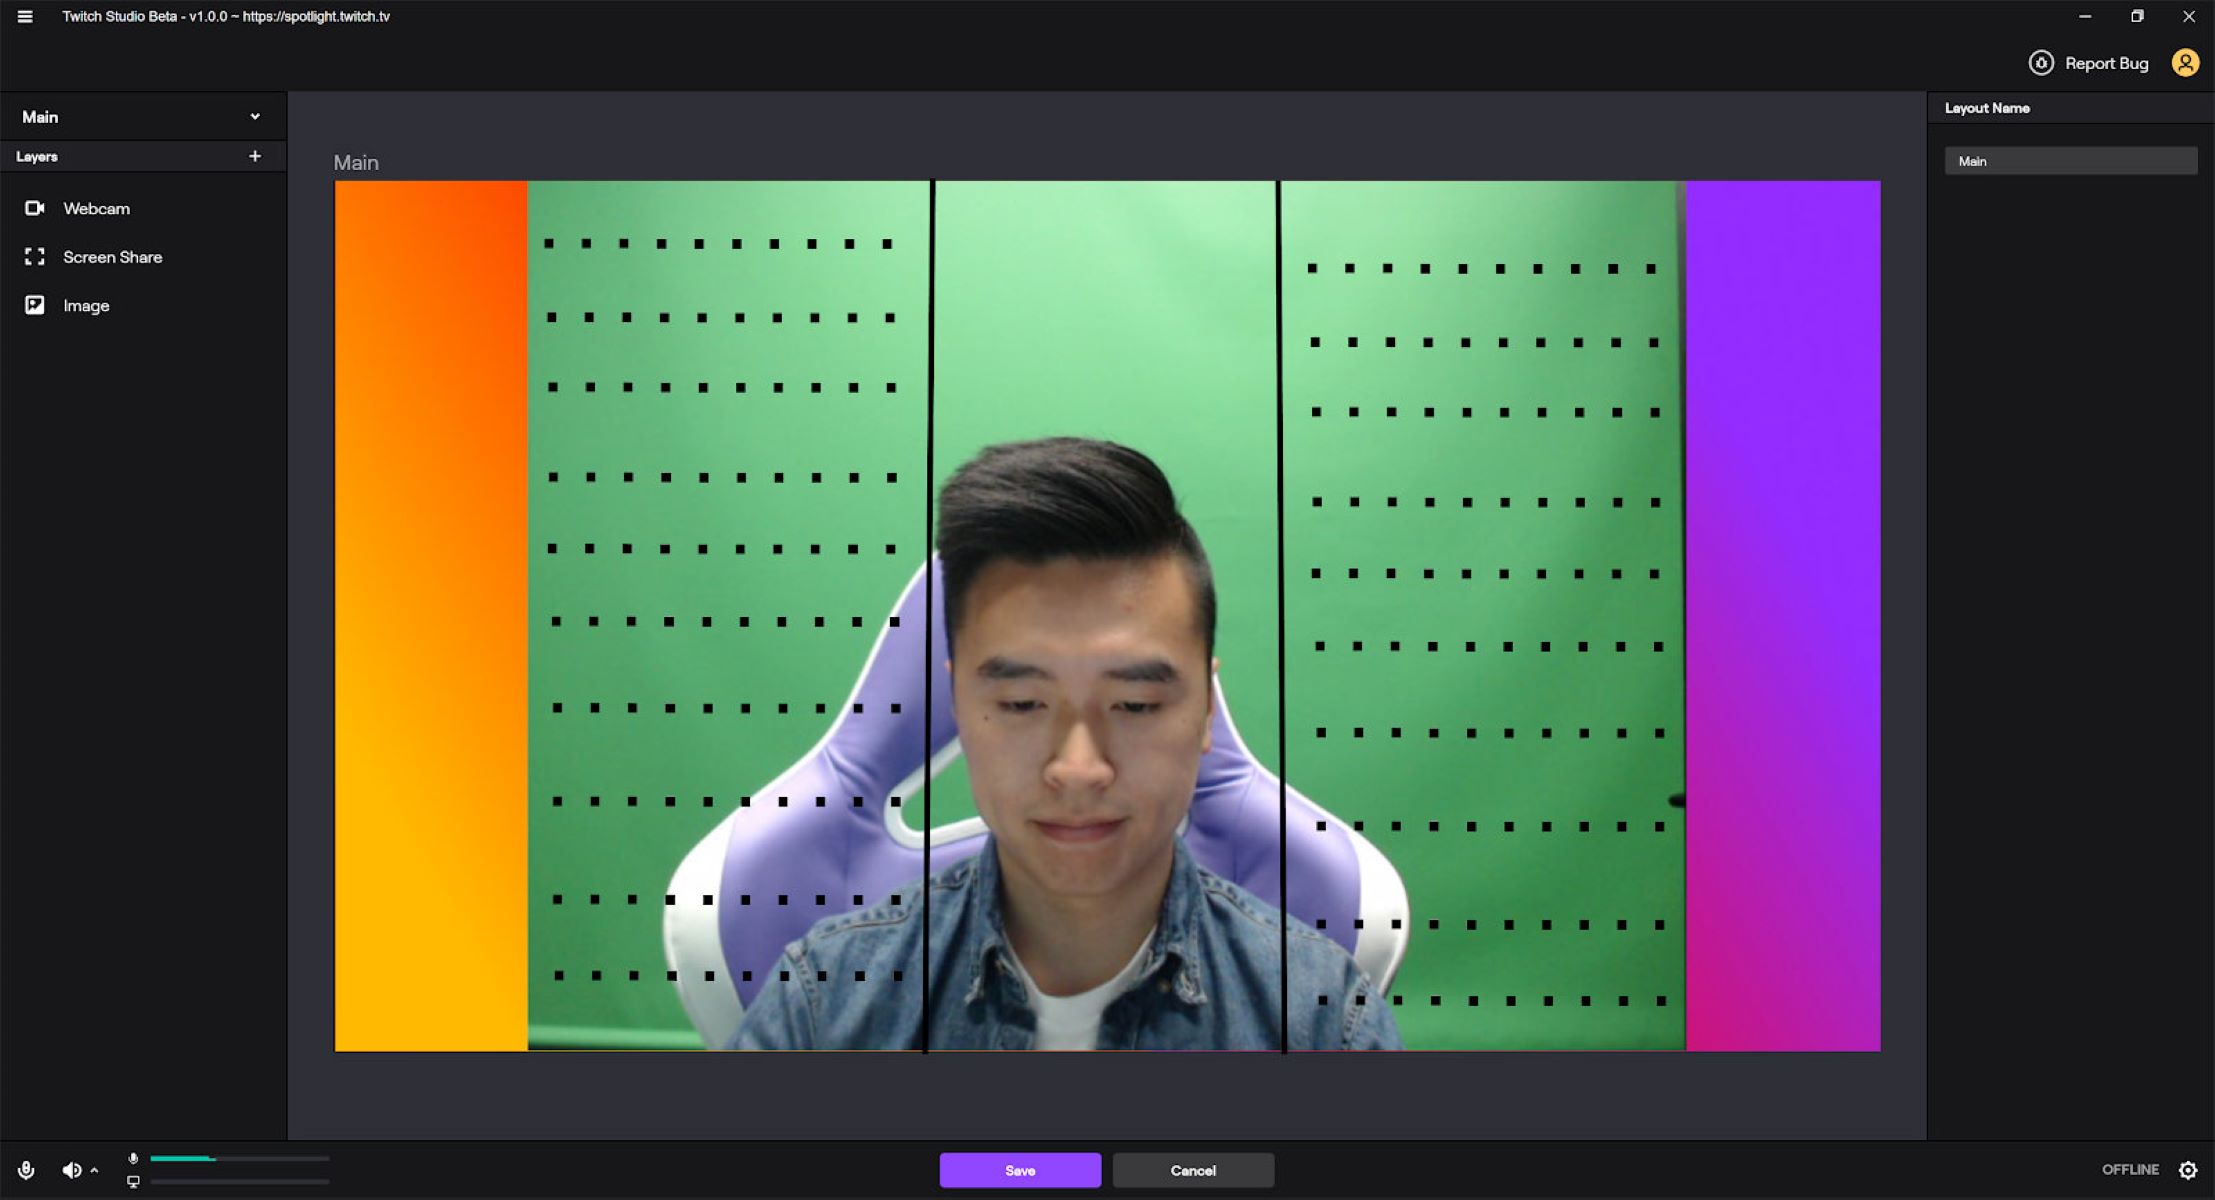
Step 5: Access Webcam parameters
1.
Often, this section is labeled Webcam, Camera, or Video tweaks.
This shows you what your viewers will see during your live streams.
- Review Default controls: Take a moment to review the default controls of your webcam.
These prefs are the initial configuration that Twitch Studio assigns to the webcam.
This allows you to make real-time adjustments until you achieve the desired look.
Step 6: Configure Webcam prefs
1.
Adjust Resolution and Frame Rate: Review the available options for resolution and frame rate in the webcam parameters.
pick the resolution and frame rate that best matches your streaming requirements and the capabilities of your webcam.
Experiment with these options to ensure that your video appears natural and well-lit.
If you are in a low-light environment, you may need to increase the exposure to enhance visibility.
Enable Autofocus (If Available): Some webcams support autofocus functionality.
This can help maintain a professional and polished appearance.
Test Different configs: While configuring the webcam configs, its a good idea to test them in real-time.
Take the time to test different configs and observe the impact they have on your video feed.
Step 7: Adjust Webcam Position and Framing
1.
Evaluate Placement Options: Consider the different placement options for your webcam.
Choose a placement that allows your viewers to see you clearly without obstructing your content or gameplay.
see to it that your face is centered in the frame and that your posture is comfortable and natural.
Avoid extreme angles or positions that may appear awkward or distracting to your viewers.
Consider Background and Lighting: Take a moment to consider the background and lighting in your streaming environment.
Ensure that the background is clean, clutter-free, and visually appealing.
Pay attention to the lighting and adjust it as necessary to avoid harsh shadows, glares, or overexposure.
Good lighting can greatly enhance the quality of your webcam feed.
Assess the framing and positioning from the viewers perspective and make adjustments accordingly.
Take note of any distracting elements or areas that need improvement.
Consider their suggestions and strive to find the best balance between visibility, positioning, and framing.
Your viewers should be able to see you clearly without any distractions or obstructions.
Step 8: Test Your Webcam
1.
Preview Your Webcam Feed: Open Twitch Studio and get into the webcam prefs.
Locate the preview or preview mode that shows your webcam feed.
This allows you to see how your video looks in real-time and make any necessary adjustments.
Check Video Quality: Observe the video quality of your webcam feed.
Ensure that the resolution, frame rate, and clarity meet your expectations and the requirements of your stream.
Pay attention to any pixelation, blurriness, or other distortions that may impact the viewing experience.
Evaluate how well it handles low-light conditions, bright lighting, and other challenging lighting situations.
Make adjustments to the exposure and lighting setup as needed.
Evaluate Audio Sync: In addition to video quality, test the audio sync of your webcam.
If you notice any delays or issues, adjust the prefs or troubleshoot your audio setup.
Interact with Movements: Perform some movements or gestures while monitoring the webcam feed.
This can include waving, nodding, or other actions that you commonly do during your streams.
Verify that the webcam captures these movements accurately and without lag or distortion.
This will give you a comprehensive view of how your webcam behaves during different streaming scenarios.
Conclusion
Adding a webcam to Twitch Studio is a fantastic way to enhance your live streaming experience.
Adjusting the webcam position and framing is crucial for achieving a visually pleasing stream.
Test your webcam thoroughly by evaluating video quality, audio sync, and interactions with movements.
Seek feedback from others to gather insights and make necessary adjustments.
Embrace the power of webcam integration and take your live streaming to the next level.
