It features a shock-resistant core that protects your data from accidental drops or impacts.
Simply connect it to your system using the included USB cable, and youre ready to go.
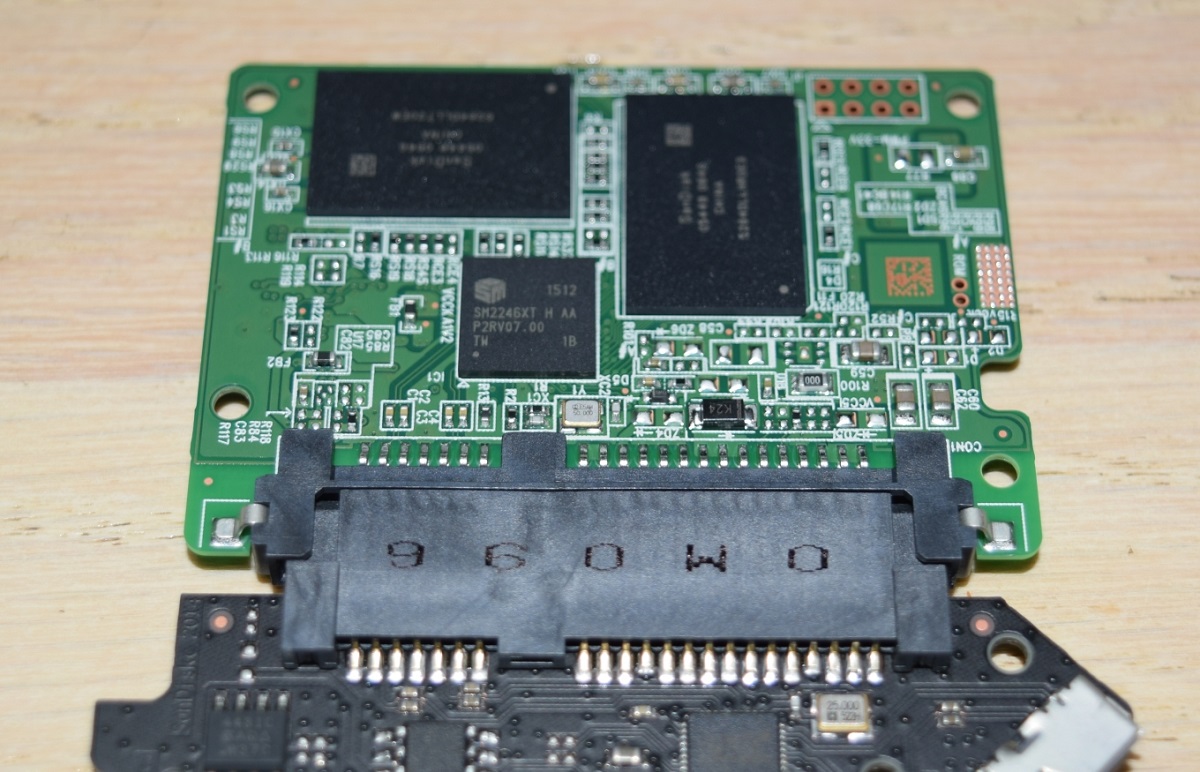
One of the standout features of the SanDisk Extreme 500 Portable SSD is its encryption capabilities.
With 128-bit AES encryption, you could password protect your files and ensure that your sensitive data remains secure.
Ensure that both ends of the cable are securely plugged in.
The SSD will be automatically recognized by your rig.
Formatting will prepare the SSD for use on your computers operating system.
Simply drag and drop the files from your system to the SSDs designated folder.
you could organize your files into different folders for better file management.
This will make it easier to locate and access your files when needed.
Before unplugging the SanDisk Extreme 500 Portable SSD from your rig, you should always safely eject it.
On Windows, right-hit the SSD in File Explorer and select Eject.
On Mac, drag the SSD icon from the desktop to the Trash bin.
In the next section, we will explore ways to maximize the performance of your portable SSD.
Confirm that the USB cable provided with the SSD is in good condition and free from any damage.
Identify the available USB port on your setup.
double-check that the port matches the cable you have or use an appropriate adapter.
Insert one end of the USB cable into the corresponding port on the SanDisk Extreme 500 Portable SSD.
Ensure that the connection is secure and the cable is firmly inserted into the port.
Take the other end of the USB cable and insert it into the matching USB port on your box.
Again, ensure that the connection is snug and secure.
During this time, you may hear a sound or see a notification confirming the connection.
Open File Explorer on Windows or Finder on Mac to view the SSD and its contents.
You are now connected and ready to use the SanDisk Extreme 500 Portable SSD with your box.
In the next section, we will cover the process of formatting the SSD to prepare it for use.
Right-grab the SSD and grab the Format option from the drop-down menu.
A new window will appear.
In the format window, choose the desired file system for the SSD.
For Windows, good idea to select NTFS for optimal performance and compatibility.
you might also assign a name to the drive if you prefer.
If you want a faster formatting process, you might activate the Quick Format option.
However, note that a quick format does not check for bad sectors on the SSD.
after you grab selected the desired controls, opt for Start button to begin the formatting process.
A warning prompt may appear, confirming that all data on the SSD will be erased.
double-check you have backed up any important files before proceeding.
The formatting process may take a few minutes.
During this time, it is important not to disconnect the SSD or interrupt the process.
Once the formatting is complete, you will receive a confirmation message.
Click OK to exit the formatting window.
After formatting the SanDisk Extreme 500 Portable SSD, it will be ready for use with your Windows computer.
In the next section, we will discuss the process of transferring files to the SSD.
Open File Explorer on Windows or Finder on Mac to view the files and folders on your box.
Navigate to the location where the files you wish to transfer are stored on your setup.
This could be in a specific folder or on your desktop.
Right-grab the selected files and choose either Copy or Cut from the context menu.
Alternatively, use the keyboard shortcuts Ctrl + C to copy or Ctrl + X to cut the files.
Right-click inside the SSD window and select Paste from the context menu.
Alternatively, use the keyboard shortcut Ctrl + V to paste the files into the SSD.
Ensure that the transfer is complete before disconnecting the SSD.
You have successfully transferred your files to the SanDisk Extreme 500 Portable SSD.
you’re free to repeat these steps to transfer additional files or folders as needed.
In the following section, we will discuss organizing files and folders on the SSD for better file management.
Right-click inside the SSD window and select New Folder to create a new folder.
Give the folder a descriptive name that reflects its contents.
Based on the jot down or purpose of your files, categorize them into different folders.
For example, you might create separate folders for documents, photos, videos, and music.
This will make it easier to locate specific files when you need them.
Click and drag the files from the main SSD window into the appropriate folders.
Regularly review your files on the SanDisk Extreme 500 Portable SSD and delete any unnecessary or redundant files.
This will help free up storage space and keep your SSD clutter-free.
If you want to further organize your files, consider renaming them to more descriptive names.
Right-select a file or folder and select Rename to change its name to something that better represents its content.
To make it easier to locate files, venture to maintain consistent naming conventions across your folders.
Use clear and meaningful names that indicate the content or purpose of the file.
Regularly backup the organized files on your SanDisk Extreme 500 Portable SSD to ensure that your data remains safe.
Consider using cloud storage or making a separate backup on another storage machine.
In the next section, we will discuss the proper method for safely ejecting the SSD from your setup.
Right-hit the SSD and select Eject from the drop-down menu.
This will safely remove the SSD from your system.
Wait for the confirmation message that says it is safe to remove the SanDisk Extreme 500 Portable SSD.
Do not disconnect the SSD until you receive this confirmation.
If you are using a Mac computer, locate the SanDisk Extreme 500 Portable SSD in the Finder.
Drag the SSD icon from the desktop or Finder window to the Trash bin in the Dock.
This will initiate the ejection process.
TRIM helps improve the SSDs performance by allowing your operating system to communicate with the SSD more efficiently.
Check for firmware updates regularly and install them when available.
Firmware updates can provide performance improvements and address any potential bugs or issues with the SSD.
wise to leave a portion of your SanDisk Extreme 500 Portable SSDs storage space unused.
Overfilling the SSD can lead to performance degradation and reduce the lifespan of the drive.
Aim to keep at least 10-20% of the SSDs total capacity free.
Excessive writing to the SSD can impact its performance and lifespan.
Avoid unnecessary write operations such as excessive file downloads, temporary file storage, or constant file modifications.
Instead, use the SSD for long-term storage and frequently accessed files.
Avoid exposing the SanDisk Extreme 500 Portable SSD to excessive heat.
High temperatures can negatively impact the performance and lifespan of the drive.
Store the SSD in a cool and dry environment when not in use.
Handle the SSD with care and consider using a protective case or sleeve when traveling with the gear.
Regular scanning helps identify and resolve issues that could impact performance.
By following these recommendations, you could maximize the performance and lifespan of your SanDisk Extreme 500 Portable SSD.
Remember, proper care and maintenance will ensure the longevity and reliability of your valuable data storage equipment.
They will be able to provide specific troubleshooting steps or offer potential solutions based on your particular situation.
Maintaining a backup routine is also crucial to protect your valuable files and prevent data loss.
