Printers with IP addresses can be connected to your connection, allowing multiple users to enter the printer remotely.
This eliminates the need for physical connections or the inconvenience of sharing printers through a single computer.
Be sure to have the printers IP address, data pipe credentials, and a reliable internet connection.
Having these details readily available will make the setup process much smoother.
Step 4: Add the printer on Windows
Adding a printer on Windows is a straightforward process.
You have successfully added the printer to your Windows computer.
Now you could enjoy the convenience of printing documents directly from your system to the printer over the internet.
Heres how you’re free to add the printer to your Mac:
Thats it!
You have now added the printer to your Mac computer.
you might now easily print from your Mac to the printer using its IP address.
You have successfully tested the printer connection and can now confidently use the printer for all your printing needs.
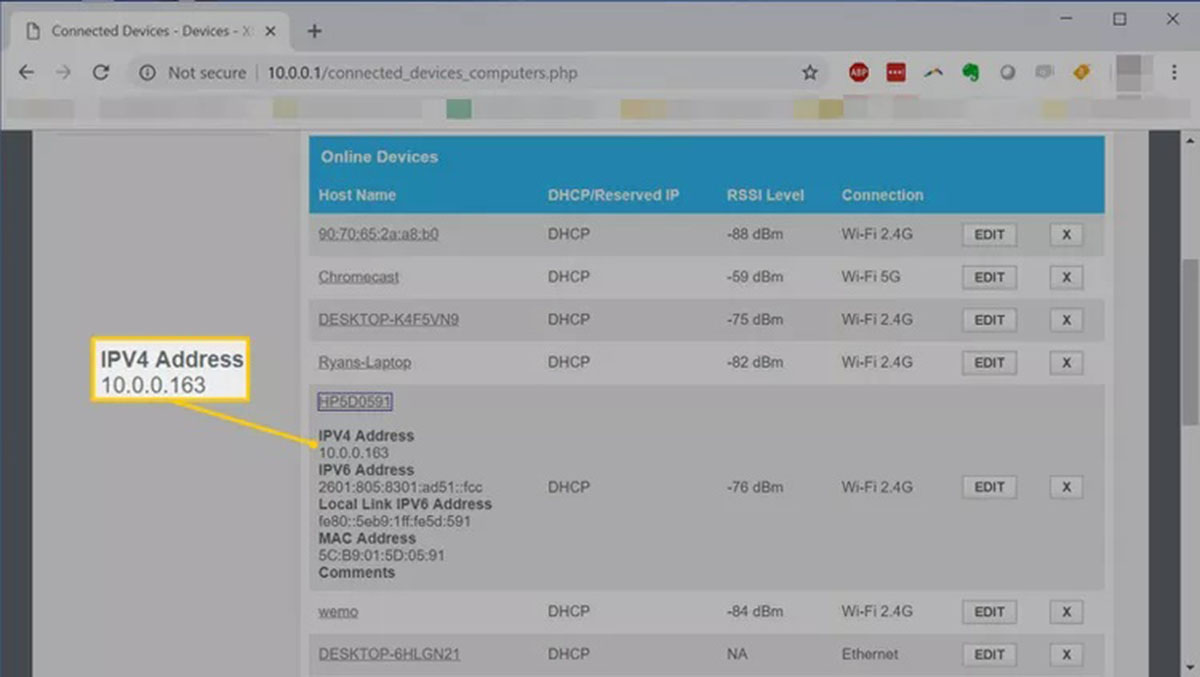
We started by gathering the necessary information such as the printers IP address and connection credentials.
Then, we showed you how to connect the printer to the web connection and find its IP address.
We covered the specific steps to add the printer on both Windows and Mac operating systems.
Finally, we emphasized the importance of testing the printer connection to ensure everything is working correctly.
Remember to keep the printers IP address handy, as it may be required for future troubleshooting or updates.
