Introduction
The advancement of technology has led to the development of faster and more efficient storage solutions.
The BIOS is a firmware that is responsible for initializing hardware components during the booting process.
It provides a platform for configuring and customizing various parameters, including the activation of theM.2 SSD.
However, with the right guidance and step-by-step instructions, the process can be easily accomplished.
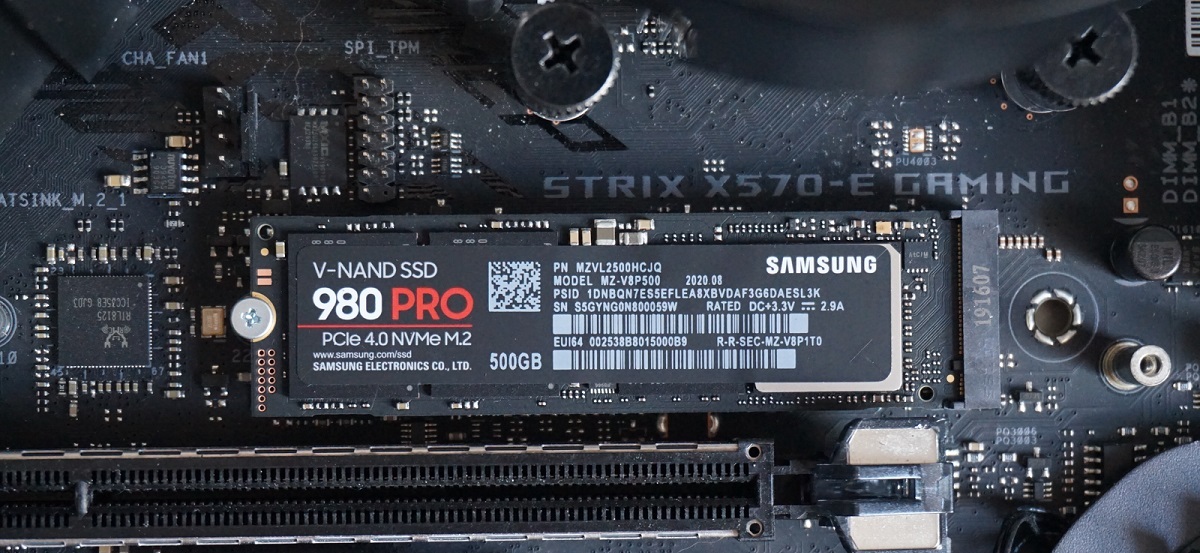
What is an M.2 SSD?
It is a compact and versatile storage solution that has become increasingly popular in recent years.
One of the main advantages of M.2 SSDs is their compact form factor.
In addition to their small size, M.2 SSDs are known for their high data transfer speeds.
This means faster boot times, quicker file transfers, and improved overall system responsiveness.
M.2 SSDs also offer different storage capacities, ranging from 128GB to several terabytes, depending on the model.
It is important to note that M.2 SSDs come in different types or keys.
The most common types are SATA-based M.2 SSDs and NVMe (Non-Volatile Memory Express) M.2 SSDs.
Overall, M.2 SSDs provide a significant performance boost compared to traditional hard drives.
Why Activate M.2 SSD in BIOS?
Lets delve into the reasons why activating the M.2 SSD in BIOS is crucial.
Firstly, activating the M.2 SSD in BIOS allows the system to recognize it as a bootable equipment.
Activating the M.2 SSD allows you to utilize and benefit from these extra features.
However, the following step-by-step guide provides a general overview of the process that applies to most systems.
Lets get started on activating your M.2 SSD in BIOS!
Step 1: Accessing BIOS1.
Start by restarting your box.2.
This is often the Delete or F2 key, but it can vary depending on your system.
Press the indicated key repeatedly until the BIOS menu appears.
Step 2: Locating the M.2 SSD configs in BIOS1.
These menus may have different names depending on your motherboards manufacturer.2.
Within these menus, locate the M.2 SSD.
It may be identified by its model name or a generic label like M.2 Slot 1.
Take note of its position or any relevant details needed for enabling it.
Step 3: Enabling the M.2 SSD1.
when you’ve got located the M.2 SSD, select it and change its status to Enabled.
Confirm the changes and save the configs by pressing the appropriate key (usually F10) to exit BIOS.
You may be prompted to confirm the changes before exiting.
Select Save and Exit or a similar option.
Step 4: Saving and Exiting BIOS1.
After saving the changes, your gear will restart.2.
Consult your motherboards manual or the manufacturers website for specific instructions tailored to your system.
Enjoy the speed and efficiency improvements that come with your newly activated M.2 SSD!
The BIOS is a firmware that provides the platform to configure and customize various controls of your computers hardware.
To dive into the BIOS, follow the steps below:
1.
Start by restarting your box.
As your box begins to boot up, pay attention to the initial screen.
It may be helpful to consult your motherboard or computer manual for the specific key to enter the BIOS.
After pressing the key, the BIOS menu should appear on the screen.
These categories include options such as Main, Boot, Advanced, Storage, or Security.
Use the arrow keys on your keyboard to navigate through the menu options.
It is important to note that the BIOS interface can be different based on your computers manufacturer and model.
Some computer manufacturers provide a graphical interface, while others rely on a more traditional text-based interface.
Regardless of the appearance, the functionality remains the same.
Read on to learn how to locate the M.2 SSD configs in the BIOS menu.
Step 2: Locating the M.2 SSD parameters in BIOS
1.
Look for options related to storage, boot, or SATA configuration.
These names may vary depending on your motherboards manufacturer, but they should be related to drive configuration.
Within the storage or drive configuration options, you should see a list of connected storage devices.
This list may include hard drives, SSDs, and the M.2 SSD.
Take note of its position or any other relevant details mentioned in the BIOS menu.
Pay attention to the available options for the M.2 SSD.
These options may be located within a sub-menu for the M.2 SSD or in the main storage configuration menu.
Press the Enter key to jump into the parameters for the M.2 SSD.
Use the arrow keys and the Enter key to make the necessary changes.
- when you obtain made the desired changes, navigate to the option to save and exit the BIOS.
Press the corresponding key, typically F10, to save the changes and exit the BIOS.
Remember that the exact steps and terminology may vary based on your computers manufacturer and BIOS version.
Step 3: Enabling the M.2 SSD
1.
Use the arrow keys on your keyboard to snag the M.2 SSD.
Once the M.2 SSD is selected, you will need to change its status from Disabled to Enabled.
Refer to the instructions provided on the BIOS screen for guidance on enabling the M.2 SSD.
After enabling the M.2 SSD, double-check any additional configs related to the SSD.
verify that the parameters align with your M.2 SSDs specifications.
- when you obtain made the necessary changes, navigate to the option to save and exit the BIOS.
Press the corresponding key, typically F10, to save the changes and exit the BIOS.
Step 4: Saving and Exiting BIOS
1.
- when you obtain located the option, press the corresponding key on your keyboard to save the changes.
Consult the BIOS screen for the specific key to save and exit.
Some BIOS menus may prompt you to confirm your choice or provide additional options before saving and exiting.
Read the on-screen instructions carefully and opt for appropriate option to proceed.
After saving the changes, the BIOS will exit, and your setup will restart automatically.
Confirm that the M.2 SSD is detected and recognized as a bootable machine.
your gear is now ready to harness the speed and efficiency benefits offered by this high-speed storage rig.
Enjoy the improved performance and faster data access that the M.2 SSD provides!
Some older systems default to SATA mode, which can lead to compatibility issues.
To resolve this, locate the interface mode parameters in the BIOS and switch it to NVMe if available.
Disconnect any unnecessary storage devices temporarily and test if the M.2 SSD is detected properly.
Manufacturers often release firmware updates that address compatibility or performance issues.
Visit the manufacturers website and follow their instructions to update the firmware if necessary.
Additionally, we provided troubleshooting tips for common issues you may encounter during the activation process.
