For any drone pilot, having a reliable and fully charged battery is a top priority.
It features a built-in battery management system to ensure safe and efficient charging.
Both methods have their advantages and can be used interchangeably based on your needs and preferences.
The power adapter provides a higher charging current, allowing for a faster charging time.
This is the recommended method when you have access to a power outlet.
DJI recommends using a power source with an output of 13.2V and 3.79A for optimal charging efficiency.
The higher the battery capacity, the longer it will take to charge fully.
The charging current refers to the amount of electrical current flowing into the battery during the charging process.
Ideally, a higher charging current will result in a shorter charging time.
This method provides a higher charging current, allowing for a faster charging time.
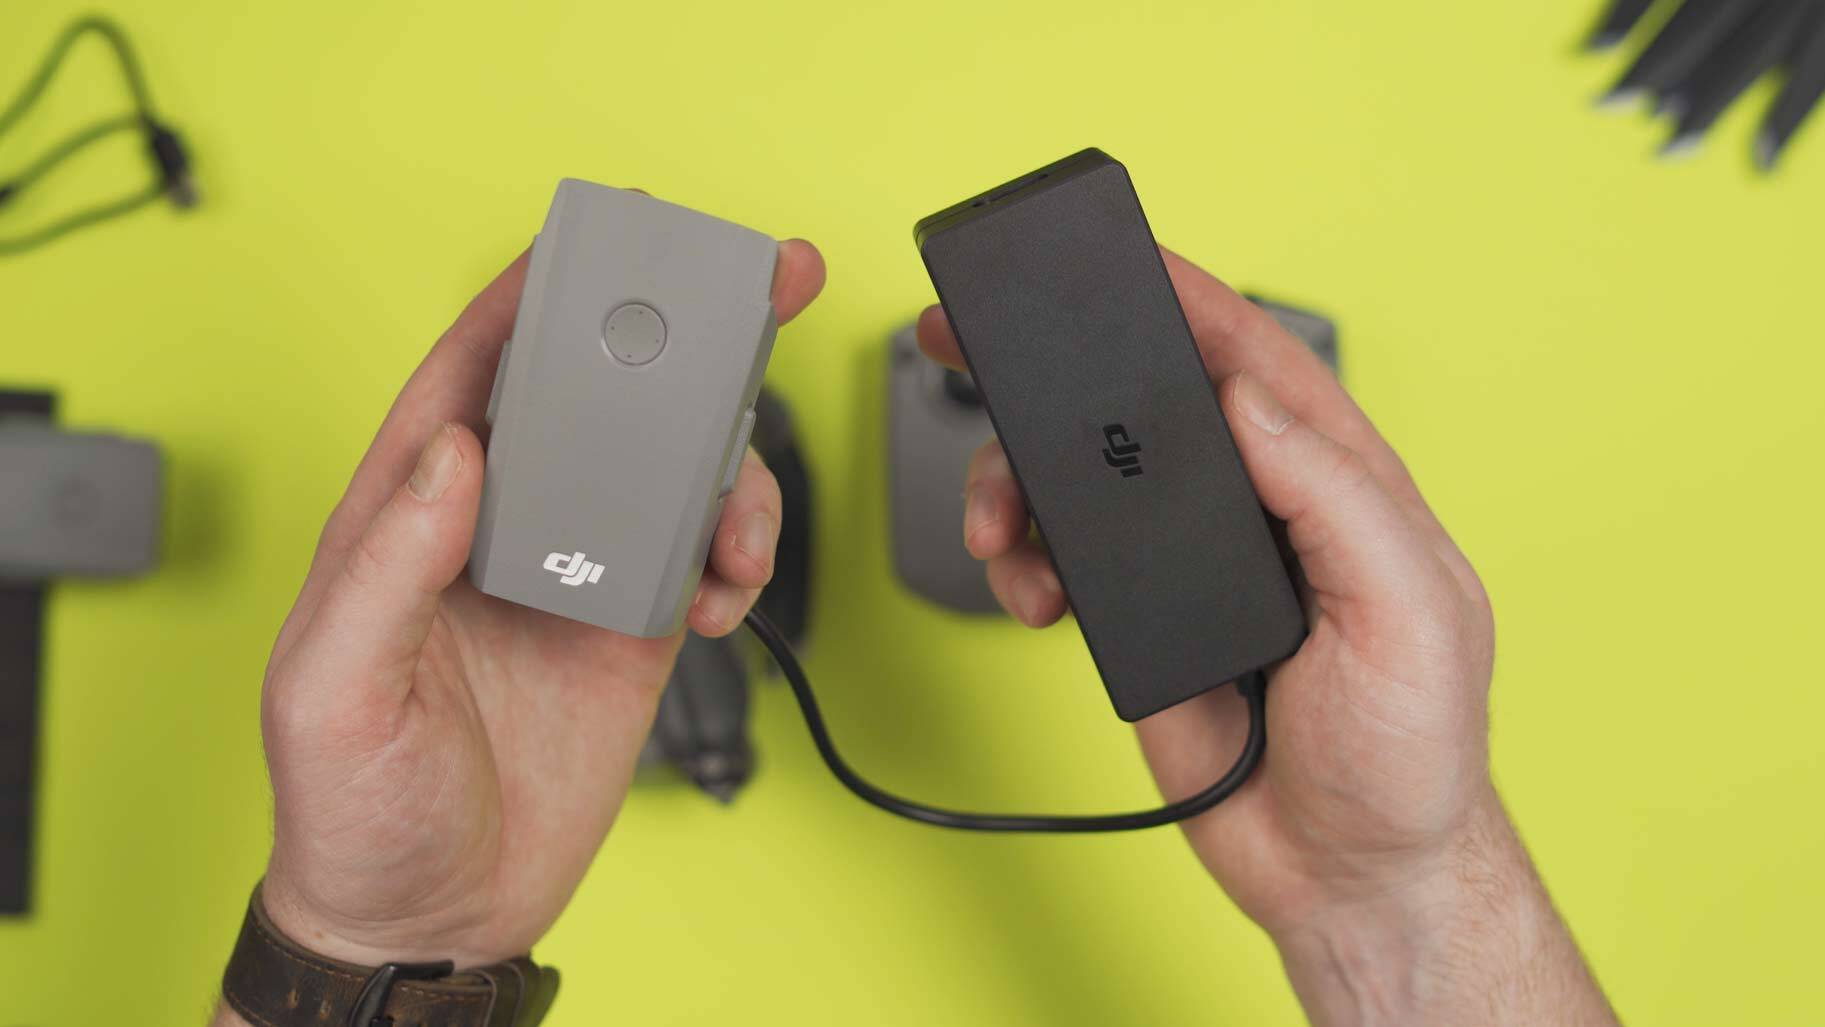
The USB pop in-C cable method offers more flexibility and convenience, especially when youre on the go.
DJI recommends using a power source with an output of 13.2V and 3.79A for optimal charging results.
Choosing the right charging method depends on your specific needs and the situation you find yourself in.
This method provides a higher charging current, allowing for a faster and more efficient charging process.
Then, connect the other end of the cable to the batterys charging port.
The charger will automatically detect the battery and initiate the charging process.
During the charging process, the batterys LED lights will indicate the progress.
When the battery is charging, the LED lights will flash slowly.
Once the battery is fully charged, the LED lights will remain solid.
Its recommended to charge the battery in a well-ventilated area and avoid covering it during the charging process.
This helps dissipate heat and ensures a safe charging experience.
Ensure that the power source provides sufficient power output to facilitate efficient charging.
This method provides a higher charging current, resulting in a faster and more efficient charging process.
The stable power supply from the AC power adapter ensures that the battery is charged safely and effectively.
The estimated charging time using this method is around 2 hours and 30 minutes.
Additionally, the ambient temperature can also affect the charging time.
Extreme temperatures, whether too hot or too cold, can impact the batterys charging efficiency.
Its advisable to charge the battery in a moderate temperature environment to achieve optimal charging results.
Lastly, the quality of the charging cable or power source can also influence the charging time.
A fully depleted battery will generally take longer to charge compared to one that is only partially discharged.
Ambient Temperature: The ambient temperature can impact the charging time of the battery.
Extreme temperatures, whether too hot or too cold, can affect the batterys charging efficiency.
better to charge the battery in a moderate temperature environment to achieve optimal charging results.
It is advisable to use high-quality cables and power sources that meet the recommended specifications by DJI.
This ensures a stable power supply and efficient charging.
This system ensures the battery is charged safely and efficiently.
By considering these factors, you’re free to better estimate the charging time and plan accordingly.
Its important to monitor the batterys charging progress and ensure that it is fully charged before each flight.
This will help you maximize your flying time and capture amazing aerial footage with your DJI Mavic Air 2.
These accessories are specifically designed for optimal compatibility and charging performance with the Mavic Air 2 battery.
Charge in a Moderate Temperature Environment: Extreme temperatures can impact the batterys charging efficiency.
Its best to charge the battery in a moderate temperature environment, avoiding extremely hot or cold conditions.
Monitor Charging Progress and LED Lights: Keep an eye on the batterys LED lights during the charging process.
The LED lights indicate the batterys charging progress slow flashing during charging, solid lights when fully charged.
This allows you to monitor the progress and ensure a complete charge before flight.
This helps maintain optimal battery health and can enhance charging efficiency.
Keep Charging Area Well-Ventilated: Ensure that the area where youre charging the battery is well-ventilated.
Good air circulation helps dissipate heat generated during the charging process, promoting safer and more efficient charging.
Use a High-Quality Charging Cable: Opt for a high-quality USB punch in-C cable that meets the recommended specifications.
A reliable cable provides a stable connection and efficient power transfer, resulting in faster charging times.
Plan Ahead: If you have upcoming flights or photography sessions, plan and charge your batteries in advance.
We explored two primary charging methods: using the AC power adapter and a USB punch in-C cable.
Understanding these factors can help optimize the charging process for efficient and safe charging.
