Introduction
Welcome to the wonderful world of slushies!
Slushies are a fun and delightful frozen beverage enjoyed by people of all ages.
They are made by blending ice and flavorful ingredients together to create a slushy, slush-like texture.
Using an ice cream maker to create a slushy has several benefits.
So lets dive in and discover how tomake a slushy with an ice cream maker.
Gather your ingredients and get ready for a refreshing and flavorful adventure!
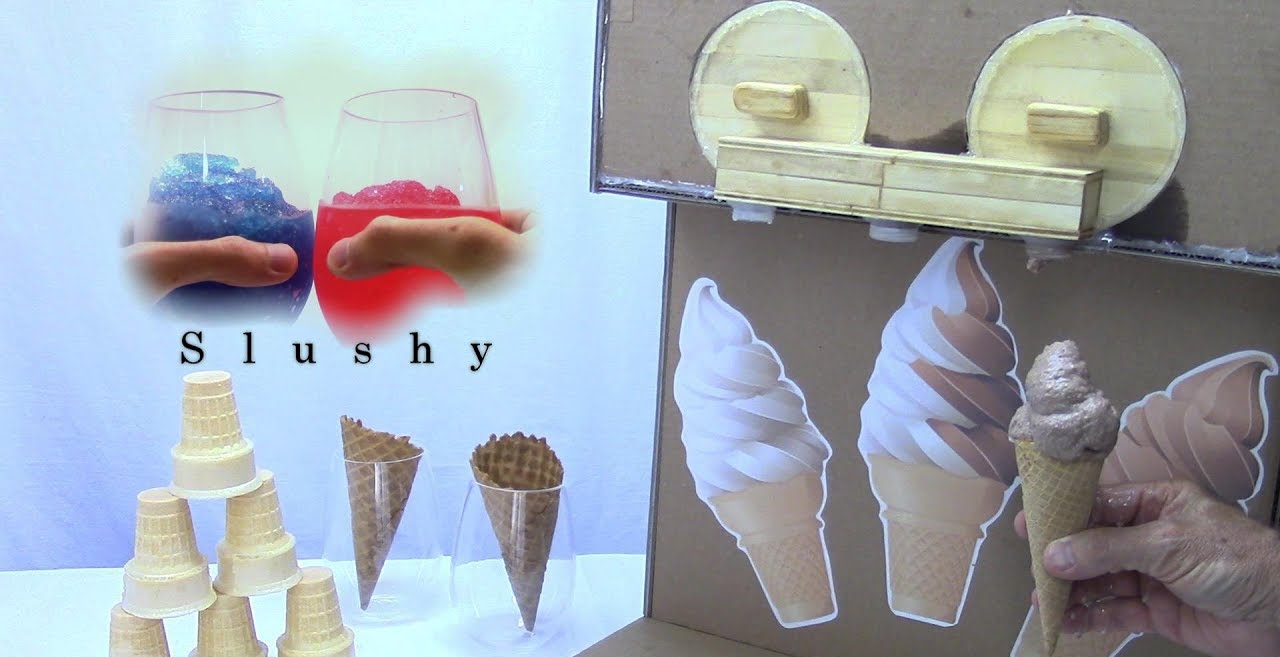
What is a slushy?
A slushy is a frozen beverage that resembles a slush or snow-like consistency.
It is typically made by blending ice with flavored liquid or syrup.
The result is a refreshing and icy treat that is perfect for cooling down on a hot day.
Over the years, slushies have gained immense popularity and can now be found in various flavors and colors.
Most slushies are made using a combination of ice and flavored syrup.
Fruity flavors like strawberry, blueberry, and mango are incredibly popular and provide a sweet and tangy taste.
Other options include classic soda flavors like cola and lemon-lime.
Some slushies even incorporate alcoholic beverages for a grown-up twist.
One of the defining features of a slushy is its texture.
The mixture of ice and liquid creates small ice crystals, resulting in a partially frozen and slush-like consistency.
This texture makes slushies enjoyable to slurp through a straw and provides a satisfying crunch with every sip.
Slushies are a popular choice for hot summer days, as they offer a refreshing and cooling sensation.
Lets explore the advantages of making a slushy with an ice cream maker:
1.
This allows you to tailor the slushy to your personal taste preferences.
This eliminates any clumps or ice chunks and guarantees a delightful slushy experience with every sip.
Quick and convenient:Making a slushy with an ice cream maker is incredibly easy and convenient.
The machine does most of the work for you, requiring minimal effort on your part.
Simply gather the ingredients, follow the instructions, and let the ice cream maker work its magic.
In no time, youll have a refreshing slushy ready to be enjoyed.
Versatility:An ice cream maker is not limited to making just slushies.
This versatility makes it a worthy investment, as it expands your options for creating delicious frozen desserts.
Healthier alternative:By making your own slushies at home, you have control over the ingredients used.
you might enjoy a refreshing slushy while still being mindful of your dietary preferences.
Cost-effective:Purchasing slushies from cafes or stores can quickly add up in terms of cost.
These are just a few of the benefits of making a slushy with an ice cream maker.
Heres what youll need:
1.
Ice:The key ingredient in a slushy is ice.
check that you have enough ice cubes to fill the ice cream makers compartment.
you might either use regular ice cubes or crushed ice.
Liquid:Decide on the flavor of your slushy and gather the appropriate liquid.
This can be fruit juice, soda, or even a flavored syrup.
The liquid will provide the flavor and sweetness to the slushy.
Garnishes (optional):To elevate the presentation of your slushy, gather some optional garnishes.
Feel free to experiment and adjust the ratios to create the perfect slushy.
Lets get started on creating a refreshing slushy!
Step 2: Prepare the ice cream maker
1.
Refer to the manufacturers instructions for specific cleaning guidelines.
Freeze the bowl:Most ice cream makers require a frozen bowl for the slushy to properly freeze.
Freezing the bowl in advance ensures that it is thoroughly chilled and ready to freeze your slushy mixture.
see to it all the parts are securely attached and there are no visible damages or loose components.
Assemble the ice cream maker:Assemble the ice cream maker according to the manufacturers instructions.
This typically involves placing the frozen bowl onto the base and ensuring it is securely locked in place.
Double-check the assembly to ensure everything is properly aligned and ready for use.
Some ice cream makers may have specific power tweaks or buttons to start the churning process.
Familiarize yourself with the controls and ensure the ice cream maker is ready to be used.
Step 3: Blend the ingredients
1.
Measure the ingredients:Start by measuring the desired amounts of ice and liquid for your slushy.
The ratio of ice to liquid will depend on the consistency you prefer.
Generally, a 2:1 ratio of ice to liquid will result in a slushy texture.
Adjust the quantities according to your personal preference.
Add the ice:Add the ice cubes or crushed ice to a blender or food processor.
verify to break up any large ice chunks to ensure even blending.
This can be fruit juice, soda, or any other flavored liquid of your choice.
Optional: Add sweeteners or flavorings:If desired, add any sweeteners or additional flavorings to the blender.
This can include sugar, honey, extracts, or even fresh fruits.
These optional ingredients can enhance the taste and customize the slushy to your liking.
The blending time will vary depending on the power of your appliance and the desired texture of your slushy.
Keep blending until the ice is completely crushed and incorporated into the liquid.
Taste and adjust:Once blended, taste the mixture to ensure it has the desired sweetness and flavor.
Adjust the flavors by adding more liquid or sweeteners if necessary.
Remember, this is your opportunity to customize the slushy to your taste preferences.
Step 4: Transfer the mixture to the ice cream maker
1.
Retrieve the frozen bowl:Remove the frozen bowl from the freezer.
verify to handle it carefully as it will be extremely cold.
Be cautious not to overfill the bowl, as the mixture will expand as it freezes and could overflow.
This mixing arm will help churn and freeze the slushy mixture during the process.
This will prevent any ice crystals or excess air from entering the mixture.
This will help avoid any issues during the freezing process.
Some models may have specific controls or buttons for starting the freezing process.
grab the appropriate setting based on your ice cream makers instructions.
Get ready for the anticipation of a deliciously frozen slushy!
Step 5: Start the ice cream maker
1.
Refer to the specific instructions of your ice cream maker to power it up.
Set the timer and temperature:Some ice cream makers come with built-in timers and temperature controls.
Set the desired time and temperature according to the manufacturers instructions.
The freezing time will vary depending on the model of your ice cream maker.
The mixing arm will begin to rotate, ensuring that the slushy mixture is continuously mixed and frozen.
Monitor the progress:Keep an eye on the ice cream maker as it churns the slushy mixture.
Watch as the mixture starts to freeze and take on a slushy-like texture.
Opening the lid can interrupt the freezing process and result in a less smooth and creamy slushy.
And there you have it!
With your ice cream maker hard at work, the slushy mixture is transforming into a frozen delight.
Now, its time to move on to the next step: checking the consistency of your slushy.
Step 6: Check the consistency
1.
This will allow you to assess the slushys consistency without it being mixed further.
Take a look at the slushy mixture inside.
Check the texture:Observe the texture of the slushy.
It should be partially frozen with a slush-like consistency, similar to a granita or crushed ice.
Use a spoon or spatula to scoop a small amount of the slushy and examine its texture.
It should be icy, yet still light and airy.
Taste a sample:Take a small taste of the slushy to evaluate the flavor and sweetness.
Allow it to churn for a few more minutes until the desired texture is achieved.
Step 7: Serve and enjoy!
Unplug the ice cream maker:Begin by unplugging the ice cream maker and turning off any power supply.
Safety is always important, and this step ensures that the machine is safe to handle.
Remove the slushy mixture:Carefully remove the lid or cover of the ice cream maker.
Using a spoon or spatula, transfer the slushy mixture into serving glasses or bowls.
Ensure you scoop out all the icy goodness.
Not only does this enhance the visual appeal, but it can also add a burst of flavor.
Serve immediately:Slushies are best enjoyed when served immediately after preparation.
The icy texture and refreshing flavors are at their peak when consumed right away.
Grab your slushy and start sipping!
Its important to note that slushies may freeze solid when stored for too long.
Experiment with different flavors, mix in fresh fruit, or even try using different liquids as a base.
The possibilities are endless, and you have the freedom to customize your slushies however you like.
Cheers to your homemade slushy success!
To elevate your slushy-making game, here are some tips and tricks to keep in mind:
1.
This helps speed up the freezing process and ensures a quicker slushy formation.
Experiment with flavors:Dont be afraid to get creative and try different flavor combinations.
Balance sweetness:Be mindful of the sweetness level when adding sweeteners to your slushy mixture.
This not only enhances the flavor but also helps to balance out the sweetness of the slushy.
Layer flavors:Get creative by layering different flavors of slushy in the same glass.
Pour one flavor first, let it freeze for a bit, then add another flavor on top.
This will add visual appeal and provide a fun taste exploration as you sip your slushy.
This adds texture, freshness, and a pop of color to your icy creation.
This helps to keep the slushy cool for longer and enhances the overall presentation.
It adds to the enjoyment and makes the experience even more delightful.
Serve and enjoy your slushy as soon as it is ready for the ultimate refreshing experience.
Remember, making the perfect slushy is all about experimentation and having fun.
Feel free to adjust the ingredients, flavors, and techniques to suit your preferences.
Now go ahead and create your own slushy masterpiece!
Each step is crucial in ensuring that your slushy turns out just the way you like it.
Throughout the journey, we also shared tips and tricks to enhance your slushy-making experience.
Remember to have fun, experiment with flavors, and dont be afraid to think outside the box.
Now, go ahead and embrace the adventure of making your own slushies with an ice cream maker.
