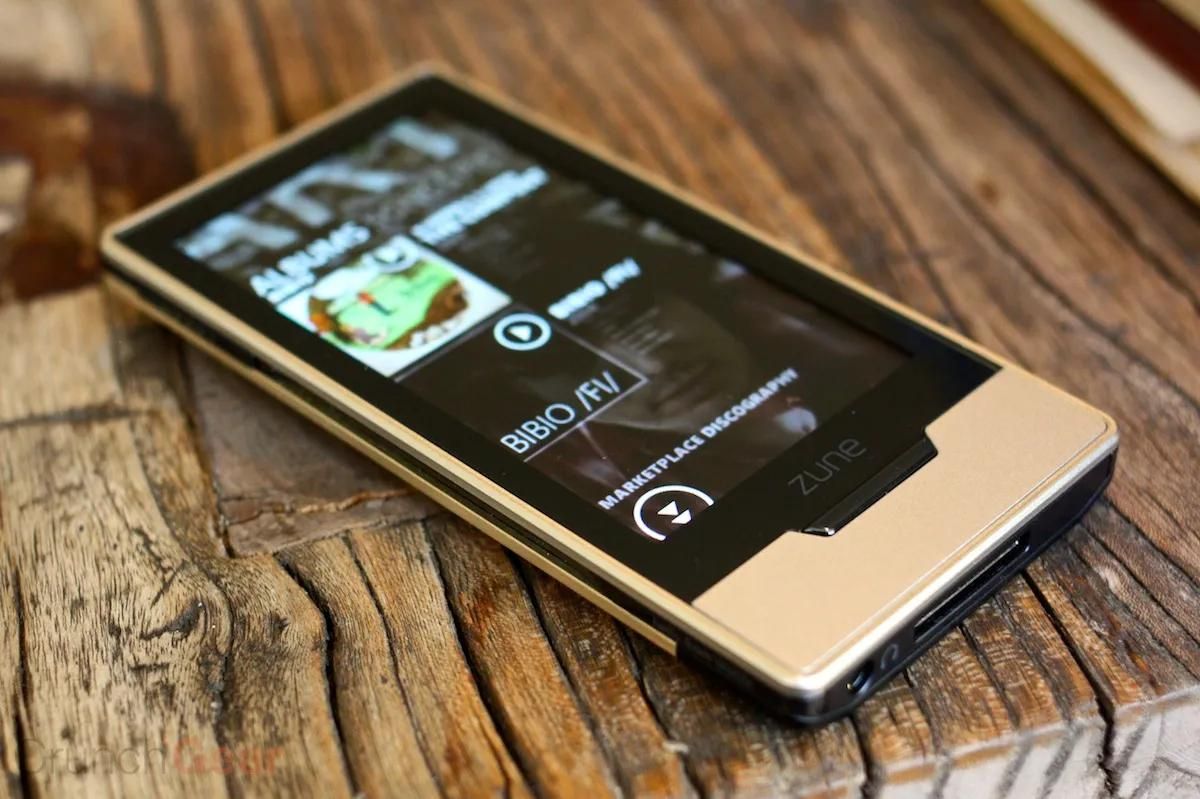
The Zune is a high-quality portable media player developed by Microsoft.
This will ensure that you have enough power to enjoy your music without any interruptions.
2.Install Zune software:Visit the official Microsoft website and download the latest version of the Zune software.
You will need to provide some basic information and agree to the terms and conditions.
4.Connect your Zune to your setup:Use the USB cable to connect your Zune to your setup.
The Zune software should automatically detect your rig and display it in the left pane.
This will ensure that your Zune is updated with the latest content from your box.
Now that you have completed the initial setup, youre ready to start downloading music to your Zune.
Setting up the software properly is essential for a seamless music downloading experience.
You will be greeted with a home screen displaying your music library and other features.
This will allow you to pull up the Zune Marketplace and purchase music directly from the software.
5.Create and manage playlists:The Zune software lets you create playlists to organize your music.
To create a playlist, navigate to the Collection tab and select Playlists.
press the Create a Playlist button and give your playlist a name.
Connect your rig to your setup using the provided USB cable.
you’ve got the option to choose to automatically sync your entire library or selected playlists.
It is usually located at the bottom or on the side of the unit.
The Zune comes with a USB cable specifically designed to connect your Zune to your rig.
ensure you insert it all the way until it clicks into place.
Its worth noting that the connection between your Zune and computer allows for more than just transferring music.
If not, tap on the Sign In button in the top-right corner and type your account credentials.
2.Explore the music catalog:Browse through the Zune Marketplace to discover new music.
4.Purchase the music:To buy a song or album, hit the Buy or Add to Cart button.
Proceed to the checkout process, where you will confirm your payment method and complete the purchase.
The cost of the music will be deducted from your Zune account balance.
you’re able to find your downloaded music in the Collection tab under the Purchased section.
Connect your Zune unit to your setup, and the software will sync the purchased music to your unit.
Insert the CD into your computers CD drive and wait for the Zune software to recognize it.
However, its important to ensure that you have the necessary rights to download and use the music.
Legitimate sources include online music stores, where you could purchase and download music in compatible formats.
Once downloaded, you could add the music to your Zune library and sync it to your rig.
Connect your Zune to your rig using the provided USB cable and launch the Zune software.
The software will detect your machine and display it in the left pane.
press the unit tab and choose the music you want to sync.
you could select specific songs, albums, or playlists, or choose to sync your entire library.
press the Sync button to transfer the selected music to your Zune rig.
The Zune software should detect your rig and display it in the left pane of the softwares interface.
2.kick off the Zune software:Launch the Zune software on your machine if its not already open.
The software will automatically sync with your connected Zune and display your devices information and available storage space.
Here, you will find all the music stored on your setup that is compatible with Zune.
4.Drag and drop:One of the easiest ways to transfer music is by using the drag-and-drop method.
Release the mouse button to initiate the transfer.
Once youre satisfied with your selection, choose the Sync button to start the music transfer process.
select this option to begin the ripping process.
you’re able to review and edit this information if needed to ensure accuracy.
This step is optional but can help keep your music library organized.
Here, you’re free to specify the quality level for the imported music files.
The Zune software will begin importing the ripped CD tracks into your Zunes library.
The progress of the import will be displayed, and you might monitor the status in the Zune software.
The Zune software will automatically detect your rig and display it in the left pane.
tap on the equipment tab and grab the newly imported music that you want to sync to your Zune.
choose the Sync button to transfer the selected music to your Zune gadget.
Some popular options include iTunes, Amazon Music, and Bandcamp.
4.Locate the downloaded music:Once the music is downloaded, locate the files on your box.
By default, downloaded music is usually stored in a designated folder or in your computers Downloads folder.
Remember the location of the files, as you will need to access them in the next step.
Then, select Music from the left sidebar.
Now, it’s possible for you to manually add the downloaded music files to your Zune library.
you could simply drag and drop the files from their saved location on your machine into the Zune software.
6.Sync the downloaded music to your Zune:Connect your Zune to your setup using the provided USB cable.
The Zune software will detect your gear and display it in the left pane.
press the gear tab and choose the downloaded music you want to sync to your Zune.
choose the Sync button to transfer the selected music to your Zune equipment.
A well-organized library makes it easier to find and enjoy your favorite songs on your Zune machine.
Create folders or playlists based on genres, artists, or albums to keep your music organized.
2.Use descriptive tags and metadata:check that your music files have accurate and descriptive tags and metadata.
This information includes details like artist name, album title, track number, and genre.
Consistent and descriptive tags make it easier to locate specific songs and ensure that your library is well-organized.
Regularly review your library and remove duplicate songs or tracks you no longer listen to.
This helps optimize your storage space and keeps your library clutter-free.
4.Create custom playlists:Playlists allow you to curate your music based on your mood or specific theme.
Regularly backup your music by copying the files to an external hard drive or cloud storage.
6.Discover new music:Dont forget to regularly explore new artists, genres, and songs.
Adding fresh tracks to your library keeps your music collection diverse and exciting.
Enjoy discovering new songs, revisiting old favorites, and letting the power of music enhance your daily life.
Conclusion
Congratulations!
You have now learned how to download music to your Zune and effectively manage your music library.
Its also essential to backup your music library to safeguard your collection in case of any unforeseen events.
Now its time to put your newfound knowledge into practice.
Let the Zune be your ultimate companion for enjoying music in the way that speaks to you.
Thank you for joining us on this journey to discover how to download music to a Zune.
We hope you have found this guide helpful and that it enhances your music experience.
