In this article, we will guide you through the step-by-step process of connecting your Chromebook to a projector.
Projectors are widely used in various parameters such as classrooms, offices, and presentations.
So, without further ado, lets get started on connecting your Chromebook to a projector.
This will ensure that you have the necessary connectivity options and the right cables for the connection.
Most modern projectors and Chromebooks come equipped with standard ports, such as HDMI and VGA.
Firstly, examine your Chromebooks ports.
Look for an HDMI or VGA port on the sides or back of the machine.
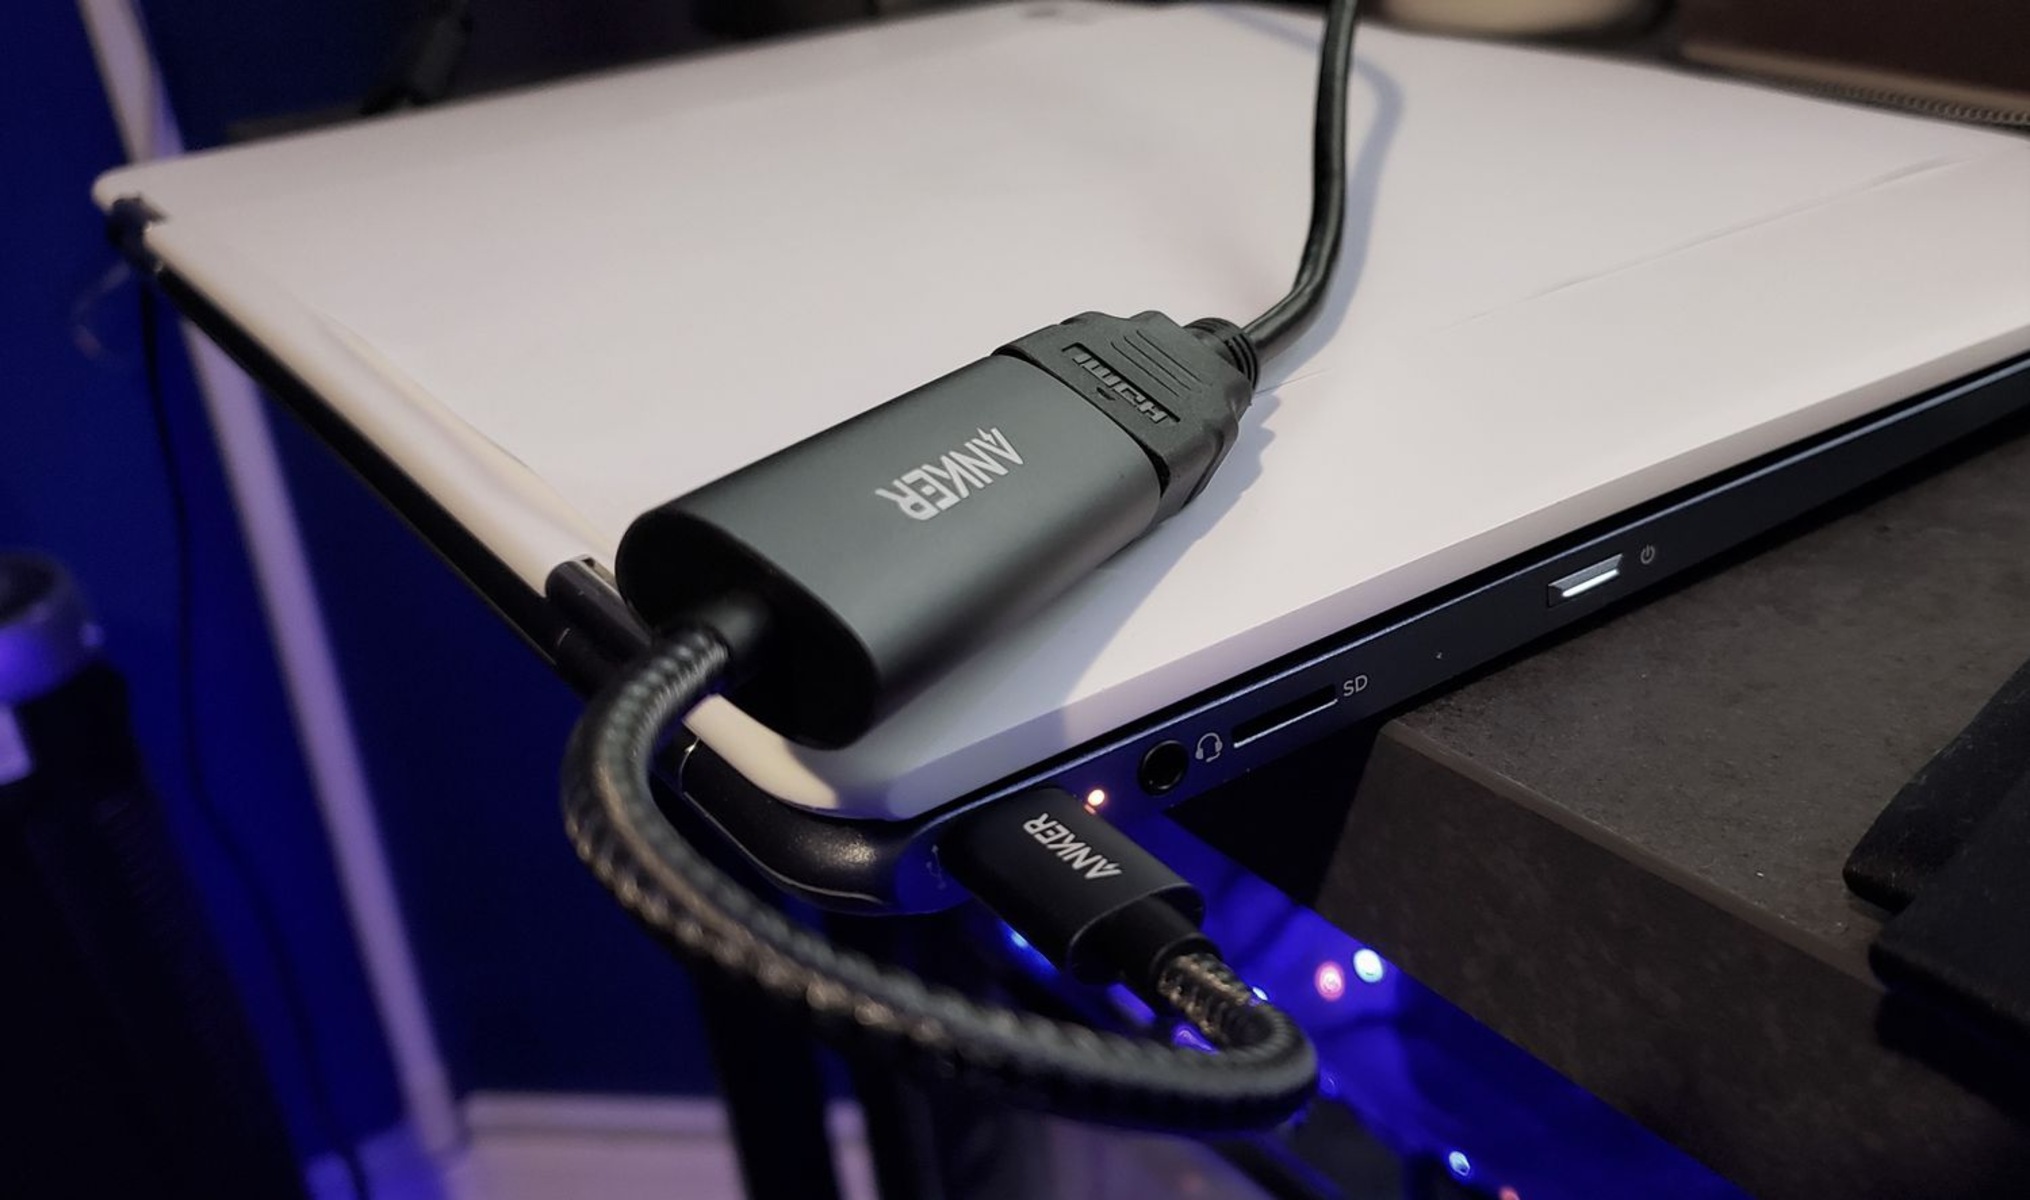
HDMI ports are rectangular and usually labeled HDMI.
VGA ports are trapezoidal in shape and labeled VGA.
Note down the ports available on your Chromebook as this will determine the key in of cable youll need.
Next, locate the ports on the projector.
Consult the projectors manual or look for labels on the unit to identify the available ports.
If your Chromebook and projector have HDMI ports, you’re free to simply use an HDMI cable.
Its recommended to use a high-quality cable to ensure optimal video and audio transmission.
By checking the ports and cables, youll have a better understanding of the connection options available to you.
This will help you proceed with confidence to the next step of connecting your Chromebook to the projector.
This step is crucial to ensure a successful and seamless connection between your Chromebook and the projector.
Start by locating the power button on the projector.
Some projectors may have an indicator light that will illuminate once its powered on.
While the projector is booting up, its a good idea to double-check the power source.
Allow the projector a few moments to warm up and initialize.
During this time, you may hear the fan running or see a loading screen on the projected image.
It may be a default image or blank screen.
First, locate the appropriate cable for the connection.
If your Chromebook and projector both have HDMI ports, use an HDMI cable.
If your projector only supports VGA, use a VGA cable.
check that the cable is securely plugged into both your Chromebook and the projector.
Once the cable is connected, your Chromebook should automatically detect the projector.
In some cases, you may need to adjust the display configs on your Chromebook manually.
punch the Display tweaks option that appears in the search results.
In the display prefs, you should see an option to identify, enable, or mirror the displays.
Choose the appropriate option based on your preference and needs.
If you want to extend your display, snag the Extend option.
If you want to duplicate your Chromebooks screen on the projector, choose the Mirror option.
Once youve made your selection, your Chromebooks screen should be visible on the projector.
Before proceeding, see to it the projected image is clear and properly aligned.
If necessary, adjust the position and angle of the projector to optimize the viewing experience.
Start by accessing the display configs on your Chromebook.
Press the Search key or the Launcher key, and jot down display prefs in the search bar.
opt for Display options option that appears in the search results.
Its recommended to set the resolution to match the native resolution of your projector for the best image quality.
you might usually find the native resolution information in the projectors manual.
Experiment with different orientations (landscape or portrait) until the projected image appears correctly.
Additionally, you may want to adjust the aspect ratio to match the content youre presenting.
The most common aspect ratios are 4:3 and 16:9.
Choose the one that best suits your needs and the capabilities of your projector.
Make any additional adjustments as needed.
Your audience will appreciate the crisp and clear visuals displayed on the projector, enhancing their overall viewing experience.
This final step will ensure that your audience can fully engage with your presentation or share your screen effectively.
Before you begin, verify the content you want to present is open and ready on your Chromebook.
Position yourself in a way that allows you to see both your Chromebook screen and the projected image.
Once youre prepared, consider using presenter mode or fullscreen mode on your Chromebook.
Presenter mode allows you to view the current slide, upcoming slides, and any speaker notes while presenting.
Fullscreen mode ensures that your entire screen is displayed on the projector for maximum visibility.
This may involve clicking or tapping to advance slides, scrolling through documents, or interacting with web pages.
As you present, engage with your audience and maintain eye contact.
Speak clearly and confidently to ensure that everyone can hear and understand your message.
Take advantage of any interactive features or annotation tools available on your Chromebook to enrich your presentation.
Make any necessary adjustments to the positioning or clarity of the projection as needed.
You have successfully connected your Chromebook to the projector and started your presentation.
We started by checking the ports and cables on both the Chromebook and projector to ensure compatibility.
Next, we turned on the projector and made sure it was ready for connection.
Finally, we reached the exciting stage of presenting our content.
With the Chromebook connected and the display prefs adjusted, we confidently started sharing our screen with the audience.
By leveraging presenter or fullscreen mode and engaging with the audience, we delivered a seamless and engaging presentation.
Remember, troubleshooting is part of the process.
With practice and experience, connecting your Chromebook to a projector will become second nature.
