By mastering text wrapping techniques, you might enhance the aesthetics and functionality of your spreadsheets.
Say goodbye to awkwardly truncated text and the hassle of resizing columns manually.
Lets dive in and discover how to make the most of text wrapping in Google Sheets.
What is text wrapping?
It is a vital tool for organizing and presenting data in a clear and concise manner.
By default, Google Sheets aligns wrapped text to the left side of the cell.
Text wrapping in Google Sheets is not limited to the display of text within individual cells.
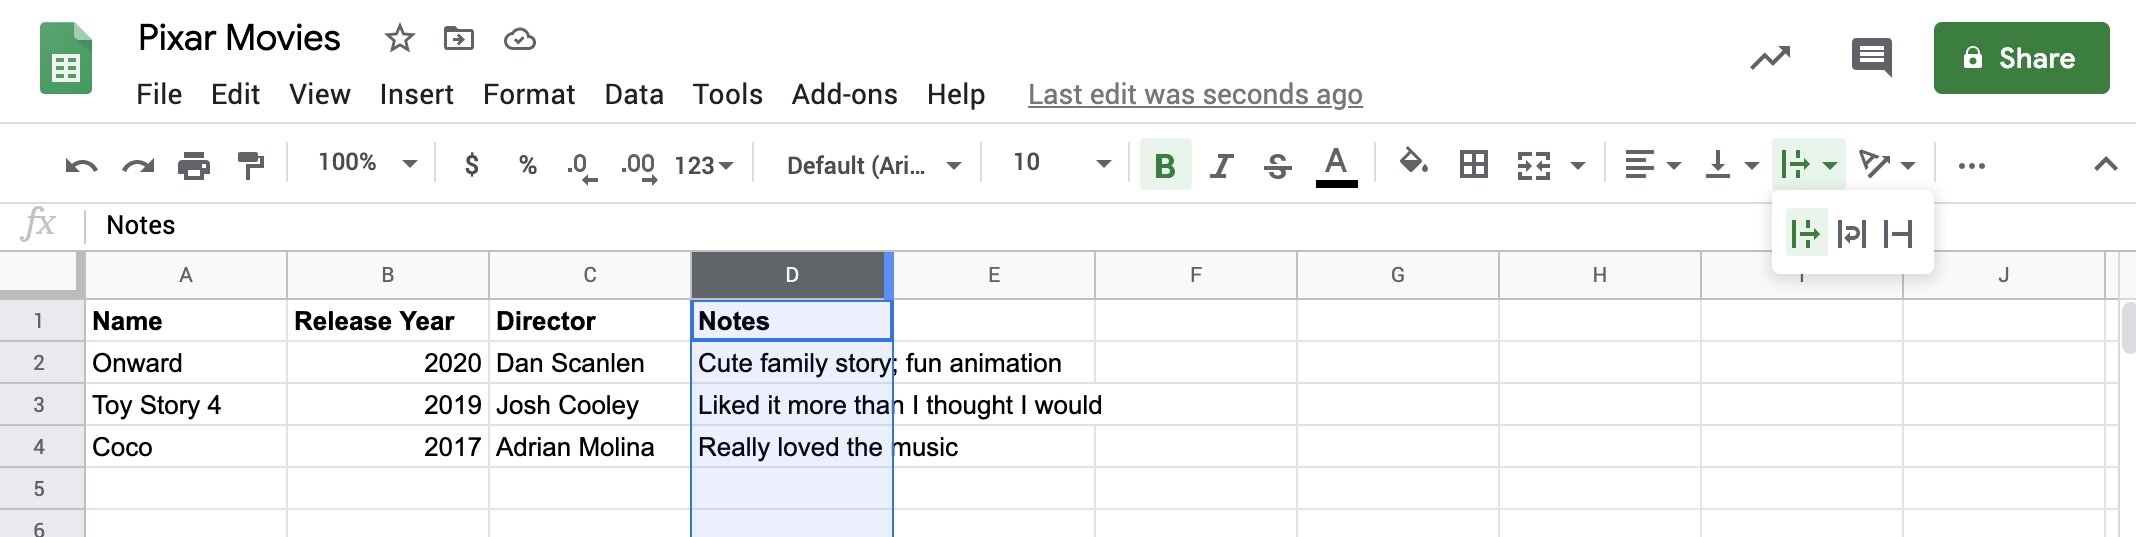
Method 3: Using the shortcut:
This shortcut will instantly enable text wrapping for the selected cells.
This will revert the cell back to the default behavior of truncating text that exceeds the cell width.
By default, Google Sheets automatically adjusts the row height to fit the wrapped text.
you’re free to add multiple line breaks within a cell to structure the content further.
To do this, repeat steps 2 and 3 for each line break you want to include.
The text will merge into a single line again, removing the line break.
Line breaks within cells provide versatility in organizing and presenting text in a compact space.
These formatting options allow you to customize how text wrapping is applied to your cells.
Remember to evaluate which formatting options best align with your data and the desired presentation style.
Understanding these factors can help you optimize your use of text wrapping in your spreadsheets.
Remember to evaluate your specific requirements and choose the most suitable method for applying text wrapping.
Experiment with different formatting options to find the optimal combination that best showcases your data.
