With the innovative noise cancelling feature, you might immerse yourself in your music and experience crystal-clear sound quality.
In this article, well explore how toactivate the noise cancelling feature on your AirPods Pro.
Well also provide some troubleshooting tips and suggestions for optimizing the noise cancelling capabilities.
So, lets dive in and learn how toturn on noise cancelling on your AirPods Pro.
Before we get into the specifics, its important to understand how noise cancelling works on AirPods Pro.
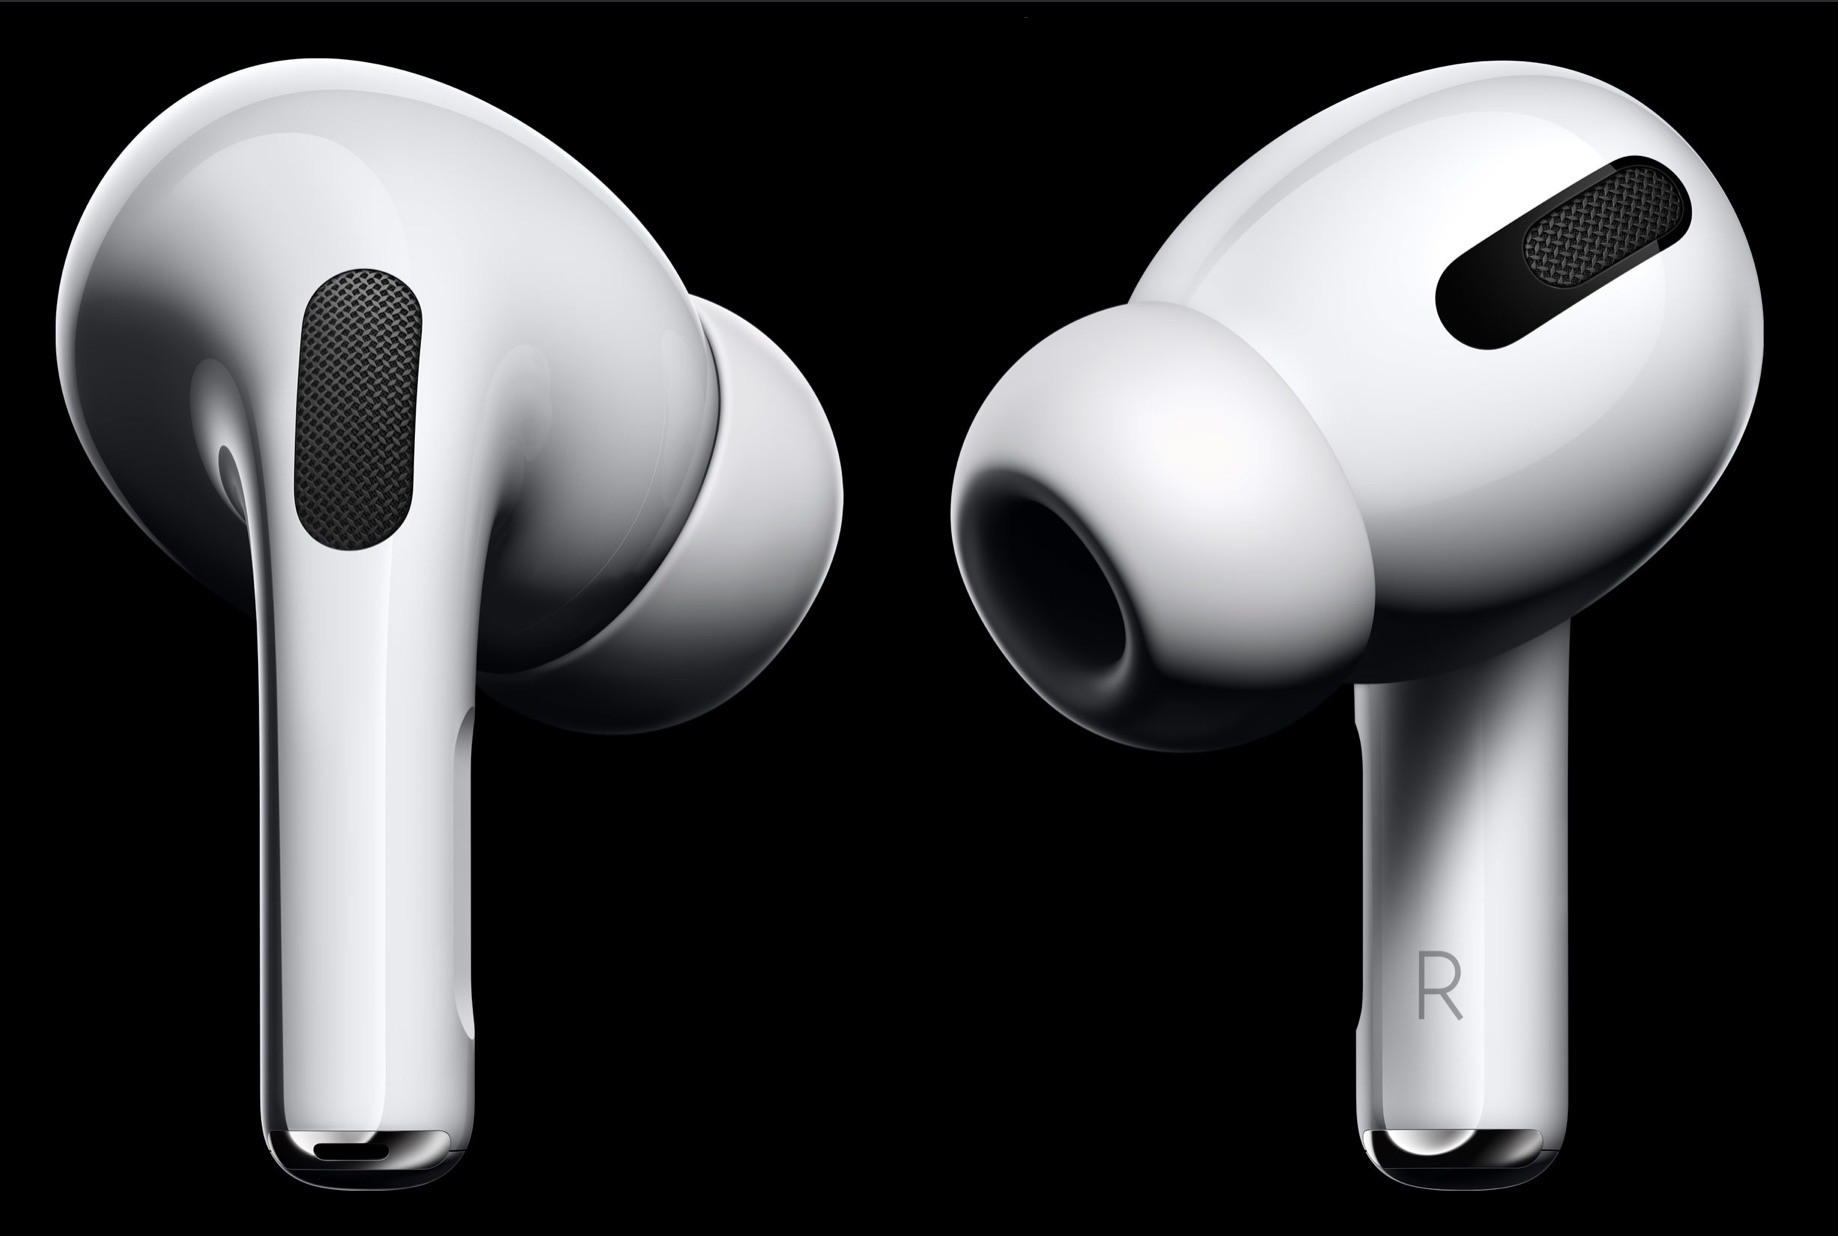
The AirPods Pro is equipped with two microphones on each earpiece.
By comparing these two inputs, the AirPods Pro can identify and measure the ambient noise level.
Once the external noise is detected, the AirPods Pros powerful H1 chip processes the sound data in real-time.
Advanced algorithms analyze the audio signals and create inverse sound waves that are emitted by the earphones.
Its important to note that the noise cancelling feature on the AirPods Pro adapts dynamically.
This ensures that you get optimal noise reduction without compromising the audio quality.
kick off the configs app on your rig.
Scroll down and tap on Bluetooth in the prefs menu.
On the AirPods Pro parameters page, youll find an option for Noise Cancellation.
Tap on the switch next to it to fire up the noise cancelling feature.
Once enabled, youll notice a significant reduction in background noise when you wear your AirPods Pro.
Enjoy the immersive audio experience!
This can often resolve any connectivity or software-related issues.
Here are a few troubleshooting tips and solutions to help you address these problems:
1.
A proper fit is crucial for effective noise cancellation.
see if your AirPods Pro have the latest firmware update.
Issue: Distorted or Muffled SoundSolution: ensure the ear tips are properly attached to the earbuds.
If they are loose or damaged, replace them with the appropriate size or a new pair.
Adjust the positioning of the AirPods Pro in your ears to ensure a better fit and optimal sound quality.
Issue: Connectivity ProblemsSolution: Disconnect and reconnect your AirPods Pro from your gadget.
This can help resolve any temporary connectivity issues.
test whether your unit has the latest software updates installed.
Updating your devices software can often improve connectivity stability.
Then, reconnect them to your gadget.
Find the right ear tip size: The AirPods Pro come with three different sizes of ear tips.
Experiment with each size to find the one that provides the best fit and seal in your ears.
A proper seal is essential for effective noise cancellation.
Properly position the AirPods Pro: verify you position the AirPods Pro correctly in your ears.
This positioning helps optimize the noise cancelling performance.
This ensures that the AirPods Pro can focus on canceling out the most prominent or distracting sounds.
This buildup can affect the noise cancelling performance and audio quality.
To enable noise cancelling, follow the step-by-step guide mentioned earlier.
if you hit any issues, refer to the troubleshooting tips provided.
Lastly, verify to incorporate the optimization tips to enhance your noise cancelling experience on AirPods Pro.
Conclusion
Congratulations!
You now have a thorough understanding of how to activate the noise cancelling feature on your AirPods Pro.
It adapts dynamically to provide optimal noise reduction while maintaining excellent audio quality.
If problems persist, reaching out to Apple Support can provide further assistance.
Additionally, using Transparency Mode when necessary and keeping the earbuds clean can optimize your overall audio experience.
Keep exploring the features and functionalities of your AirPods Pro to maximize your enjoyment.
