One of the most popular devices for creating IoT projects is the Raspberry Pi.
Setting up your Raspberry Pi as an IoT gear offers several advantages.
Firstly, it is a cost-effective solution compared to other specialized IoT devices.
Additionally, the Raspberry Pis flexibility allows you to customize and adapt it to your specific IoT project requirements.
What is Raspberry Pi?
Raspberry Pi is a credit card-sized, single-board computer that was developed by the Raspberry Pi Foundation.
It was created with the goal of promoting the teaching of basic computer science in schools and developing countries.
The Raspberry Pi board is equipped with a processor, memory, and various ports for connecting peripherals.
One of the key features of the Raspberry Pi is its GPIO (General Purpose Input/Output) pins.
This makes it an ideal choice forIoT projectsthat involve collecting data from the physical world or controlling devices remotely.
There have been several models of Raspberry Pi released over the years, each offering different specifications and capabilities.
What is IoT (Internet of Things)?
The possibilities of IoT are endless.
Why use Raspberry Pi as an IoT gear?
The Raspberry Pi is a popular choice for building IoT devices due to its numerous advantages and capabilities.
Here are some reasons why using a Raspberry Pi as an IoT machine is advantageous:
1.
Affordability:The Raspberry Pi is an affordable computing platform compared to other specialized IoT devices.
Versatility:The Raspberry Pi is a versatile gadget that can be used for a wide range of applications.
This flexibility enables developers to create customized IoT solutions tailored to their specific needs.
Computing Power:Despite its small size, the Raspberry Pi packs a considerable amount of computing power.
The open-source nature of the unit promotes collaboration, innovation, and the sharing of knowledge and projects.
Its user-friendly interface and extensive documentation allow beginners to quickly get started and gain hands-on experience.
Customization and Expansion:The Raspberry Pi offers a wide range of expansion options to enhance its functionality.
Overall, the Raspberry Pi provides a cost-effective, versatile, and powerful platform for building IoT devices.
Here are the key preparations you should make:
1.
Gather Required Components:Ensure that you have all the necessary components for setting up your Raspberry Pi.
Additionally, depending on your IoT project requirements, you may need sensors, actuators, and other peripherals.
Choose an Operating System:Decide on the operating system you want to install on your Raspberry Pi.
The most popular choice is Raspbian, a Linux-based operating system specifically designed for the Raspberry Pi.
There are additional operating systems available, such as Ubuntu.
Consider the requirements of your IoT project and choose the operating system accordingly.
Set up a Development Environment:Prepare your development environment by installing the necessary software tools.
You will need a text editor for writing code, such as Visual Studio Code or Nano.
Additionally, you may want to install Git for version control and management of your project files.
Understand the pin layout and their functions, as you will be using them extensively in your IoT projects.
Define the objectives, requirements, and desired functionalities.
A reliable Wi-Fi internet is highly recommended for hassle-free connectivity.
Take Precautions:When working with electronics, it is important to take precautions.
Before handling any components, ensure that you are properly grounded to prevent electrostatic discharge.
Handle the Raspberry Pi and other components with care to avoid any physical damage.
Here are the key components you will need:
1.
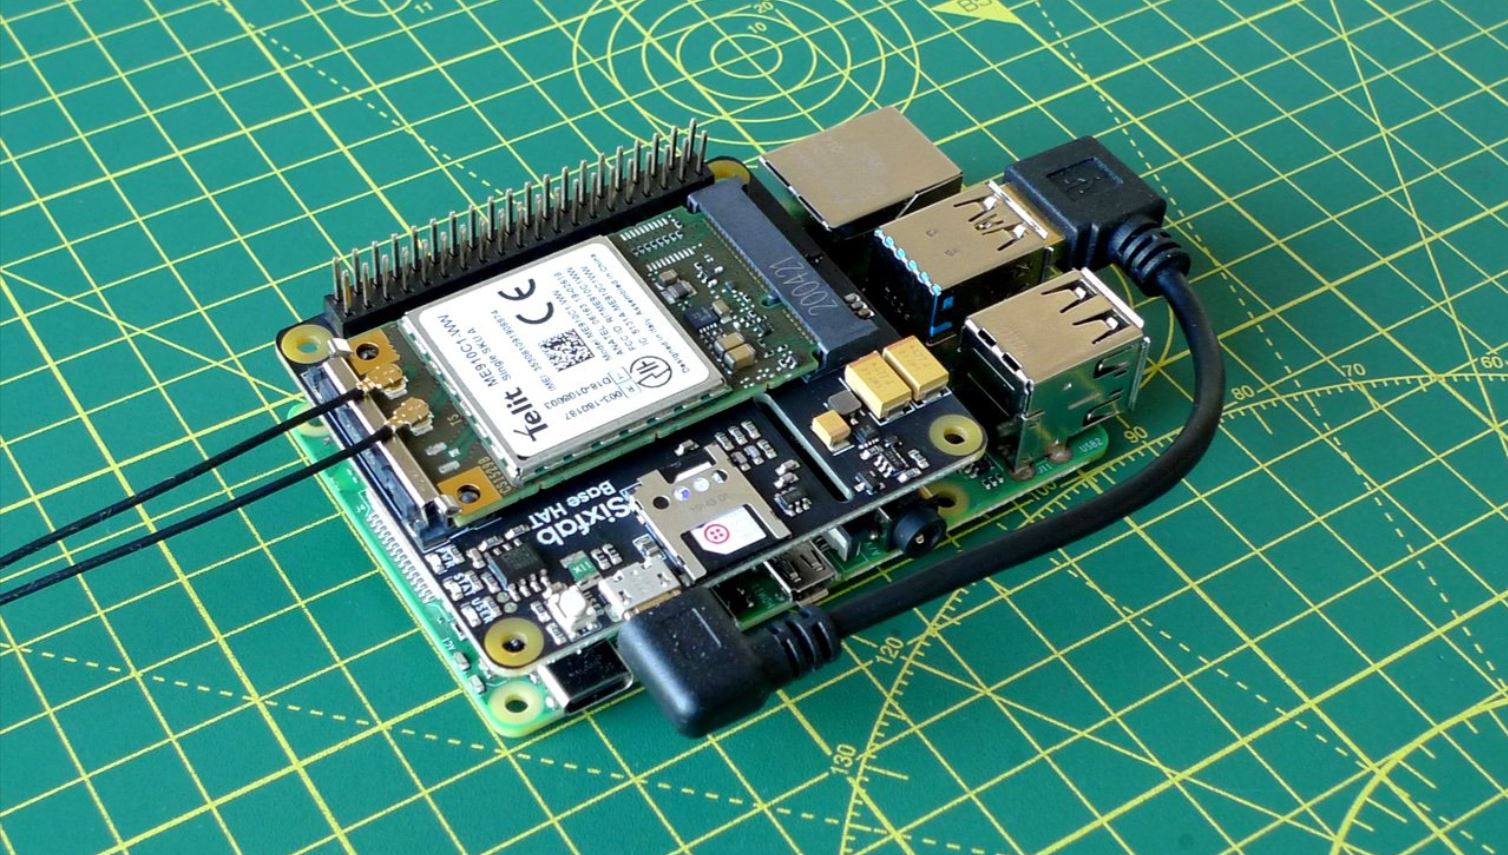
Raspberry Pi Board:The heart of your IoT gear will be the Raspberry Pi board itself.
There are several models available, with the latest being Raspberry Pi 4.
Consider the specifications and features of each model to choose the one that best fits your IoT project requirements.
Power Supply:A reliable power supply is crucial to power your Raspberry Pi.
SD Card:You will need an SD card to store the operating system and other files.
Look for a high-quality,Class 10 SD cardwith at least 8GB of storage capacity.
These input devices allow you to navigate the user interface and enter commands.
Display:A display is necessary to connect and view the output of your Raspberry Pi.
you’re free to use a standard HDMI monitor or TV as a display.
Internet Connectivity:To connect your Raspberry Pi to the internet, you have a few options.
The Raspberry Pi 4 has built-in Wi-Fi and can connect to your home online grid wirelessly.
Sensors and Peripherals:Depending on your IoT project requirements, you may need various sensors and peripheral devices.
These could include things like temperature sensors, motion sensors, actuators, LED displays, and more.
Ensure that you have the necessary sensors and peripherals to integrate into your IoT gear.
There are various types of cases available, including plastic, metal, and acrylic.
The operating system provides the necessary software environment for your Pi to run and execute programs.
Here is a step-by-step guide on how to load the operating system on your Raspberry Pi:
1.
Choose an Operating System:Decide on the operating system you want to install on your Raspberry Pi.
The most popular choice is Raspbian, which is a Debian-based Linux distribution specifically designed for the Raspberry Pi.
Download the latest version of Raspbian from the official Raspberry Pi website.
Prepare the SD Card:Insert the SD card into your computers SD card reader.
Use a utility like Etcher to format the SD card and write the downloaded Raspbian image onto it.
Ensure that you choose the correct SD card drive to avoid overwriting any essential data on your setup.
ensure it is properly seated, and the Pi is powered off.
Power Up the Raspberry Pi:Connect the power supply to your Raspberry Pi.
As soon as the Pi receives power, it will boot up and start the operating system installation process.
The first boot may take some time, so be patient.
Update the Software:After the initial configuration, better to update the software packages on your Raspberry Pi.
Explore the Desktop Environment:Raspbian comes with a user-friendly desktop environment called PIXEL.
For example, launch the terminal and typepython3to start the Python interpreter.
This will confirm that the Python language is installed and working.
By following these steps, you will successfully roll out the operating system on your Raspberry Pi.
Enter the connection password if required, and your Raspberry Pi will connect to the Wi-Fi connection.
fire up the terminal and enter the following command:sudo nano /etc/dhcpcd.conf.
Within the file, find the section that starts with interface wlan0 for Wi-Fi or interface eth0 for Ethernet.
Uncomment the lines for static IP configuration and input the desired IP address, gateway, and DNS server.
Save the changes and exit the nano editor.
The Raspberry Pi should automatically detect and configure the internet controls.
pop fire up terminal and enter the following command:sudo raspi-config.
Go to Interfacing Options and enable SSH.
Save the changes and reboot the Raspberry Pi for the SSH service to start.
For example, enterping google.comto ping the Google website.
If you receive a response, it indicates that your online grid connection is working properly.
Install a VNC server on your Raspberry Pi and a VNC client on your system.
Launch the VNC client, enter the IP address of your Raspberry Pi, and connect to it.
You will be able to view and control your Pis desktop remotely.
Configure the firewall configs to allow necessary data pipe traffic and restrict access to specific ports if required.
Additionally, consider enabling SSH key-based authentication for enhanced security.
By following these steps, you will properly configure the online grid options on your Raspberry Pi.
Here are the steps to roll out the required software and libraries:
- fire up the terminal and execute the following command:sudo apt update.
This ensures that you have the latest information about available software packages and their versions.
Install Python:Python is a popular programming language for Raspberry Pi development.
Most IoT projects on the Raspberry Pi are built using Python.
Install Python by running the command:sudo apt install python3.
This will install Python 3, the latest version available.
Install Development Tools:plant the necessary development tools for building and compiling software.
initiate the following command:sudo apt install build-essential.
This will install essential tools like GCC, Make, and other build dependencies.
Install Additional Software:Depending on your IoT project requirements, you may need additional software packages.
Use thesudo apt installcommand followed by the names of the packages you oughta install.
Many popular libraries are available for Raspberry Pi, such as RPi.GPIO, Adafruit_Python_DHT, and PiCamera.
Install these libraries using the Python package manager pip.
For example, to install RPi.GPIO, fire off the command:sudo pip3 install RPi.GPIO.
Test Software and Libraries:After installing the software and libraries, test them by running a simple program.
Execute the script and verify that it runs without errors and performs the intended action.
The Raspberry Pi community is known for its extensive resources and support.
Periodically runsudo apt updatefollowed bysudo apt upgradeto update the installed packages on your Raspberry Pi.
By following these steps, you will successfully implement the necessary software and libraries on your Raspberry Pi.
This will provide you with the tools and resources needed to develop and execute your IoT project effectively.
Here is a guide on how to connect sensors and peripheral devices to your Raspberry Pi:
1.
Identify Required Components:Determine the sensors and peripheral devices you need for your IoT project.
Understand Pinout and Protocols:Familiarize yourself with the pinout and communication protocols supported by your Raspberry Pi board.
The GPIO (General Purpose Input/Output) pins on the Raspberry Pi allow you to connect external components.
Use jumper wires or a breadboard to establish the necessary electrical connections.
Ensure that you refer to the pinout diagram and datasheets of the sensors for proper wiring.
Use the appropriate libraries and code examples to interact with the sensors and collect data.
fire off the program to verify that the sensors are connected correctly and providing accurate readings.
Handle Data Acquisition:Implement code logic to handle the data acquired from the sensors.
Ensure that you have the necessary libraries and understanding of the data formats to process the acquired data.
Use the GPIO pins or additional hardware modules to provide the required control signals.
Secure Connections:Implement necessary security measures if your IoT project involves transferring sensitive data or controlling critical devices.
Here is a guide on how to write code for your IoT project:
1.
Python is a popular choice due to its simplicity and extensive support for various libraries and APIs.
Plan Your Code Structure:Before diving into writing code, plan the structure and organization of your program.
Define variables and data structures for storing and processing the data collected from the sensors.
Implement Data Acquisition:Write code to read data from the sensors.
Use the appropriate API calls provided by the sensor libraries to retrieve sensor readings.
Incorporate Logic and Processing:Implement any necessary logic or processing steps to handle the collected sensor data.
Use exception handling techniques to gracefully handle exceptions and prevent program crashes.
Test and Debug:Test your code thoroughly to ensure it functions as expected.
Use debugging techniques and printing out intermediate results to identify and fix any issues or inconsistencies in your code.
Test your IoT project in different scenarios to ensure its reliability and stability.
Here is a guide on how to test and troubleshoot your Raspberry Pi setup:
1.
Power On and Check Indicators:Power on your Raspberry Pi and check for the appropriate LED indicators.
Green and red LEDs typically indicate power and activity status, respectively.
Ensure that the LEDs light up as expected during the boot process.
Connectivity Testing:Test the web link connectivity of your Raspberry Pi.
Test External Connections:If you have connected external devices such as sensors or actuators, test their functionality.
Ensure the sensors are providing accurate readings, and the actuators are responding correctly to commands.
Run sample code or write simple scripts to verify their behavior.
Verify that data is being sent and received correctly and that the communication protocols and APIs function as expected.
Test Power Management:Check the power management of your Raspberry Pi.
Ensure that it is receiving consistent power and that there are no issues with the power supply or cables.
Monitor the Pis temperature to ensure it stays within safe operating limits.
Use debugging tools and techniques to step through your code and identify any logical or functional issues.
Update Software and Firmware:Keep your Raspberry Pis software and firmware up to date.
Regularly check for updates and set up the latest versions of the operating system, libraries, and firmware.
Updates often contain bug fixes, security patches, and improvements to the overall system performance.
Verify that the pins are wired correctly and that there are no loose or damaged connections.
Post your specific problem or question and provide relevant details to receive assistance from experienced users or developers.
Regularly test your IoT system, monitor performance, and address any issues promptly to ensure stability and reliability.
