Introduction
Are you looking to upgrade your computers storage capacity and speed?
Installing a solid-state drive (SSD) as a second drive is a great way to achieve this.
Additionally, check that to back up any important data before making any hardware changes to your rig.
check that to shut down your box and unplug the power cord before proceeding.
Having everything ready will make the installation process smoother and more efficient.
Taking these precautionary steps will prevent any accidental damage and ensure your safety throughout the process.
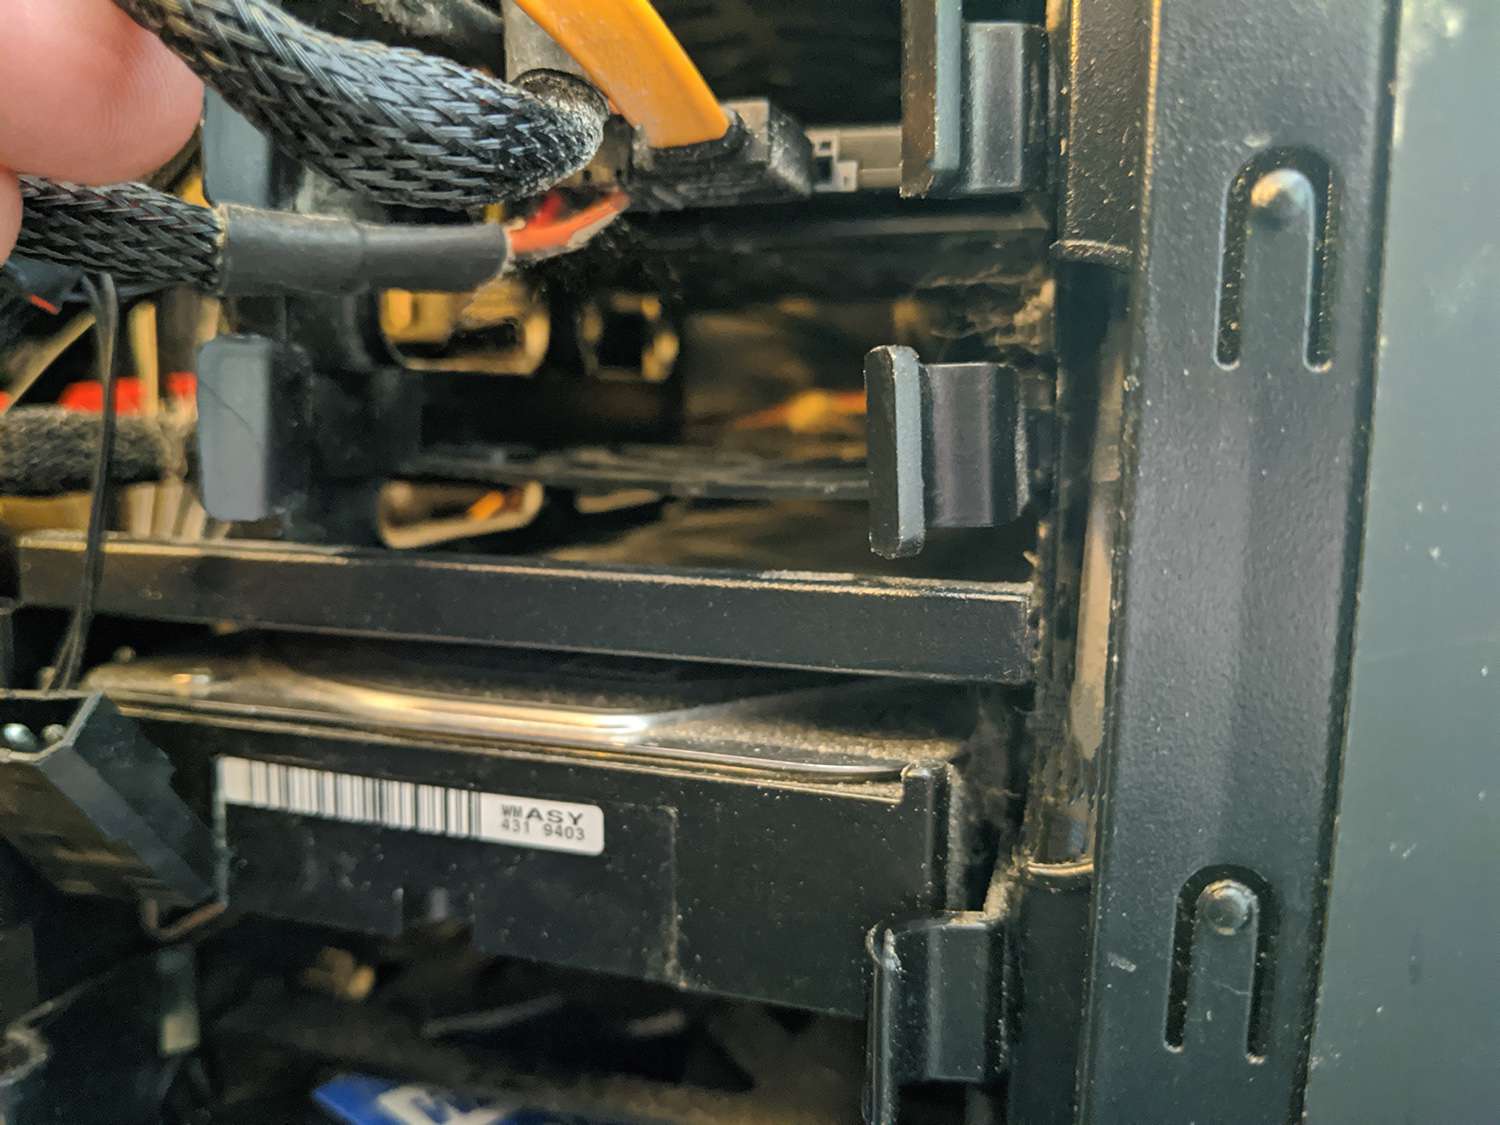
Opt for a location that provides easy access for installation and future maintenance.
Its also important to ensure proper airflow to prevent the SSD from overheating.
The SATA cable will connect the SSD to your computers motherboard, allowing data transfer and communication.
Proceed to the next step to connect the power cable and provide power to the SSD.
Move on to the next step to learn how to secure the SSD in place.
Properly securing the SSD will ensure that it stays in place and prevents any accidental dislodging or damage.
This step ensures the longevity and stability of your SSD, providing seamless performance and peace of mind.
To find the exact instructions for your specific computer, check the user manual or visit the manufacturers website.
With the BIOS successfully accessed, move on to the next step to learn how to configure the SSD.
Proceed to the next step for more information.
Testing the installation will help verify that the SSD is recognized by your gear and performing as expected.
You have successfully installed and tested your SSD as a second drive.
Each step is crucial to ensure a seamless and functional SSD installation.
Remember to consult your computers manual or manufacturers website for any specific instructions or compatibility concerns.
Backing up your data prior to making any hardware changes is also highly recommended to avoid any potential loss.
Congratulations on successfully installing a solid-state drive as a second drive!
