But what if you want to transfer these photos from your equipment to your setup?
We will also address common troubleshooting issues that may arise during the process.
Start by locating the USB port on your machine and the corresponding port on your phone.
Plug one end of the USB cable into your setup and the other end into your phone.
Once connected, your rig should recognize your phone as a storage machine.
Enable Bluetooth on both your phone and your gear, and pair the devices.
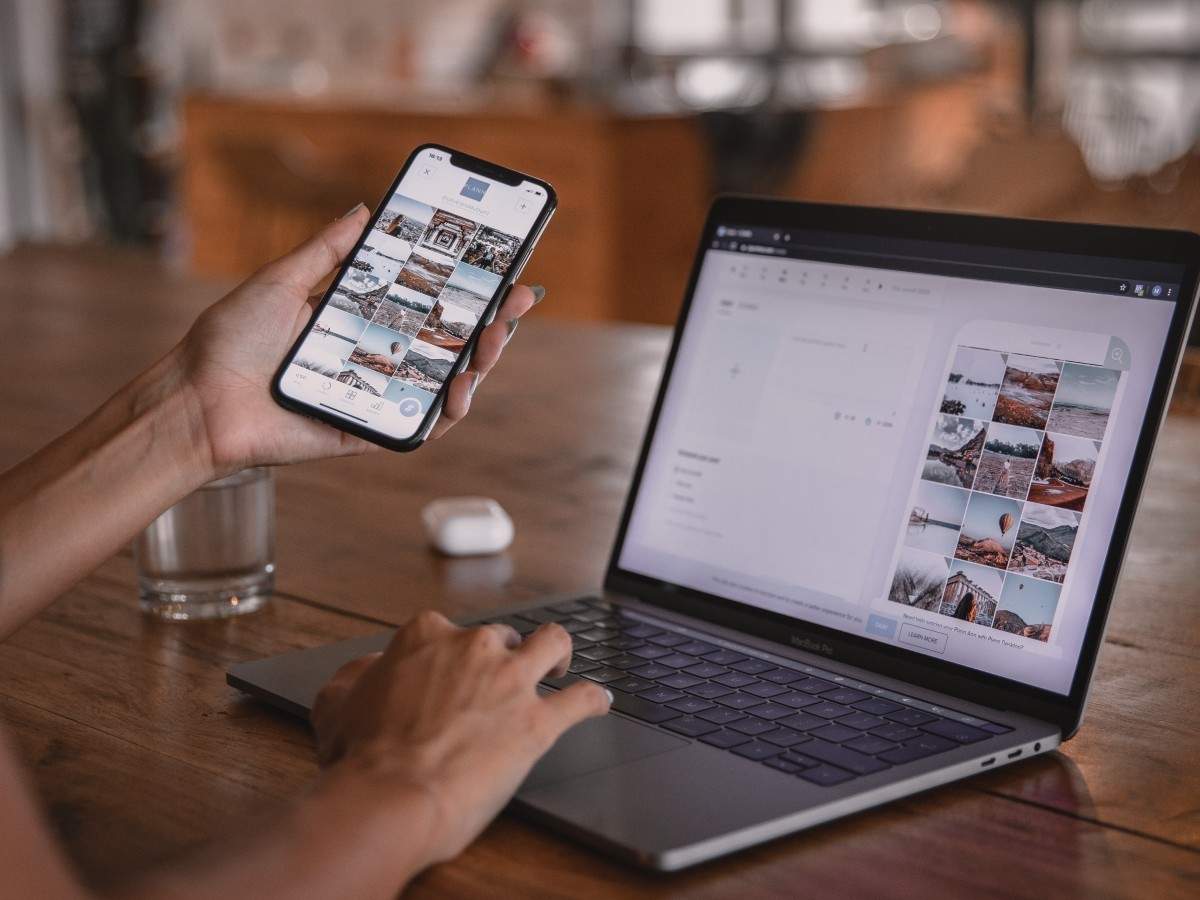
you could swipe through the images to preview them and decide which ones to select.
To transfer individual photos, tap on them to highlight them.
once you nail made your selections, look for the share or export option within the Gallery app.
This option may be represented by an icon that resembles a square with an arrow pointing out.
Tap on it, and you will be presented with different sharing options.
From the sharing options, choose the method of transfer that aligns with your previous connection method.
If youre using Wi-Fi transfer or Bluetooth, choose the respective option from the list.
After selecting the transfer method, follow the prompts and instructions to initiate the transfer of the selected pictures.
To begin, locate the USB port on your machine and the corresponding port on your Samsung Galaxy 5.
Connect one end of the USB cable to your setup and the other end to your phone.
check that the connections are secure.
A notification may appear on your phone, asking you to grant access to your phones files.
Tap on Allow or Grant to establish the connection.
On your rig, initiate the default file manager or explorer program.
It should recognize your Samsung Galaxy 5 as a portable equipment or external storage media.
you could dive into the phones storage by navigating to the appropriate folder.
Depending on the file manager or explorer system youre using on your system, the interface may vary.
However, the general principle remains the same.
You should see your phones internal storage or SD card listed as a separate drive or gear.
kick off the folder that contains the pictures you want to transfer.
it’s possible for you to typically find your pictures in the DCIM or Pictures folder.
Once youve located the desired pictures, select them by clicking or highlighting them.
Navigate to the destination folder on your setup where you want to transfer the pictures.
Right-click inside the folder and choose the paste option.
you’re able to also use the Ctrl+V keyboard shortcut to paste the files.
The selected pictures will now transfer from your Samsung Galaxy 5 to your setup.
The transfer speed may vary depending on the size and number of pictures being transferred.
Once the transfer is complete, you will find the pictures in the destination folder on your system.
Using the USB cable to transfer pictures is a reliable and efficient method.
Next, we will explore another method of transferring pictures wirelessly using Wi-Fi transfer.
This method allows you to transfer photos without the need for cables, providing flexibility and convenience.
This is crucial for establishing a successful connection between the two devices.
From the sharing options, grab the Wi-Fi transfer option.
Once the connection is established, you should see a list of the selected pictures on your computers screen.
Choose the destination folder where you want to download the pictures, and initiate the transfer.
The transfer speed may vary depending on the size of the pictures and the Wi-Fi networks capabilities.
Wi-Fi transfer provides a convenient and cable-free method to download pictures from your Samsung Galaxy 5 to your rig.
Consult your phones user manual or visit the official Samsung support website for more information on using Wi-Fi transfer.
Bluetooth technology allows for direct communication between devices without the need for cables or an internet connection.
On your phone, go to the options app and locate the Bluetooth options.
Toggle the Bluetooth switch to turn it on.
On your box, pull up the Bluetooth options.
Enable Bluetooth if its not already turned on.
Tap and hold on a picture to enter selection mode, then choose the pictures you want to transfer.
With the pictures selected, tap on the share or export option in the Gallery app.
From the sharing options, grab the Bluetooth option.
Your phone will then search for available Bluetooth devices nearby.
Accept the request to establish the connection between the two devices.
Once the connection is established, the Bluetooth transfer will begin.
The transfer speed may vary depending on the file sizes and the Bluetooth version supported by your devices.
On your machine, specify the destination folder where you want to save the transferred pictures.
Here are some troubleshooting tips to help you overcome these challenges:
1.
Restarting both devices and trying different USB ports or Wi-Fi networks can also help resolve connectivity problems.
Large files can result in slower transfer speeds.
Consider installing or updating a suitable image viewing software on your gear if needed.
Check for app updates or consider using alternative file transfer methods if the issues persist.
Throughout this article, we explored various methods for accomplishing this task.
Each method offers its own advantages and may cater to different preferences or circumstances.
For those who prefer a direct and reliable connection, using a USB cable simplifies the transfer process.
Alternatively, using Wi-Fi transfer offers the convenience of a wireless connection.
Lastly, we explored transferring pictures via Bluetooth, which allows for wireless communication between devices.
