Introduction
Welcome to this informative guide on how to clear RAM cache.
To ensure optimal functioning and to regain lost performance, it is essential to erase the RAM cache regularly.
It can help resolve slowdowns, improve responsiveness, and create a smoother user experience.
It is important to note that clearing the RAM cache is different from clearing the entire systems RAM.
This process does not cause any data loss or affect the functionality of your gear in any adverse way.
Whether youre using a Windows, Mac, or Linux operating system, weve got you covered.
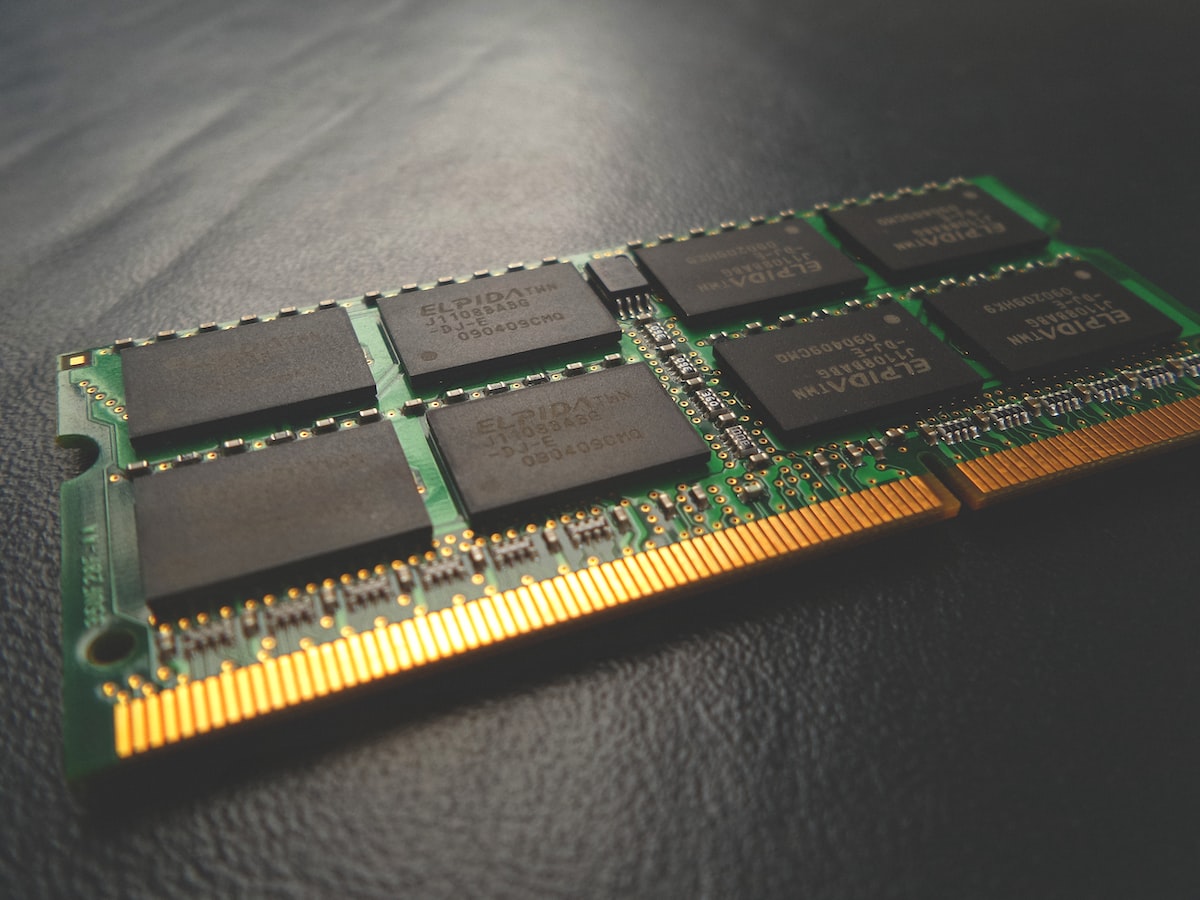
What is RAM Cache?
RAM cache, short for Random Access Memory cache, is a component of your computers memory management system.
This data can include recently accessed files, program instructions, and other temporary information.
This can significantly speed up your computers performance, allowing you to multitask seamlessly and navigate through applications smoothly.
The more RAM you have, the larger the cache can be, leading to improved system responsiveness.
RAM cache is particularly important when it comes to repetitive tasks or repeatedly accessing the same files or programs.
However, subsequent accesses to the same data are faster because they are retrieved from the RAM cache.
This helps to reduce loading times and improve overall efficiency.
It is important to note that the RAM cache is a dynamic component.
It constantly adjusts itself based on the data and applications you are using, prioritizing frequently accessed information.
However, if the cache becomes overloaded or contains outdated information, it can impact your computers efficiency.
Hence, periodically clearing the RAM cache is essential.
Why Clear RAM Cache?
Clearing the RAM cache regularly is beneficial for several reasons.
2.Improve performance:An overloaded RAM cache can impact your computers performance.
These conflicts can manifest in various ways, such as freezing or crashing programs.
By clearing the RAM cache, you eliminate potential conflicts, allowing for smoother operation of your rig.
This can gradually eat up your available memory, causing your computers performance to degrade.
Heres how you could do it:
Step 1:preserve your work and close any open applications.
Step 3:go for the Restart option from the menu.
Wait for the computer to shut down and reboot.
This method is simple, quick, and can instantly provide a noticeable improvement in your computers performance.
It is important to note that restarting your rig is a temporary solution.
Over time, the RAM cache will start filling up again as you use your setup.
Therefore, wise to kickstart your system periodically to scrub the cache and maintain optimal performance.
Step 3:Hit the Enter key to execute the command.
verify to follow the steps carefully and only execute commands from trusted sources.
Using the Flush Memory command is particularly useful when you want to wipe the cache without interrupting your workflow.
Step 2:In the Task Manager window, punch the Processes tab.
Step 3:Look for any processes that are using a large amount of memory.
Step 4:Right-tap on the memory-intensive process(es) and select End Task or End Process.
This will terminate the process and free up the associated memory.
Method 2: Using the CleanMem Tool
Step 1:Download and install CleanMem from the official website.
Step 2:Once installed, open CleanMem from the Start menu.
Step 3:In the CleanMem window, press the Run button.
This will initiate the cleaning process and erase the RAM cache.
The operating system still retains necessary data in the cache to ensure smooth operation.
Alternatively, you might use the Spotlight Search by pressing Command + Space and typing Terminal.
Step 2:Launch the Terminal tool.
Launch the Activity Monitor software.
Step 2:In the Activity Monitor window, choose the Memory tab.
Step 4:Identify any memory-intensive processes and select them.
It only releases memory from unnecessary processes and temporary data, allowing the system to allocate resources more efficiently.
This will flush the terminal screen and potentially release some memory in the process.
Method 2: Using the sync Command
Step 1:launch the terminal.
This will synchronize and write data to the disk, potentially freeing up some memory.
Linux operating systems have their own memory management systems that automatically handle cache management efficiently.
It is essential to note that Linux systems typically perform dynamic memory management and RAM cache utilization.
As a result, the operating system automatically clears and manages the RAM cache based on the systems needs.
Thus, manually clearing the RAM cache might not be necessary in most cases.
These methods can help improve system performance and ensure that your system operates smoothly.
In this guide, we explored five methods for clearing the RAM cache.
Mac users can employ the Terminal or Activity Monitor to reset the RAM cache.
Linux users can use simple commands like clear and sync to indirectly release memory.
As you use your rig, the cache will fill up again.
Remember to store your work and close applications before attempting any cache-clearing methods.
Additionally, exercise caution when using commands or third-party tools, and always follow instructions from trusted sources.
your machine will thank you for it!
