Introduction
The Redmi Note 3 is a popular smartphone known for its impressive features and user-friendly interface.
Before you begin, ensure that you have a compatible microSD card on hand.
you might find the SIM card tray on the left side of the unit, near the top edge.
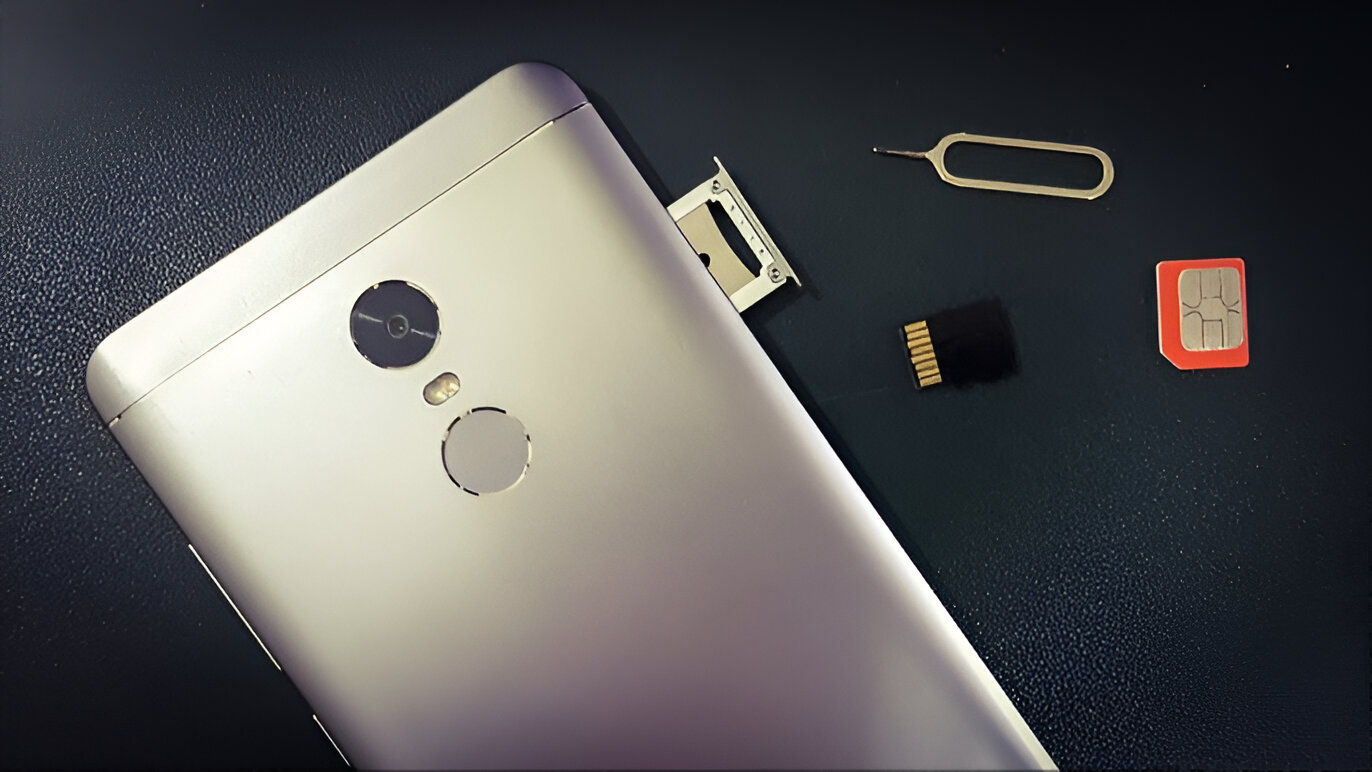
This will release the tray from the equipment.
Ensure that the card is inserted in the correct orientation to avoid any potential damage.
Be cautious not to apply excessive force during this process.
Locate the options App: Look for the options app on your home screen or in the app drawer.
The tweaks app is represented by a gear icon and is typically located among the pre-installed system apps.
bring up the prefs App: Tap on the prefs app icon to launch the prefs menu.
Tap on “Additional parameters” to access a variety of advanced configurations for your Redmi Note 3.
Tap on the SD card option to access specific configs and configurations related to the SD card.
This option may be labeled as “Format SD Card” or “Erase SD Card.”
Tap on this option to initiate the formatting process.
Ensure that you have backed up any important data from the SD card before proceeding.
If you are ready to format the SD card, confirm the action to initiate the formatting process.
This option may be labeled as “Default Write Disk” or “Storage Preferences.”
Tap on this option to dive into the default storage prefs.
Setting the SD card as the default storage location represents a pivotal stage in this activation process.
