In these cases, it becomes necessary to remove the old fan and replace it with a new one.
Remember, working with computer components requires caution and attention to detail.
Be sure to follow the instructions carefully to avoid any damage to your system.
If your box is still covered, its recommended to consult a professional or contact Dell support for assistance.
Now, lets power off and unplug your gear to ensure your safety throughout the process.
This precautionary measure ensures your safety while working on the internal components of the computer.
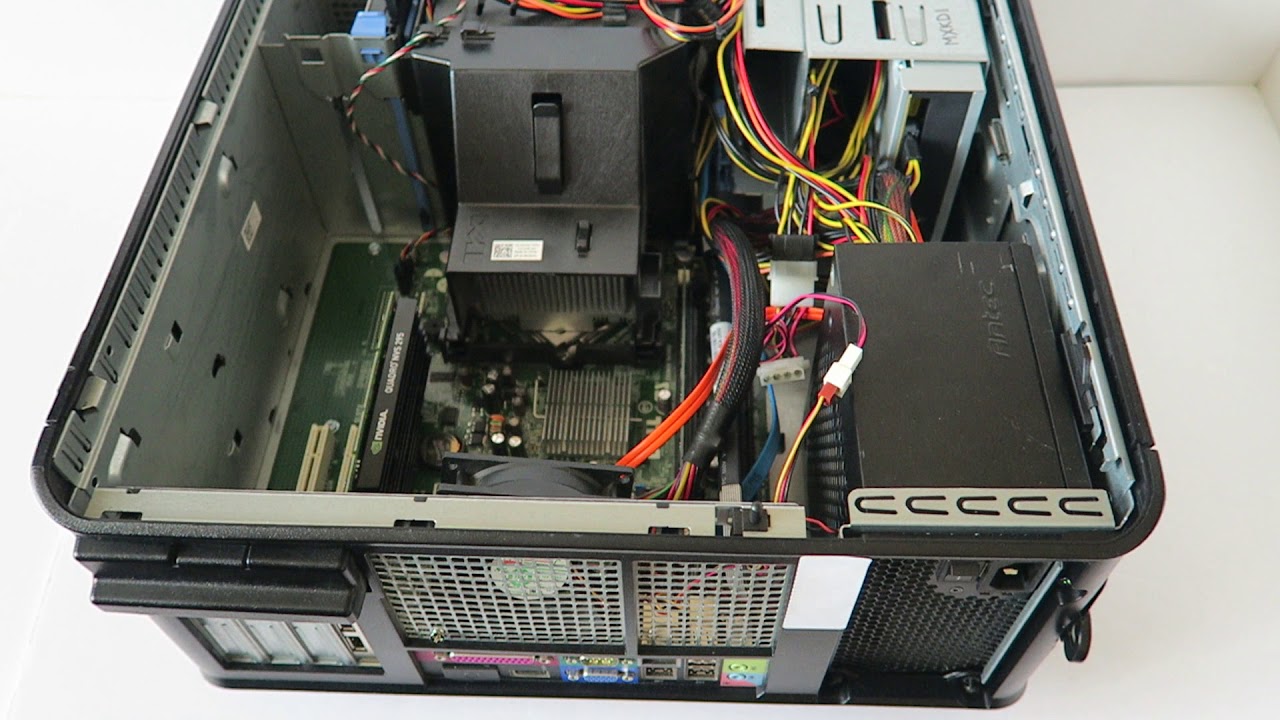
In the next step, we will locate the case fan within the computer.
In the next step, we will proceed with disconnecting the power and data cables from the case fan.
Take your time to ensure that the cables are fully disconnected without applying excessive force.
However, be cautious as it may still be secured by additional clips or connectors.
Take a moment to inspect the fan for any signs of damage or excessive dirt and debris.
If necessary, this is a good time to clean the fan or replace it with a new one.
Cleaning the fan can help improve airflow and reduce noise brought on by excessive dust buildup.
Otherwise, proceed to the next step to reassemble the case.
verify that all components are properly aligned and securely attached before proceeding further.
Finally, we discussed reassembling the case to complete the process.
Remember, when working with computer components, its important to exercise caution and attention to detail.
Take care to follow the instructions closely and handle the internal components with care.
Enjoy the improved cooling and performance of your system!
