Introduction
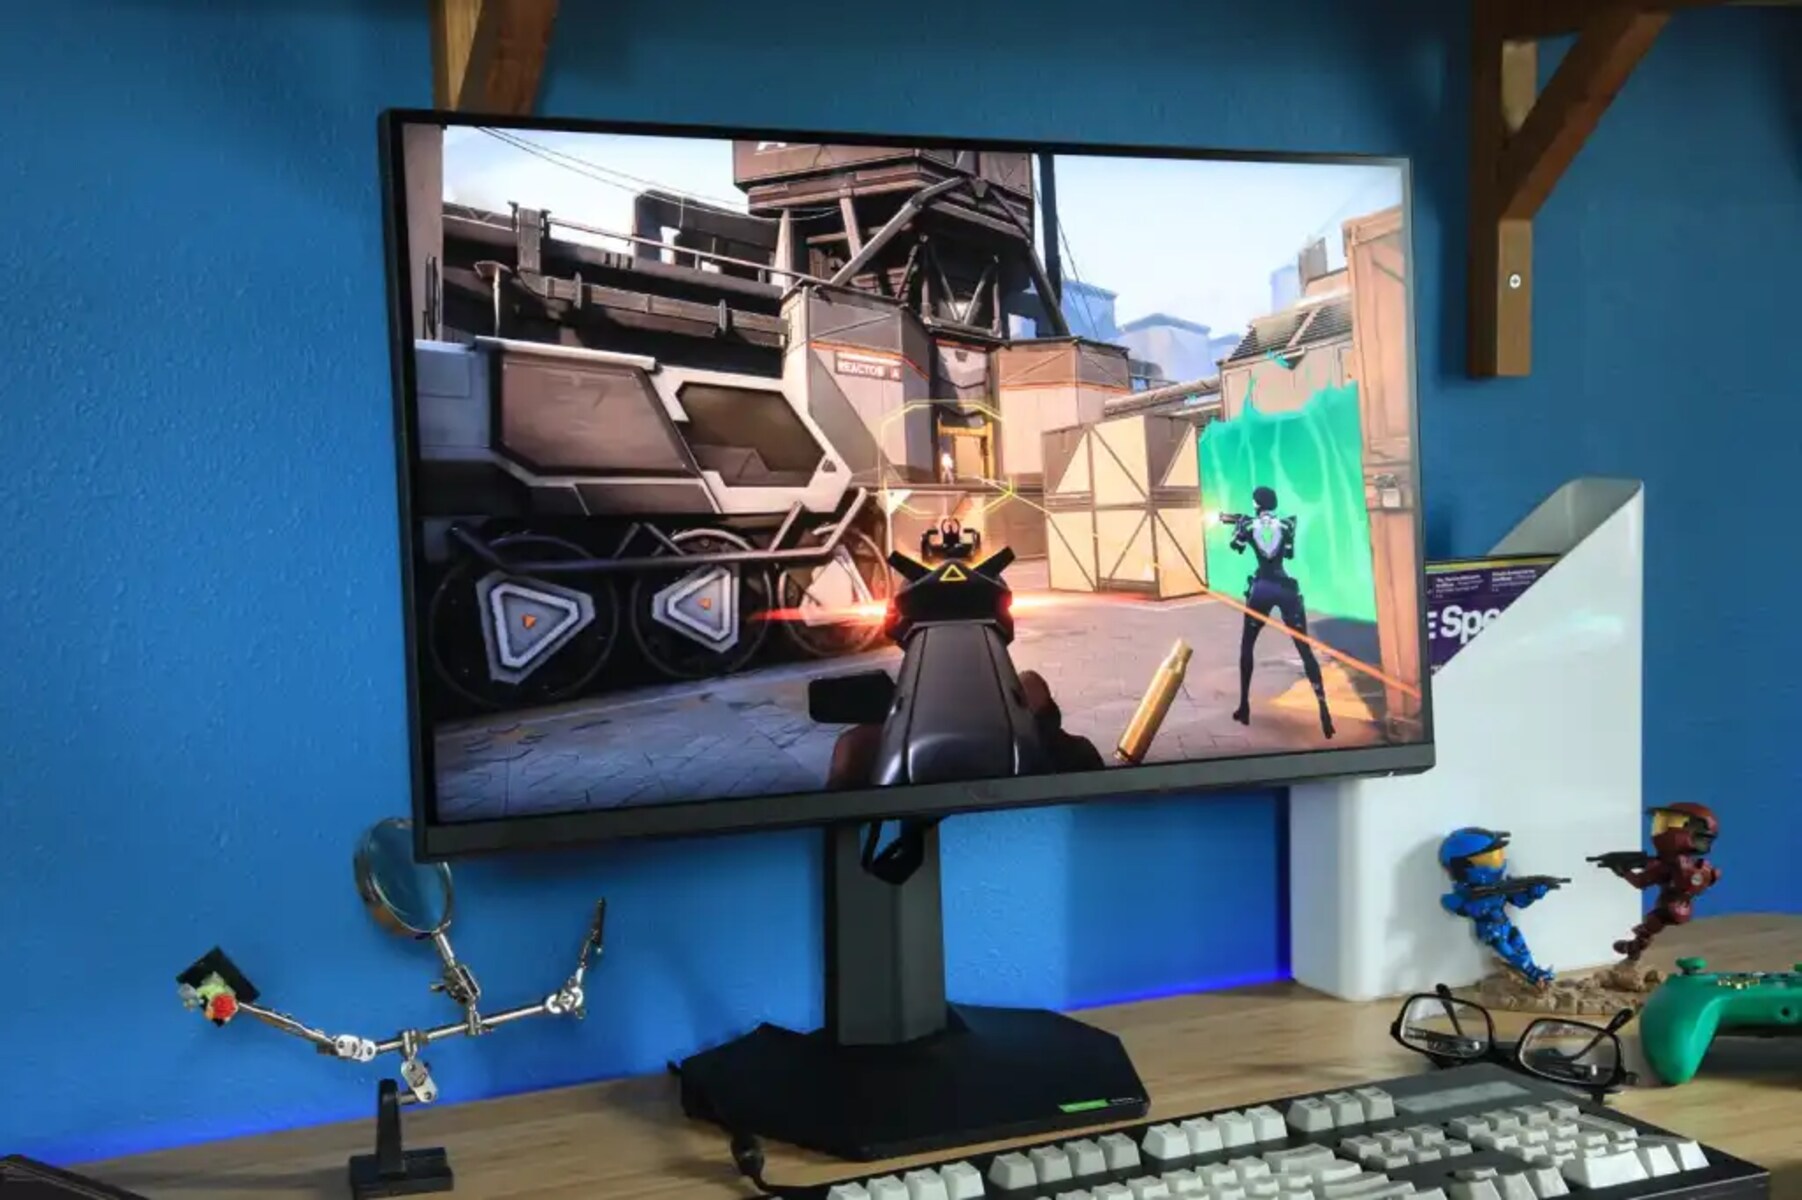
Welcome to the world of immersive gaming with the Dell 24 Gaming Monitor!
One of the standout features of the Dell 24 Gaming Monitor is its compatibility with NVIDIA G-SYNC technology.
This ensures that every frame is displayed without any interruptions, delivering a fluid and tear-free gaming experience.
Are you ready to embark on a journey of smooth gameplay and stunning visuals?
Lets begin by unboxing the Dell 24 Gaming Monitor and getting everything set up for an unforgettable gaming session.
Lets walk through the unboxing process step by step to ensure you start off on the right foot.
The Dell 24 Gaming Monitor comes securely packaged to protect it during shipping.
When you receive the package, carefully remove the outer packaging and set it aside.
Inside, you will find a sturdy cardboard box that houses the monitor.
Slowly lift the monitor out of the box, being cautious not to apply pressure on the screen.
Place the monitor on a clean and flat surface.
Once the monitor is out of the box, youll notice a range of accessories and cables included.
Additionally, you may find a user manual, driver installation disc, or a quick setup guide.
double-check to keep these accessories safe for later use.
Before plugging in any cables, take a moment to inspect the monitor for any visible damage.
Check the screen for scratches, cracks, or any other abnormalities.
This will ensure that you have all the necessary components to proceed with the setup smoothly.
When you unbox the Dell 24 Gaming Monitor, you will find several items included in the package.
If any items are missing or damaged, contact Dell customer support for assistance.
Before proceeding, ensure that your box is turned off.
This will prevent any potential damage to the monitor or the computer during the connection process.
Depending on your computers available ports and your personal preference, choose the method that suits you best.
Its usually labeled as HDMI and has a distinctive shape.
Once the cable is securely connected, tighten any screws or fastenings to ensure a stable connection.
Double-check that all connections are secure and properly aligned.
Next, connect the AC power cable to the monitor and plug the other end into a power outlet.
Ensure that the monitor is receiving power by checking for an illuminated power LED indicator.
Stay tuned as we guide you through the process of fine-tuning the display for maximum visual impact.
To get into the monitor tweaks, locate the control buttons on the underside or side of the monitor.
Start by pressing the menu button to enter the monitors tweaks menu.
Once selected, use the increase and decrease buttons to modify the chosen setting.
Begin by adjusting the brightness and contrast levels.
Experiment with different levels to find a balance that provides clear visibility without causing eye strain or washout.
Next, consider adjusting the color tweaks.
Many monitors offer preset color profiles such as Standard, Vivid, or Game Mode.
These profiles are optimized for different use cases and can enhance color accuracy and vibrancy.
snag the profile that best suits your preferences and the style of the game you are playing.
If you prefer a more customized experience, delve into the manual color tweaks.
This allows you to fine-tune the colors to achieve accurate representations or create a particular aesthetic.
Furthermore, some monitors offer additional features like picture-in-picture, blue light filters, or refresh rate adjustments.
Explore these options to maximize your gaming experience and improve comfort during long gaming sessions.
Now that you have optimized the display, lets explore how NVIDIA G-SYNC can further enhance your gaming experience.
G-SYNC is designed to eliminate screen tearing and minimize input lag, providing a seamless and responsive gameplay experience.
Firstly, pop swing open the NVIDIA Control Panel on your rig.
Click Apply to save the changes.
Enabling G-SYNC may require a monitor restart, so follow any additional on-screen prompts to complete the setup process.
With G-SYNC enabled, your gaming experience will be more immersive and enjoyable.
Its worth noting that not all games may support G-SYNC out of the box.
But theres more to optimize!
In the next section, we will explore calibrating the display for the best possible visuals.
Firstly, ensure that your monitor has been warm for at least 30 minutes before starting the calibration process.
This ensures that the display is at its most stable state.
Next, access your graphics cards control panel, such as the NVIDIA Control Panel for NVIDIA graphics cards.
Look for color calibration options, which may vary depending on your graphics card model and software version.
Another method to calibrate the monitor is by using online calibration websites.
These websites provide step-by-step instructions and visual tests to help you optimize your monitors tweaks.
They usually require you to adjust controls directly on the monitor itself.
During the calibration process, aim for a color temperature of around 6500K, which closely resembles daylight.
Adjust the contrast and brightness levels to establish a balance that provides clarity without causing discomfort or eye strain.
This enables you to find the most comfortable viewing angle and position for extended gaming sessions.
Monitor Placement
Consider the placement of your Dell 24 Gaming Monitor on your desk.
Ensure that its positioned at a comfortable distance from your eyes, typically around arms length away.
Adjust the angle of the monitor to reduce any reflections or glare from surrounding light sources.
Cable Management
Untidy cables can clutter your gaming setup and create a distracting environment.
Additional Accessories
Consider adding accessories to your monitor setup to further enhance your gaming experience.
These adjustments improve comfort, reduce strain, and contribute to an immersive gaming experience.
However, in the event of any setup issues, dont worry!
The next section will address some common troubleshooting tips.
Troubleshooting Common Setup Issues
Setting up a new monitor can occasionally come with its challenges.
if you bump into any issues during the setup process of your Dell 24 Gaming Monitor, dont fret!
In the next section, we will wrap up our guide.
Conclusion
Congratulations!
You have successfully set up and optimized your Dell 24 Gaming Monitor for the ultimate gaming experience.
Customize the monitors physical features to enhance comfort and maintain an organized gaming setup.
Thank you for following this guide, and happy gaming with your Dell 24 Gaming Monitor!
